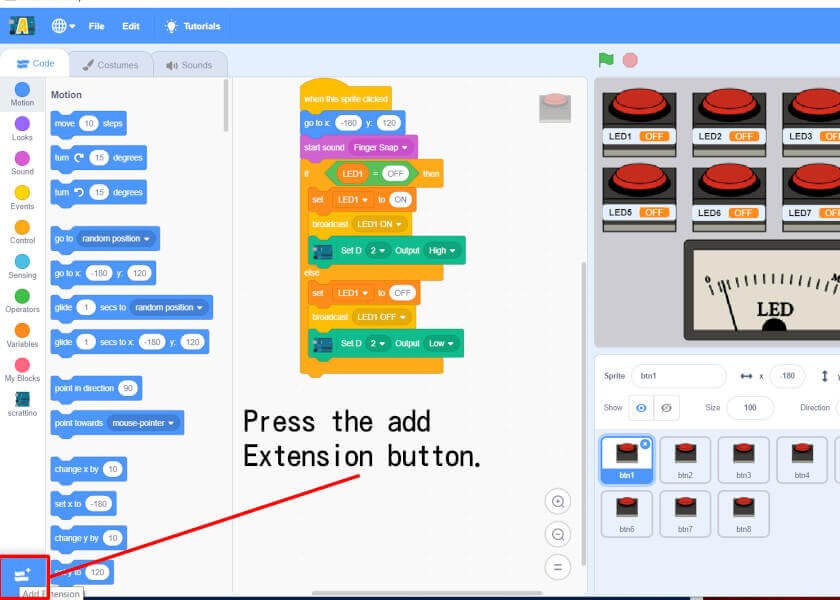
“Scratch” is programming language designed for elementary and middle school students. Instead of using difficult English code, students can easily write programs by attaching blocks together, allowing them to create animations and games in an intuitive manner. In addition, by using the extension function, you can experience electrical control of real-life objects in combination with “Arduino,” which is often used for electrical engineering.
This page describes electrical control and programming in combination with models distributed on this site. You can download programs for “Scrattino” for each content.
Table
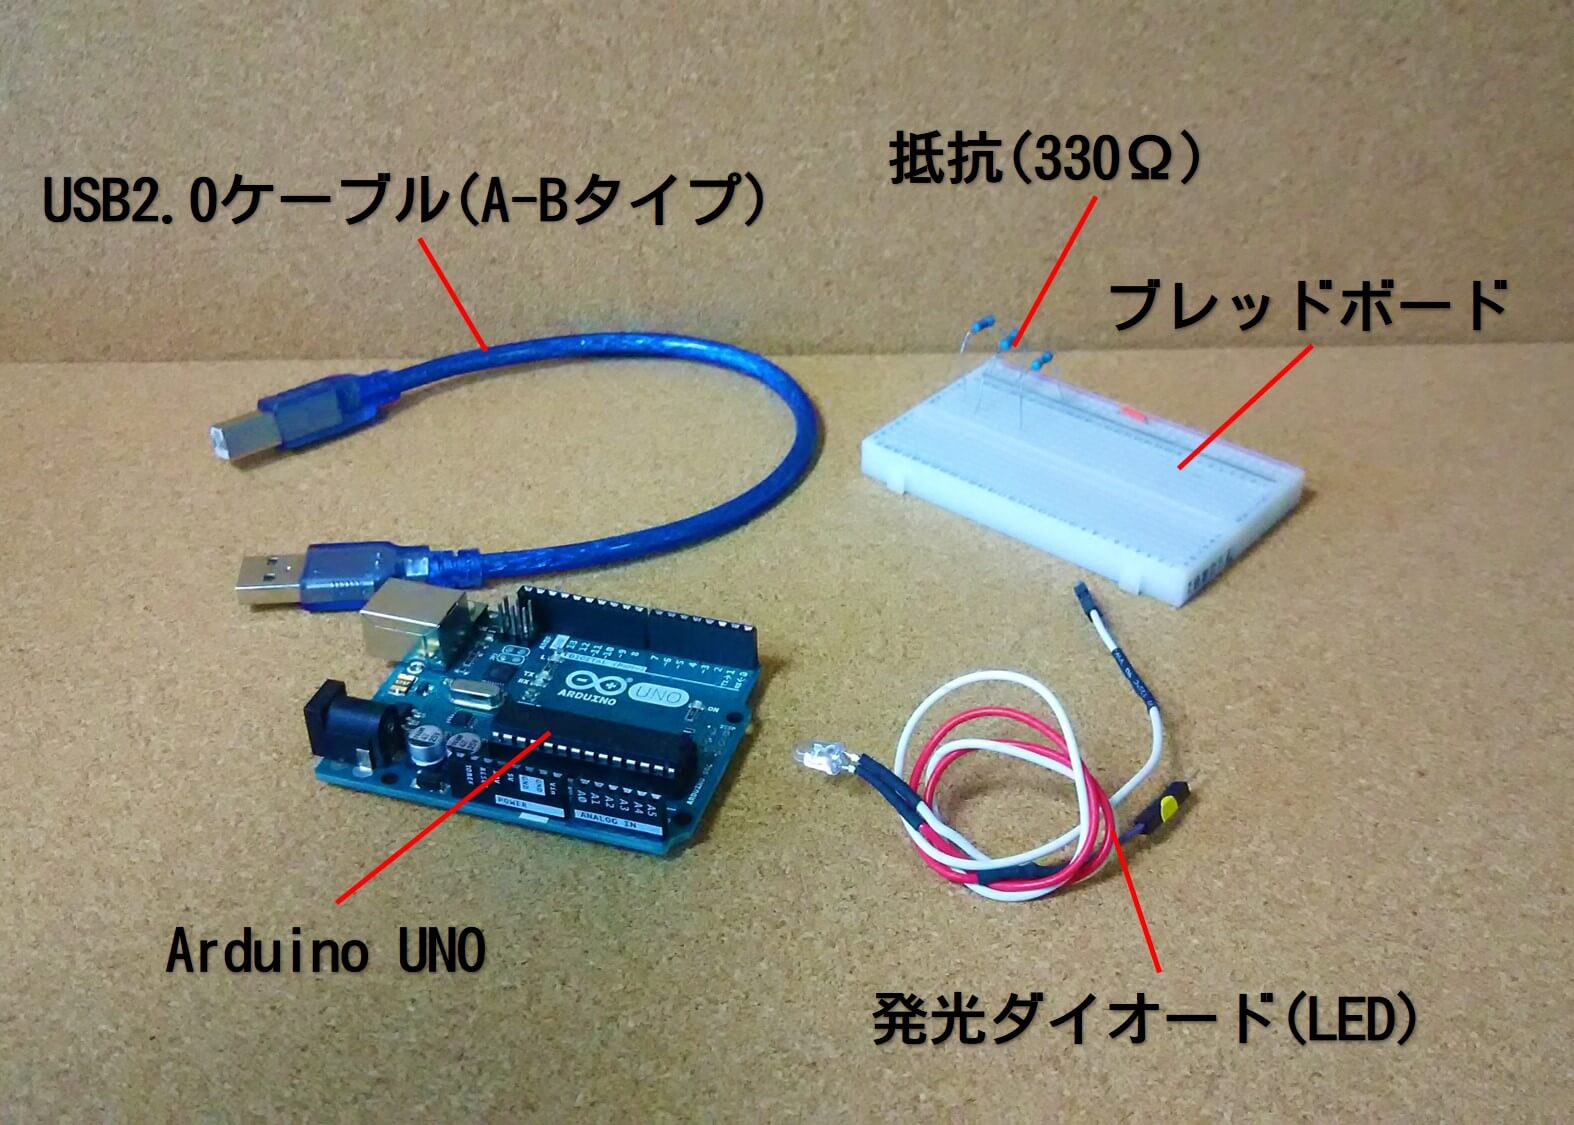
1.Necessities
Microcomputers, LEDs and other electrical components
Arduino UNO can be substituted with “compatible” in addition to the original Arduino UNO. Compatibles are often sold in sets that include LEDs, jumpers (wires), and other items necessary for electrical construction, so you can buy a set and have everything you need in no time!。
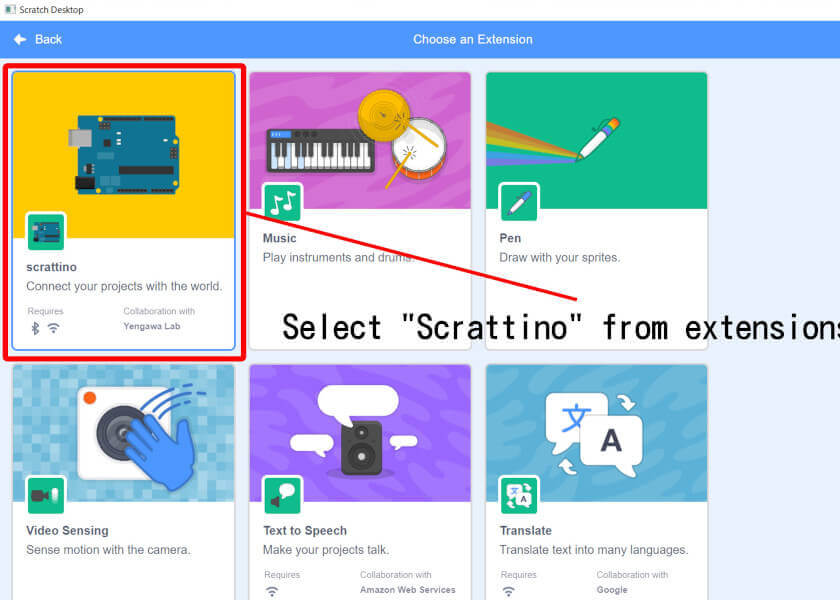
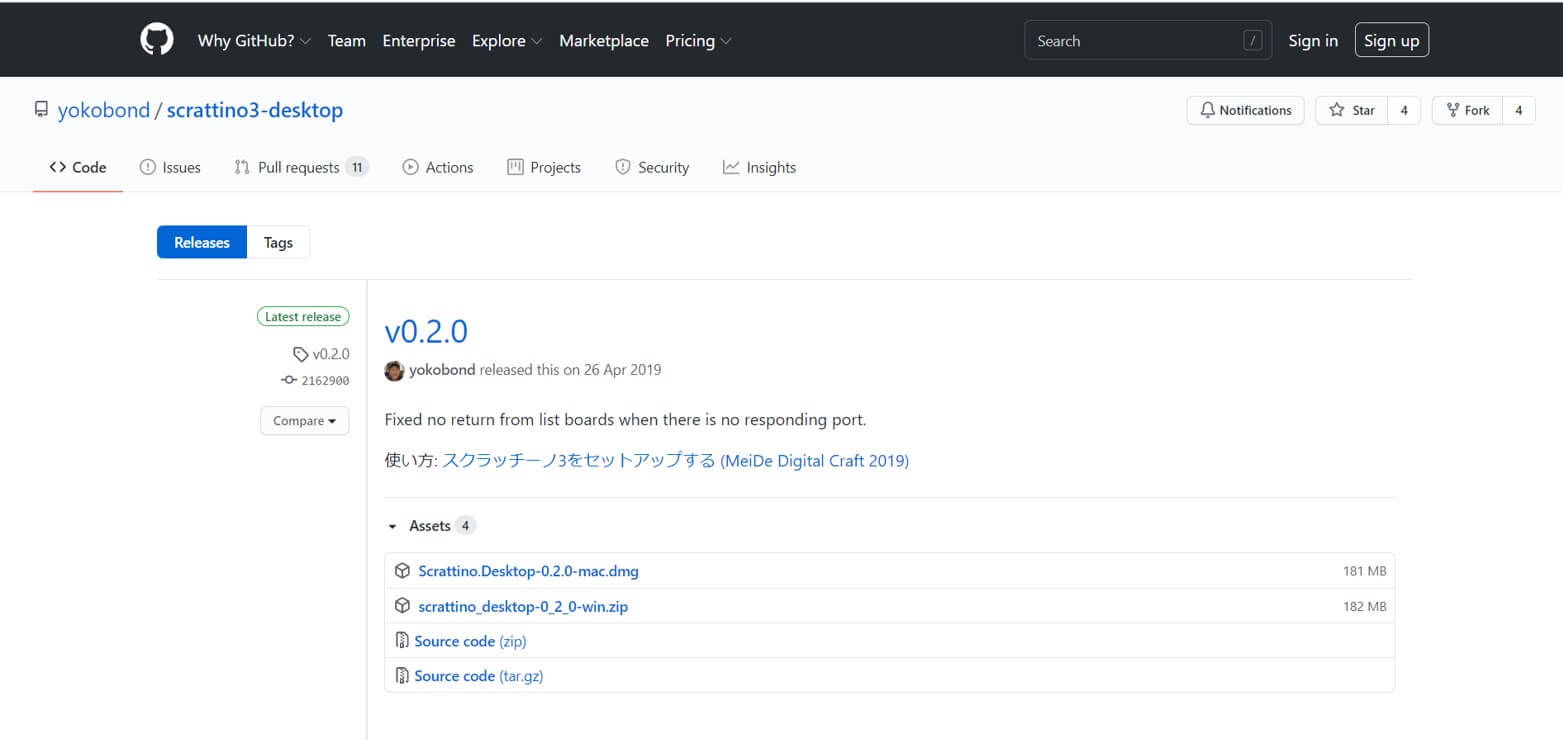
Scrattino 3
This software allows you to use Scratch offline, and includes an extension function to work with Arduino, so you can write programs more easily than with the Arduino IDE below.
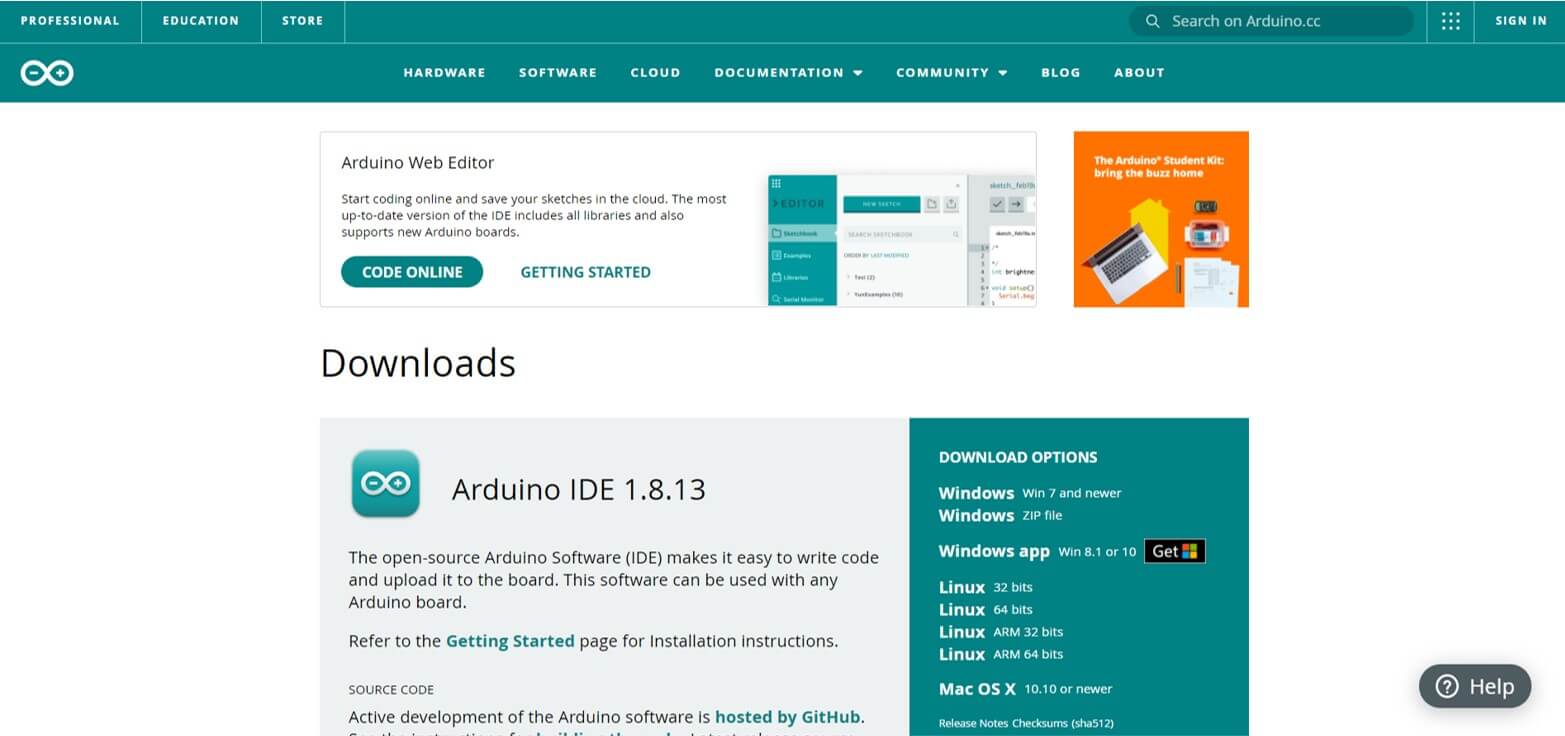
Arduino IDE
This is editor for writing programs to the Arduino. As we will describe later, you cannot write Scratch programs directly to the Arduino, so you will need this software to write intermediary programs. Once you are on the site, go to “DOWNLOAD OPTIONS” and download the latest version of the Arduino IDE for your operating system.
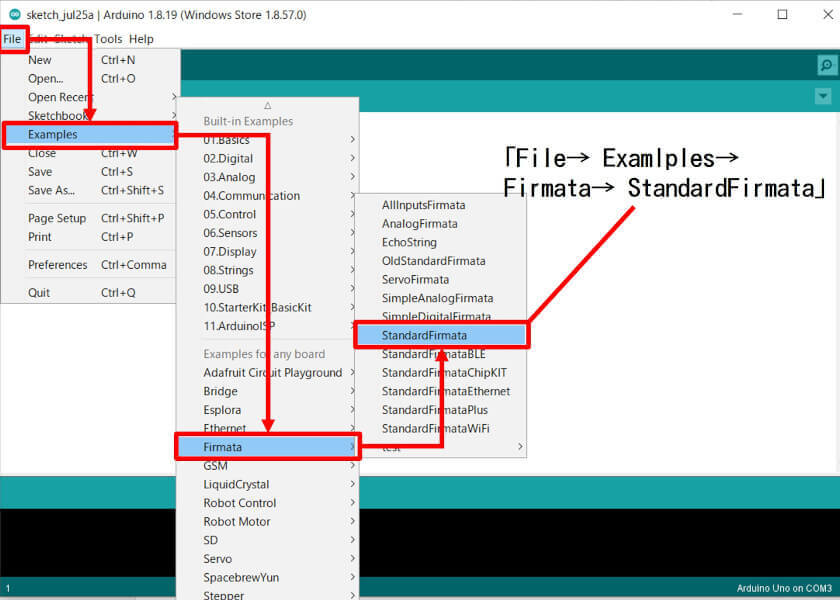
2.Preparation before programing
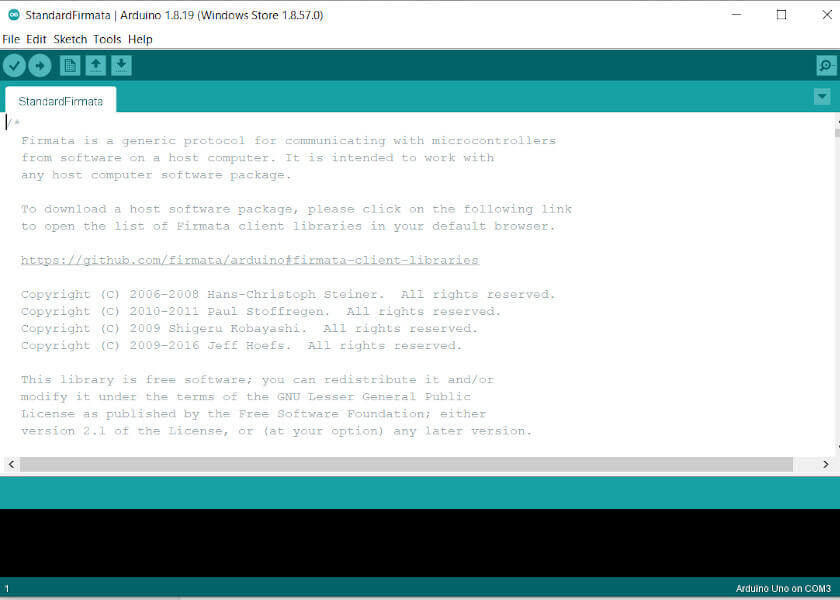
Arduino cannot directly write programs created in Scratch. Therefore, you need to write an intermediary program between Scratch and Arduino. The intermediary program is prepared in the Arduino IDE, so we will use it. As shown in the figure below, select “File → Exsamples → Firmata → StandardFirmata” with the cursor in that order to open the intermediary program.
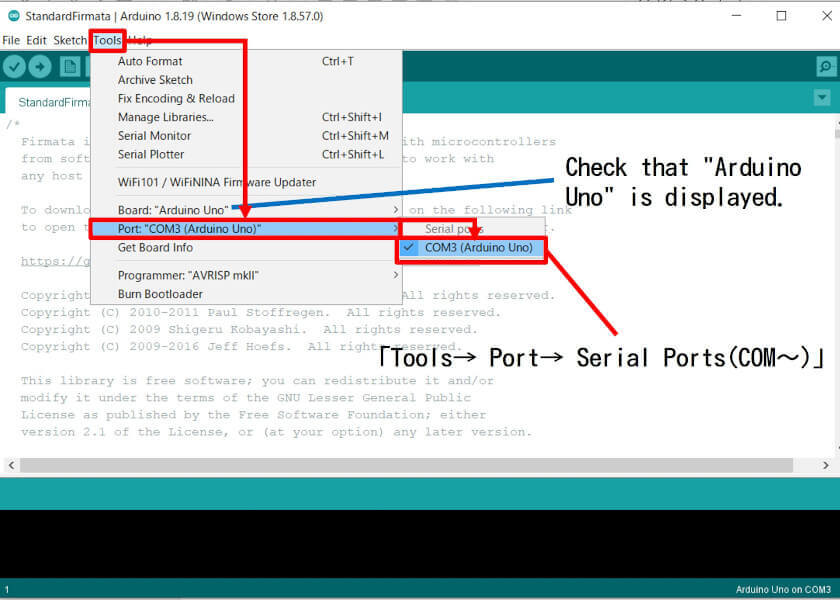
To select the Arduino destination to write to, move the cursor to Tools→Port→Serial Port. The port name depends on where you plugged in the USB, and if it is a genuine Arduino, the type name will also be displayed.
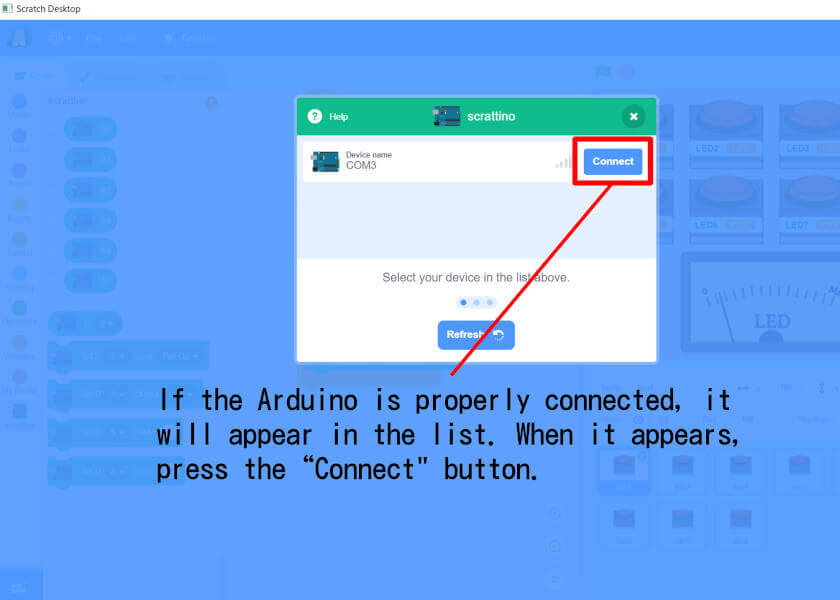
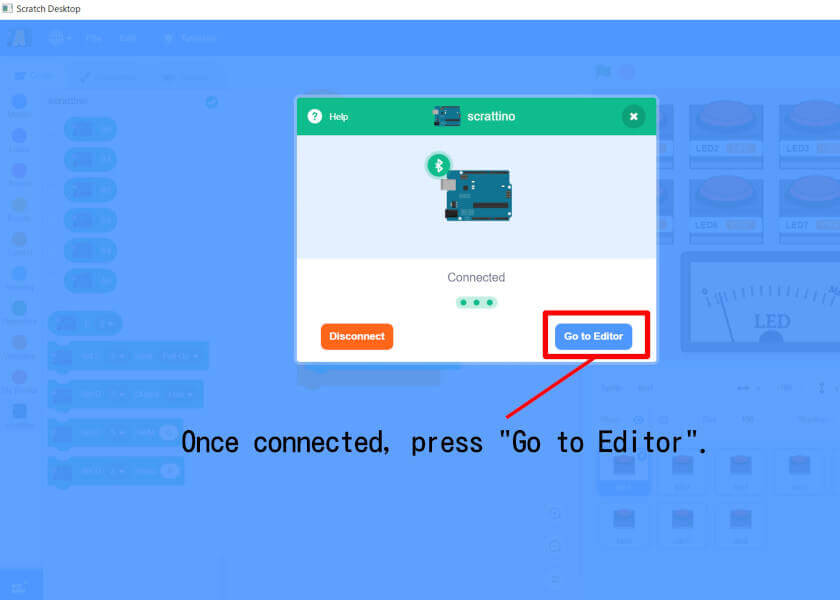
Finally, press the upload button to write the program to the Arduino. If the program is written correctly, the message “Done Uploading” will appear and you can use the Arduino with Scrattino. If the writing does not work and an error message appears, try unplugging and plugging in the USB port again, or try a different USB port.


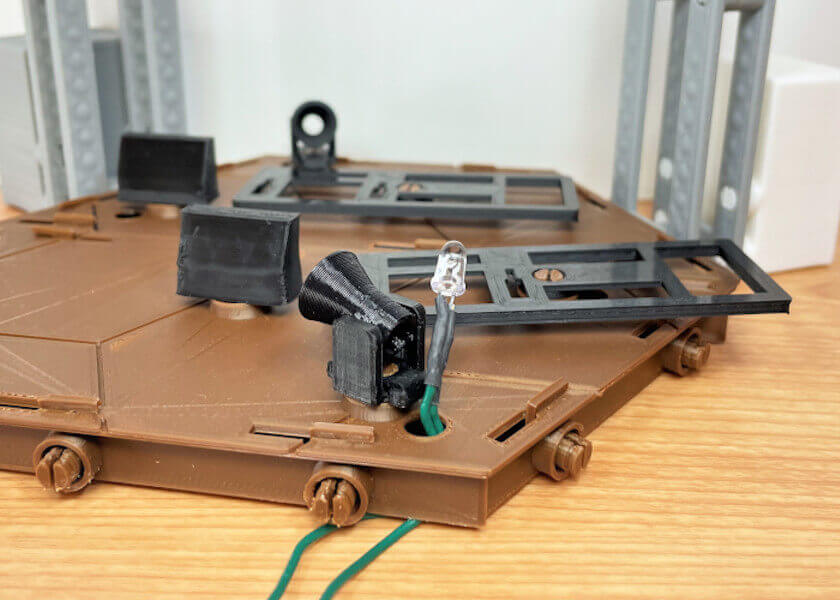
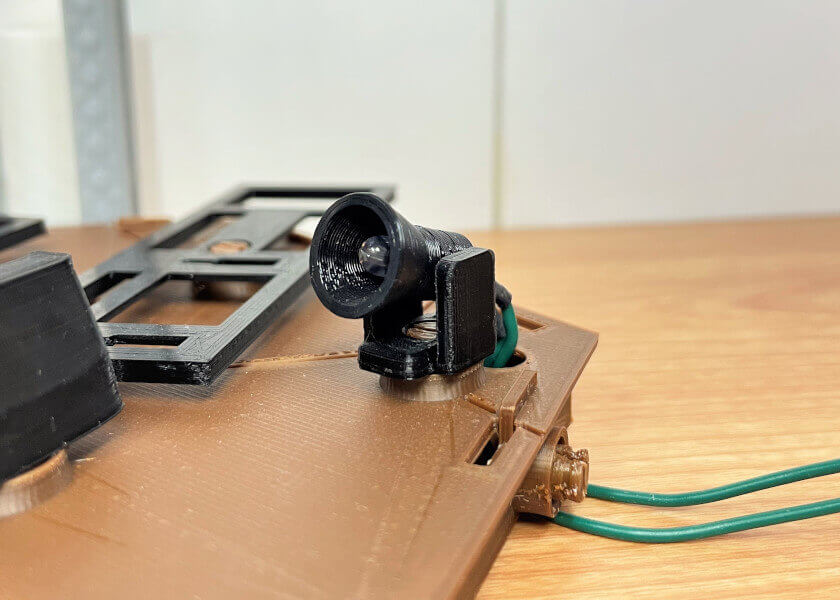
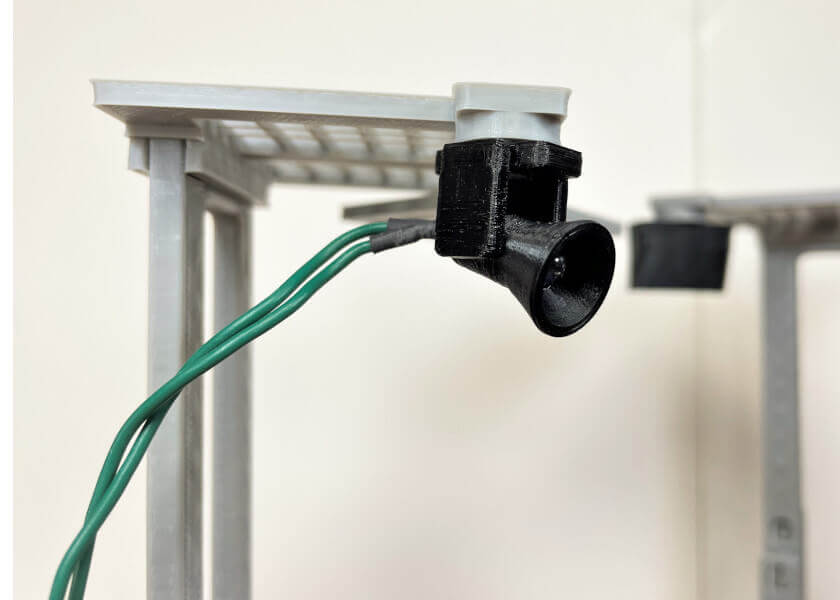
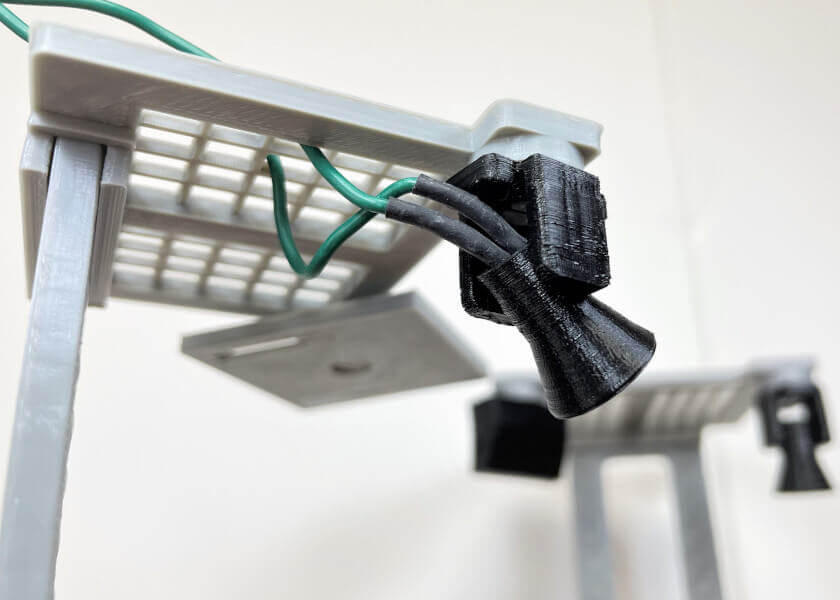
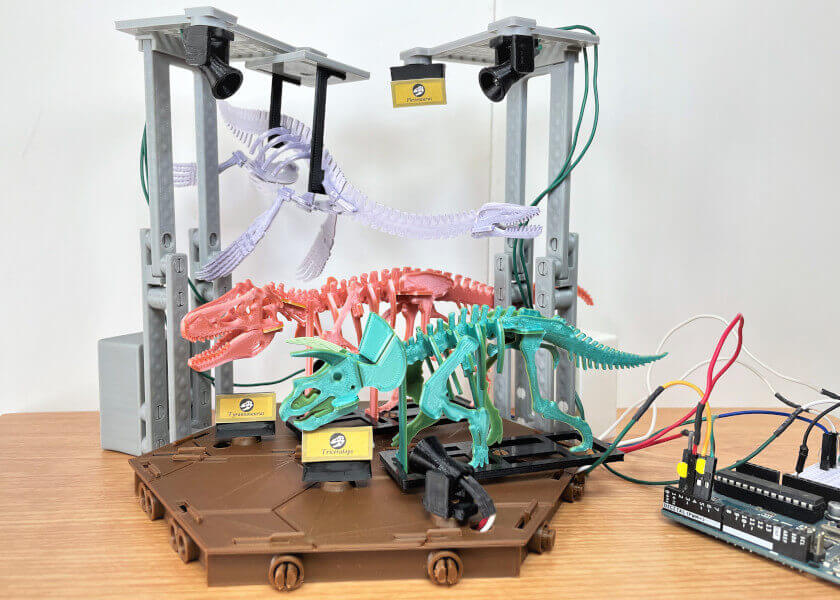
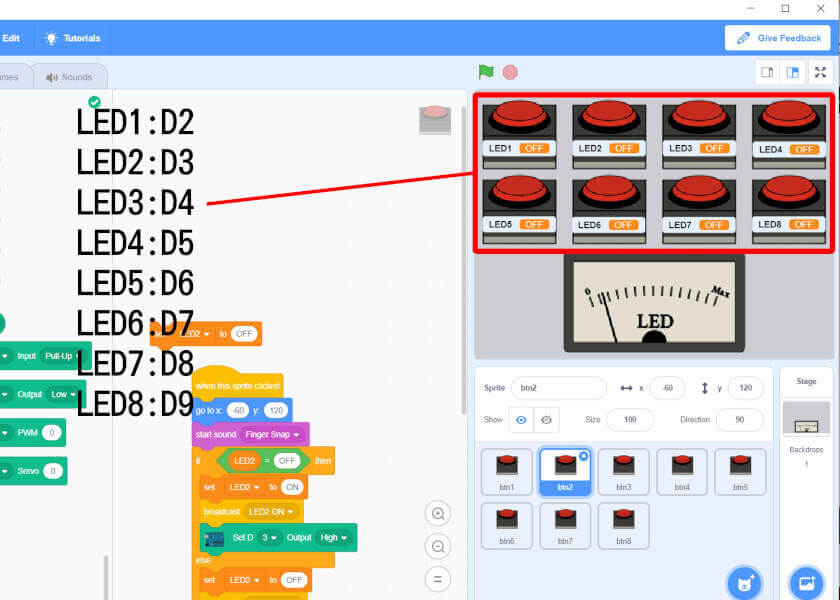
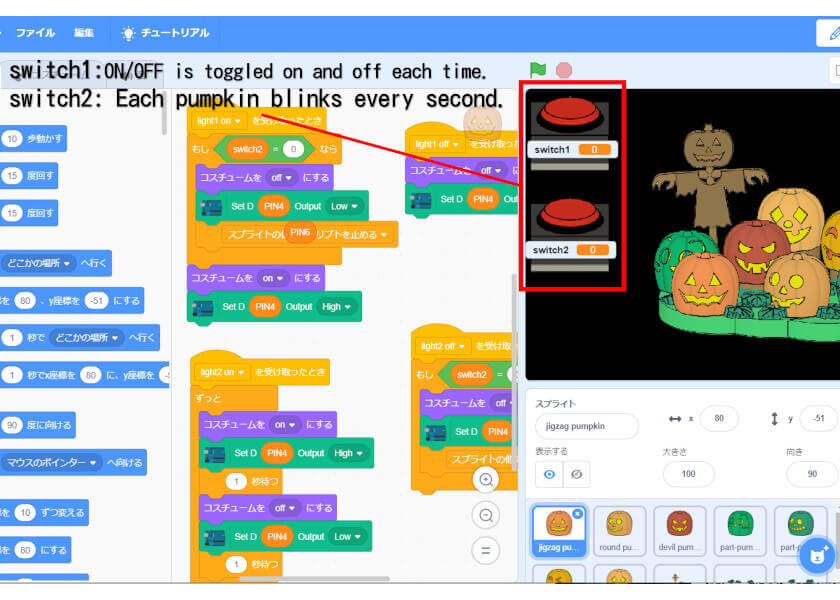
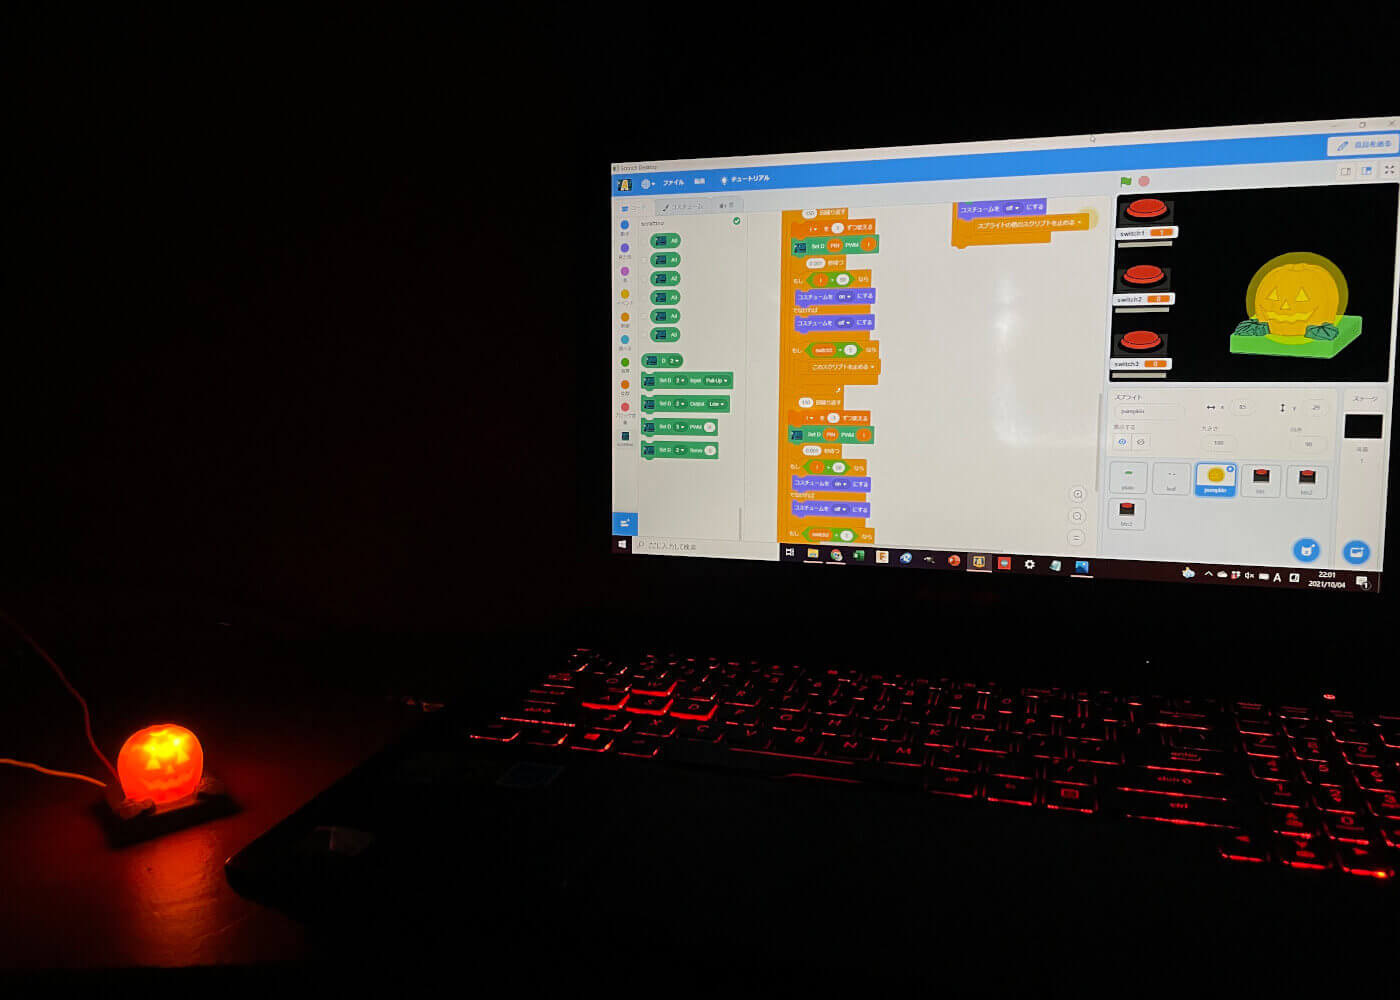
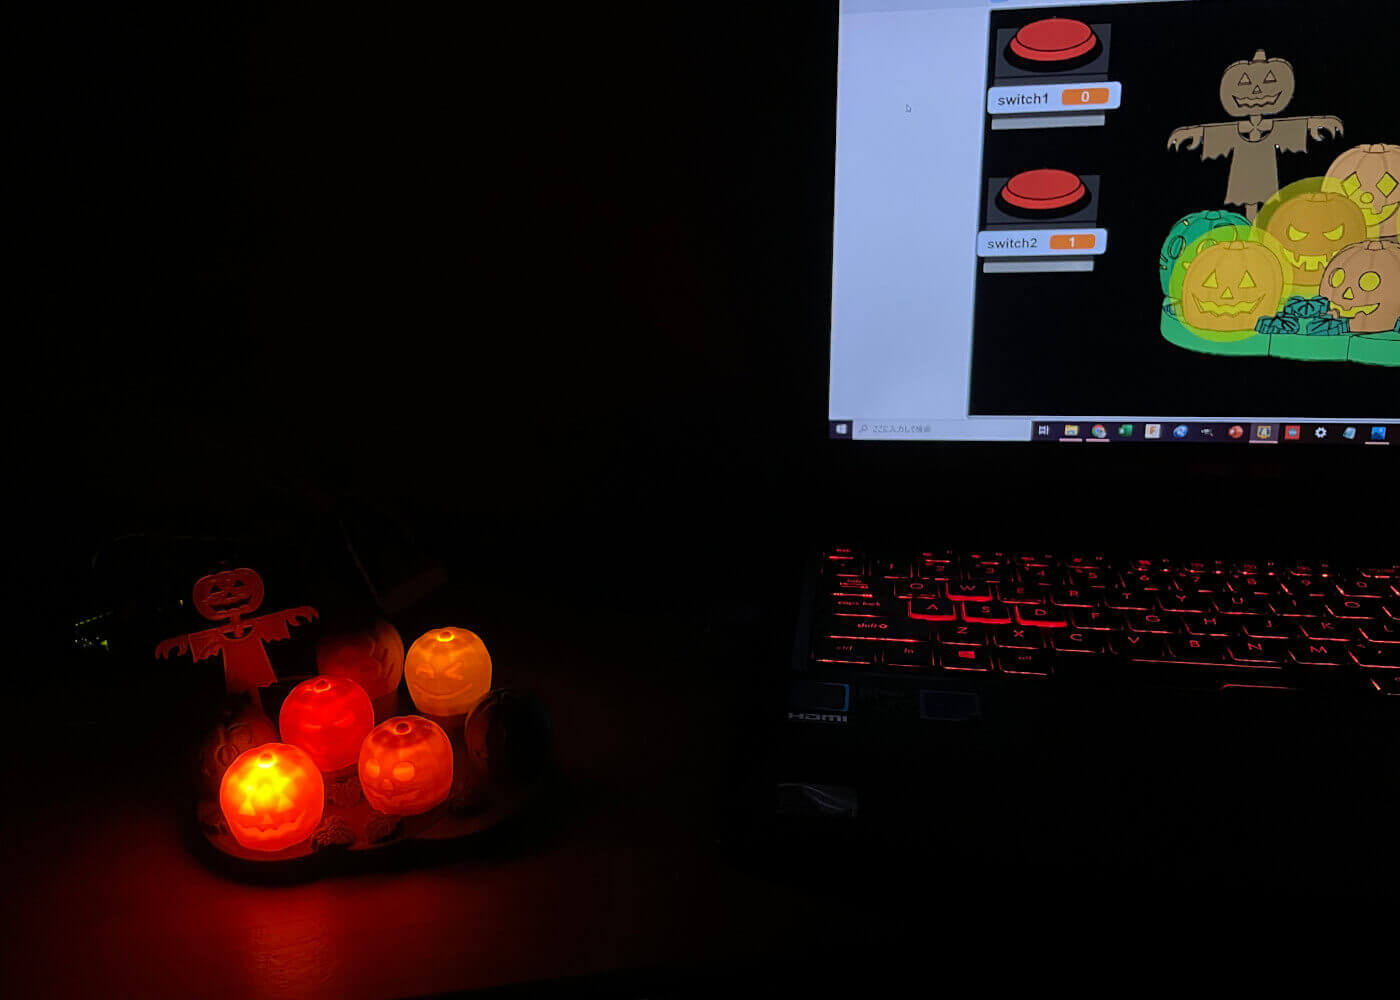
3.Light up “My Platform”!
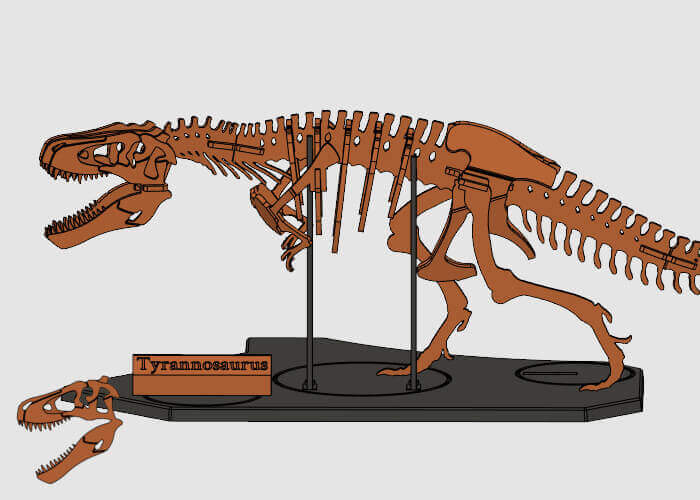
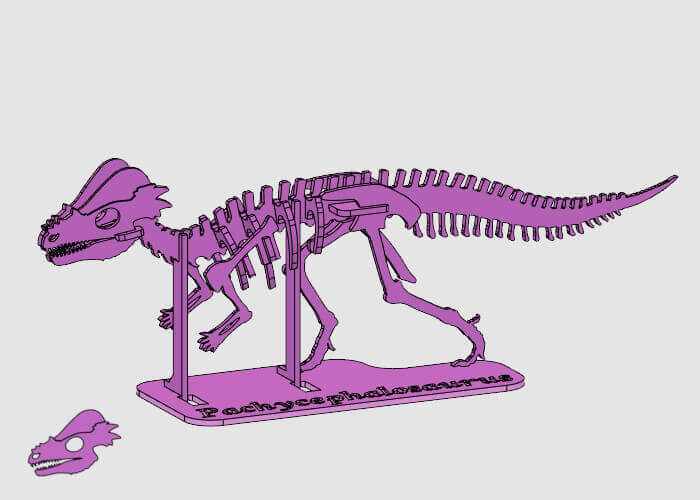
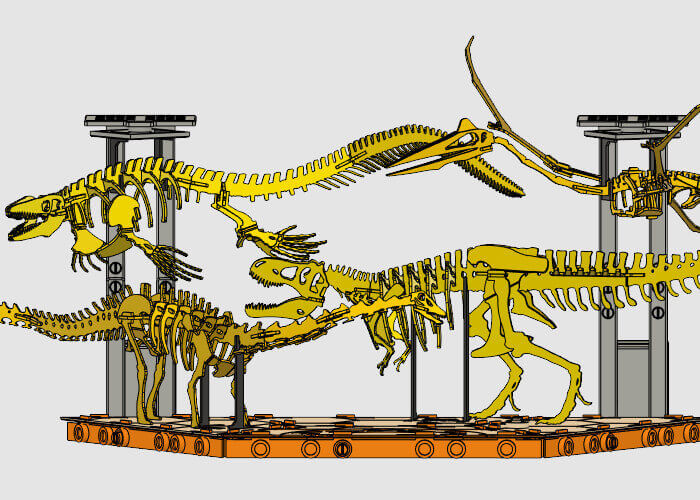
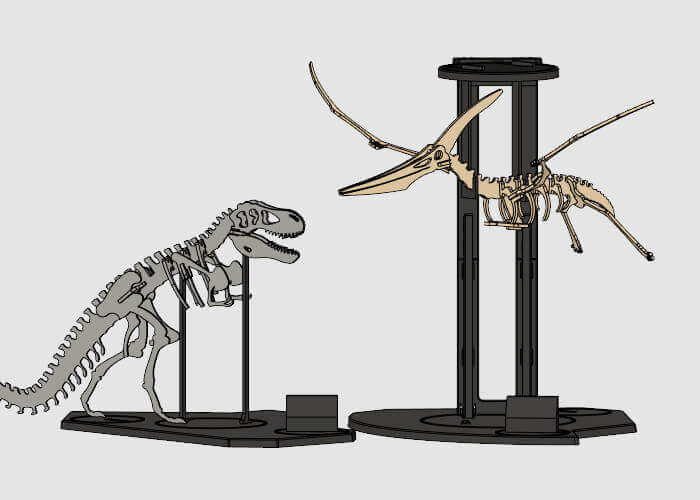
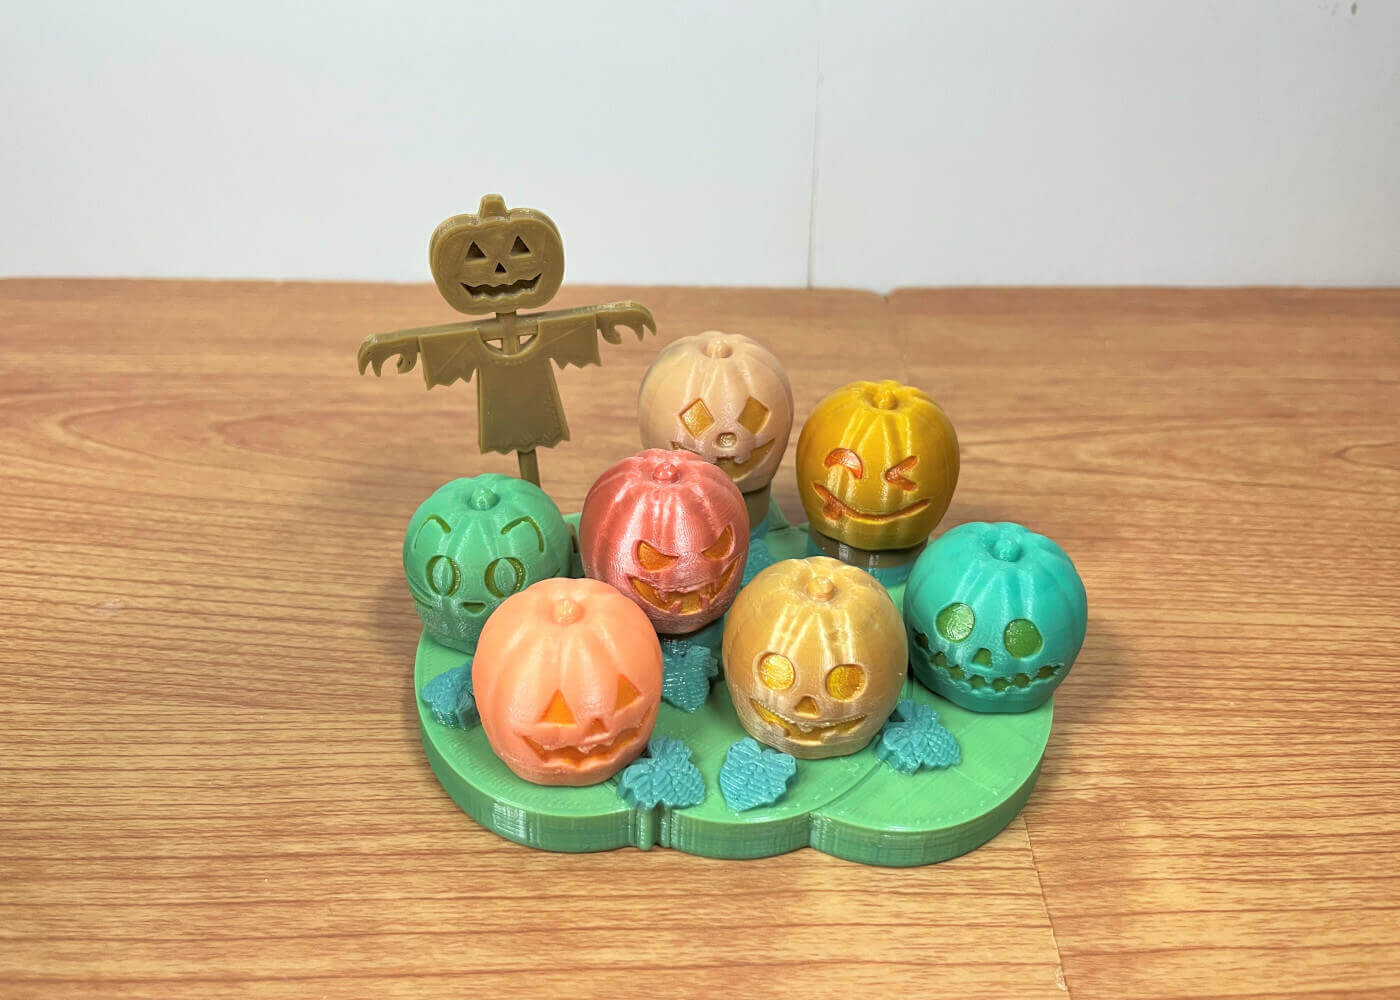
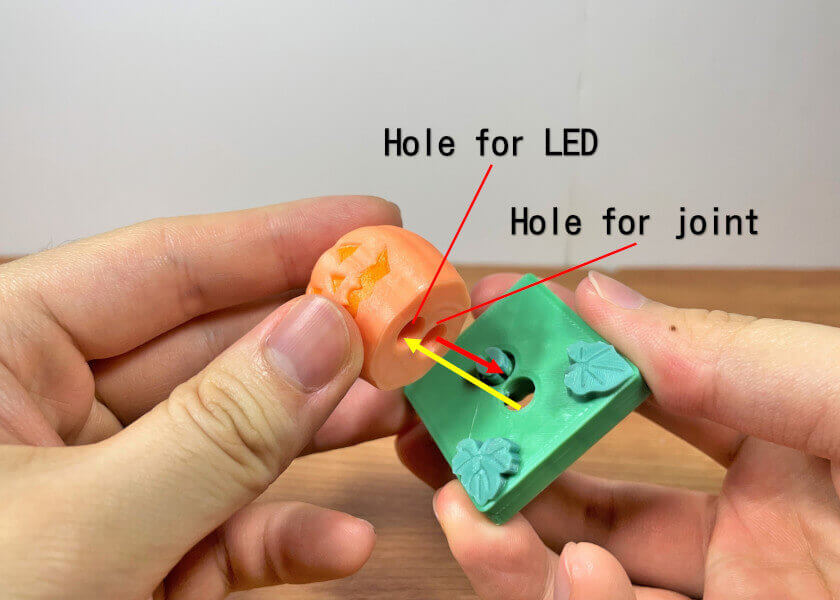
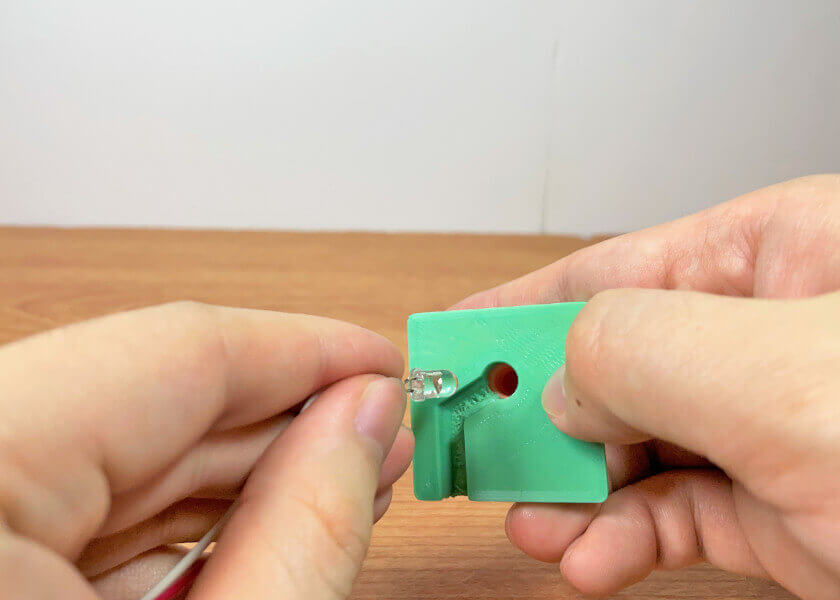
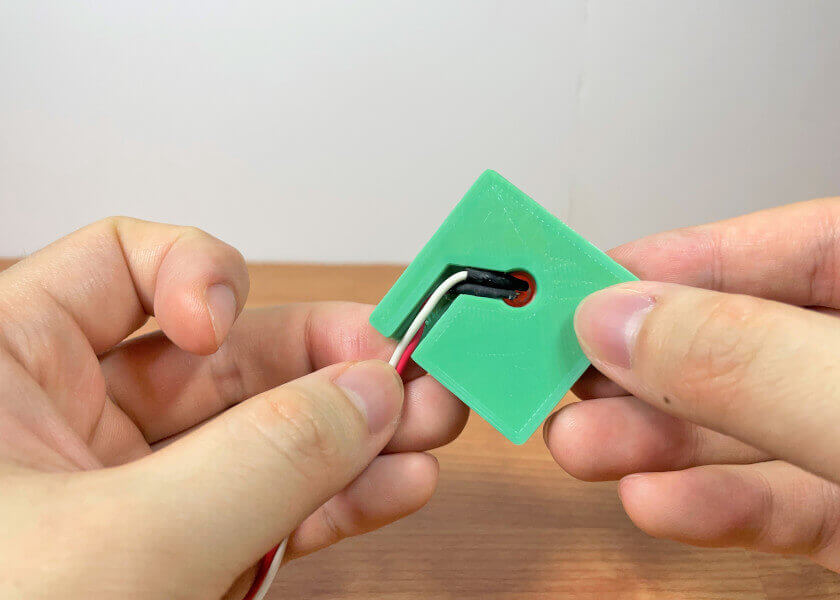
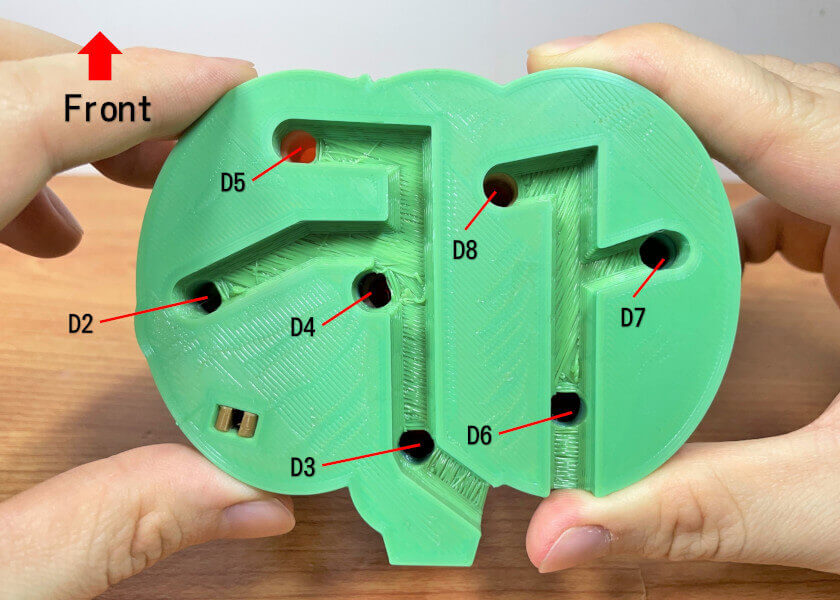
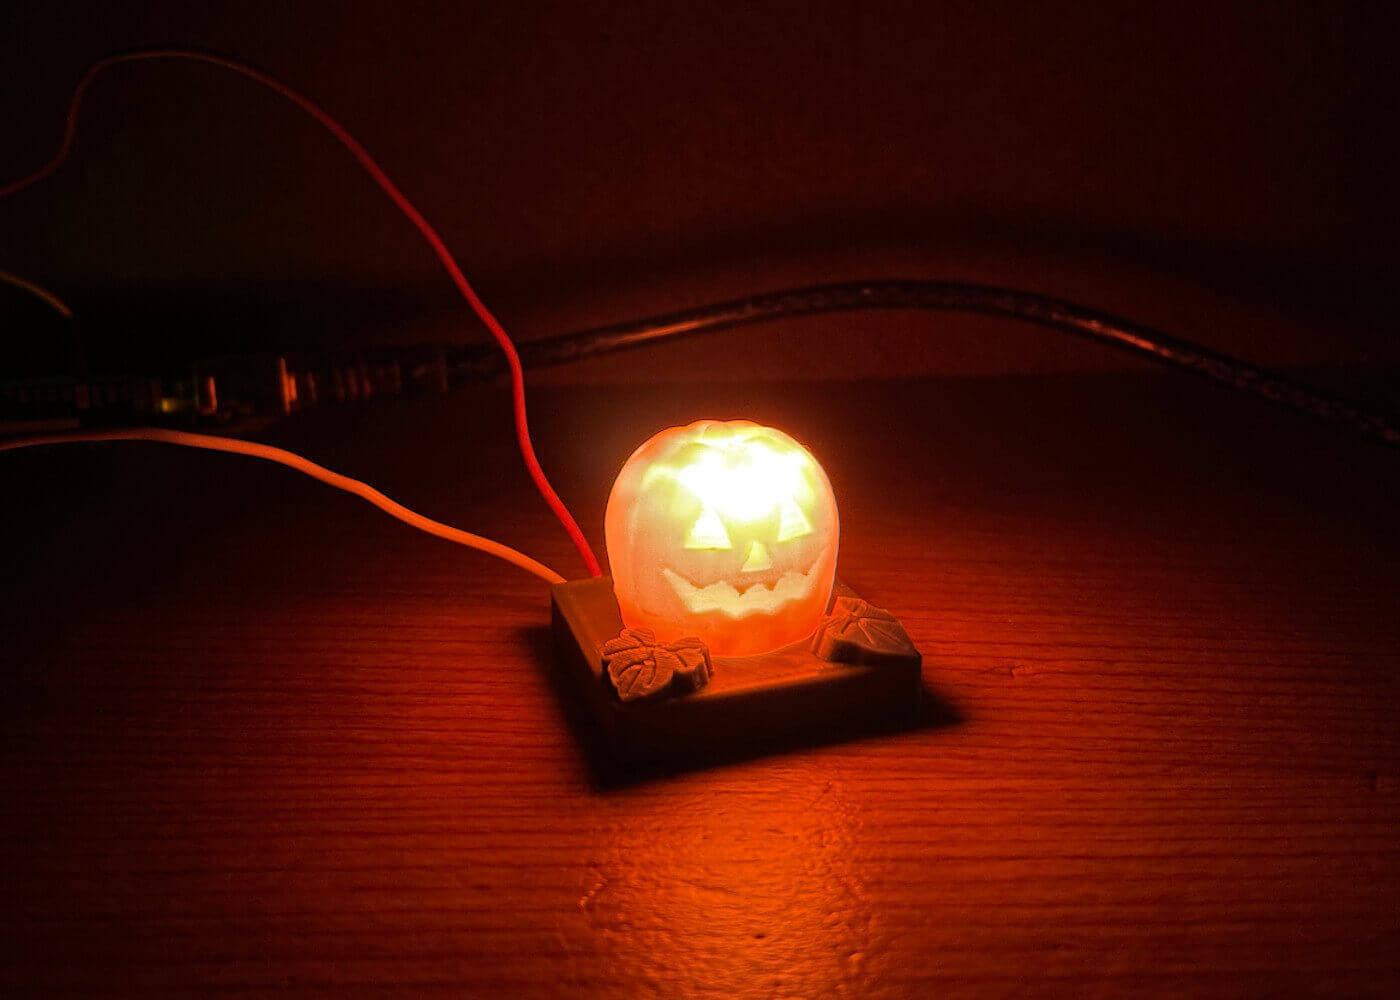
My Platform is a pedestal on which the “3Dino Puzzle” can be displayed, and LEDs can be used as spotlights to light it up.
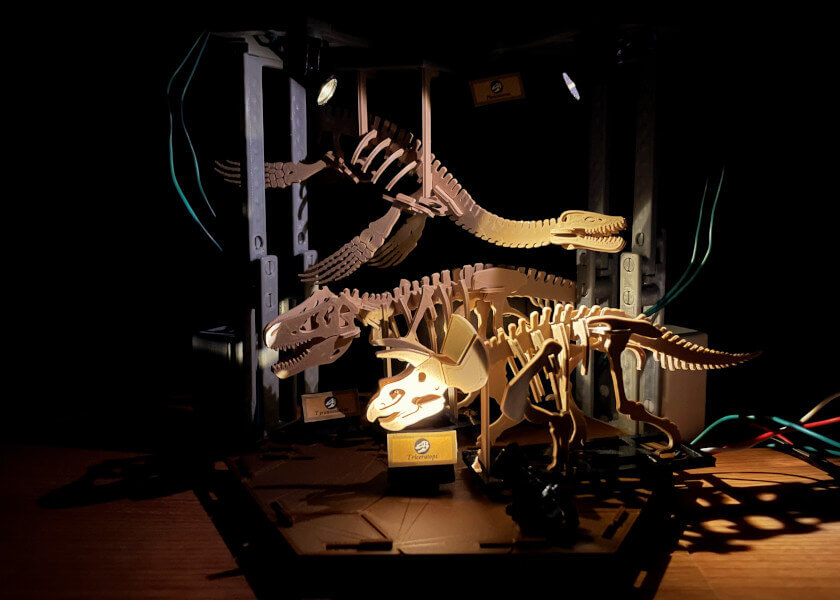
Choose your favorite 3dinos and create your own museum.