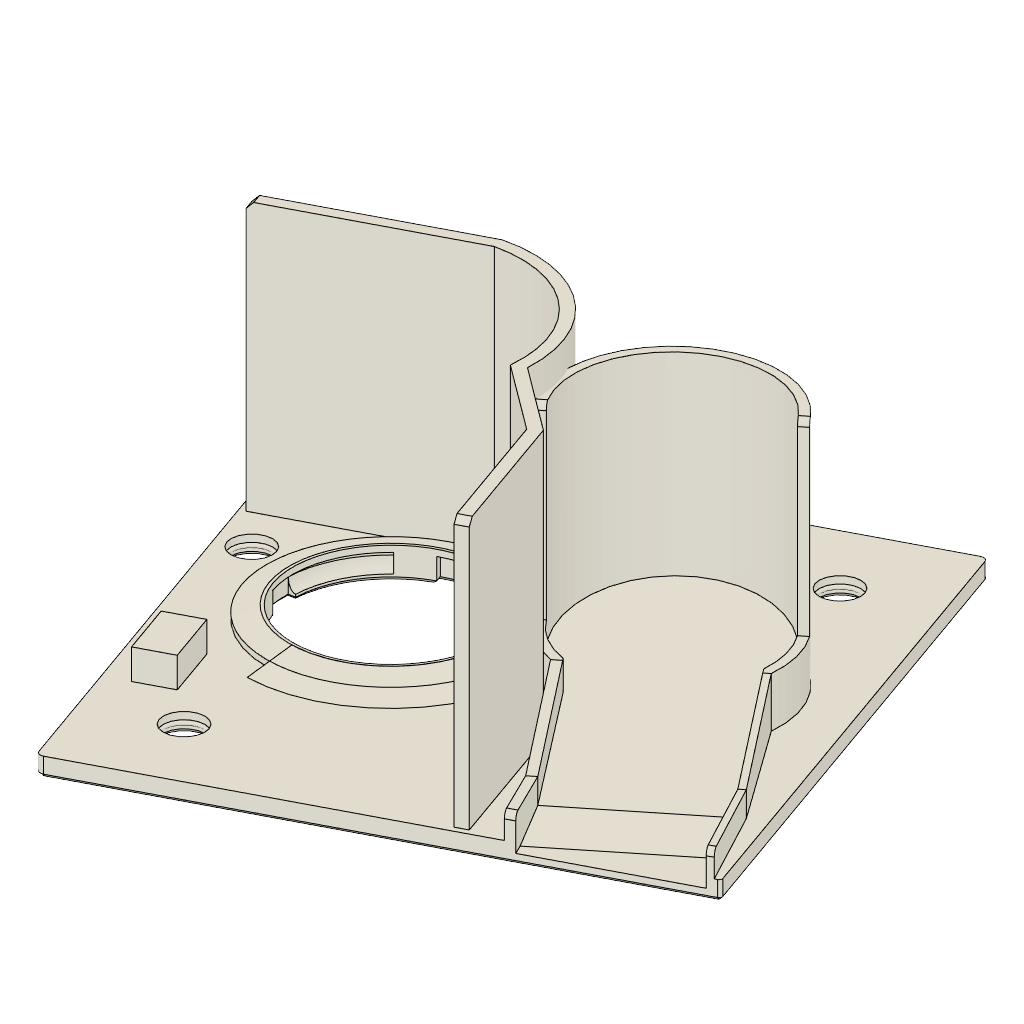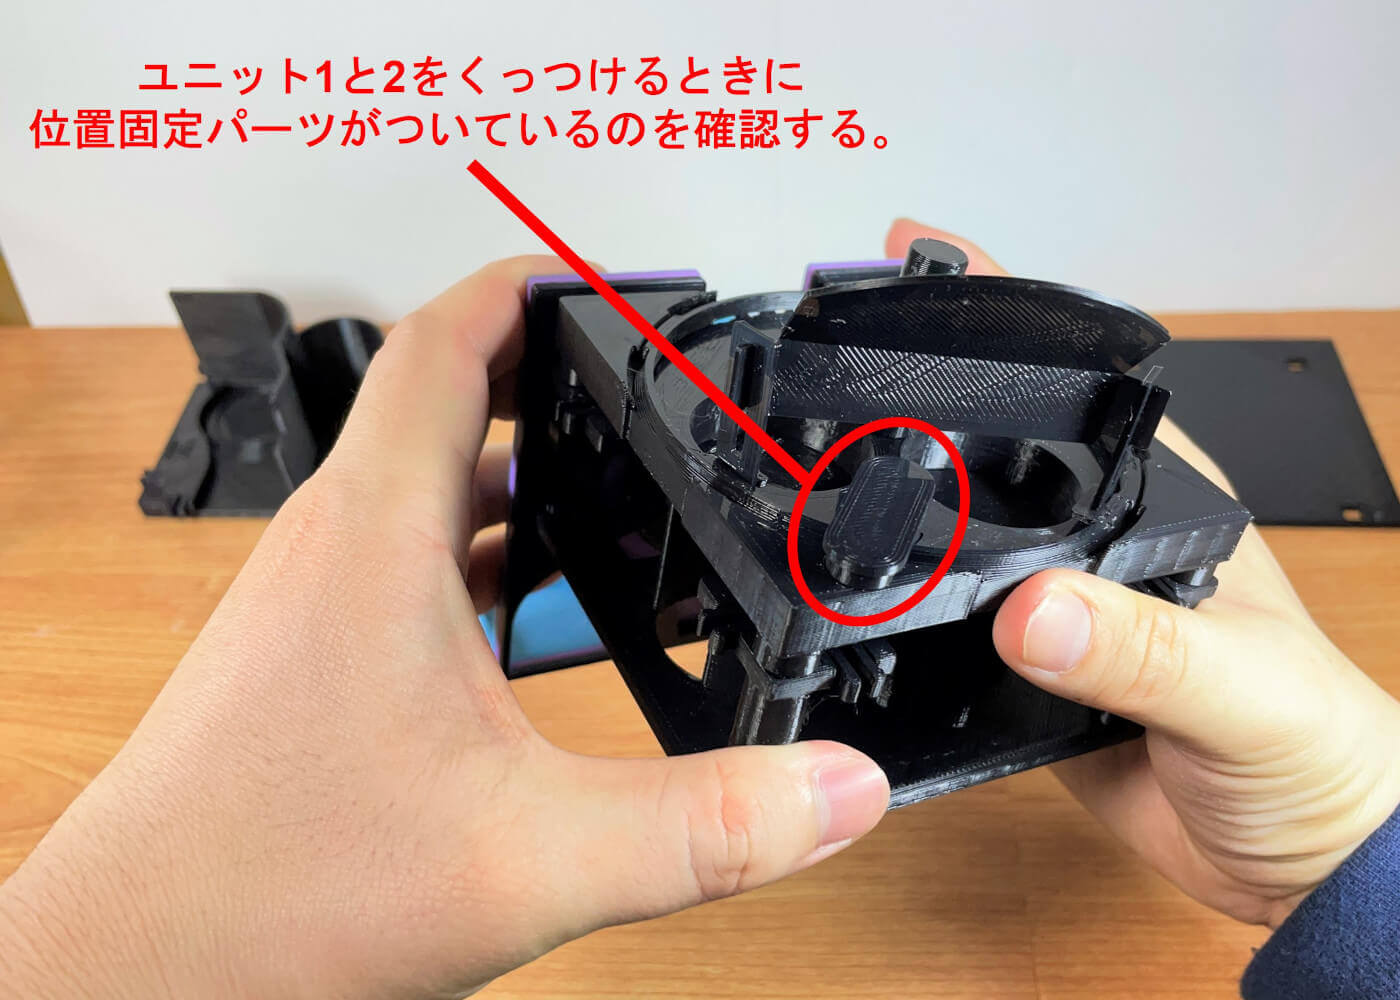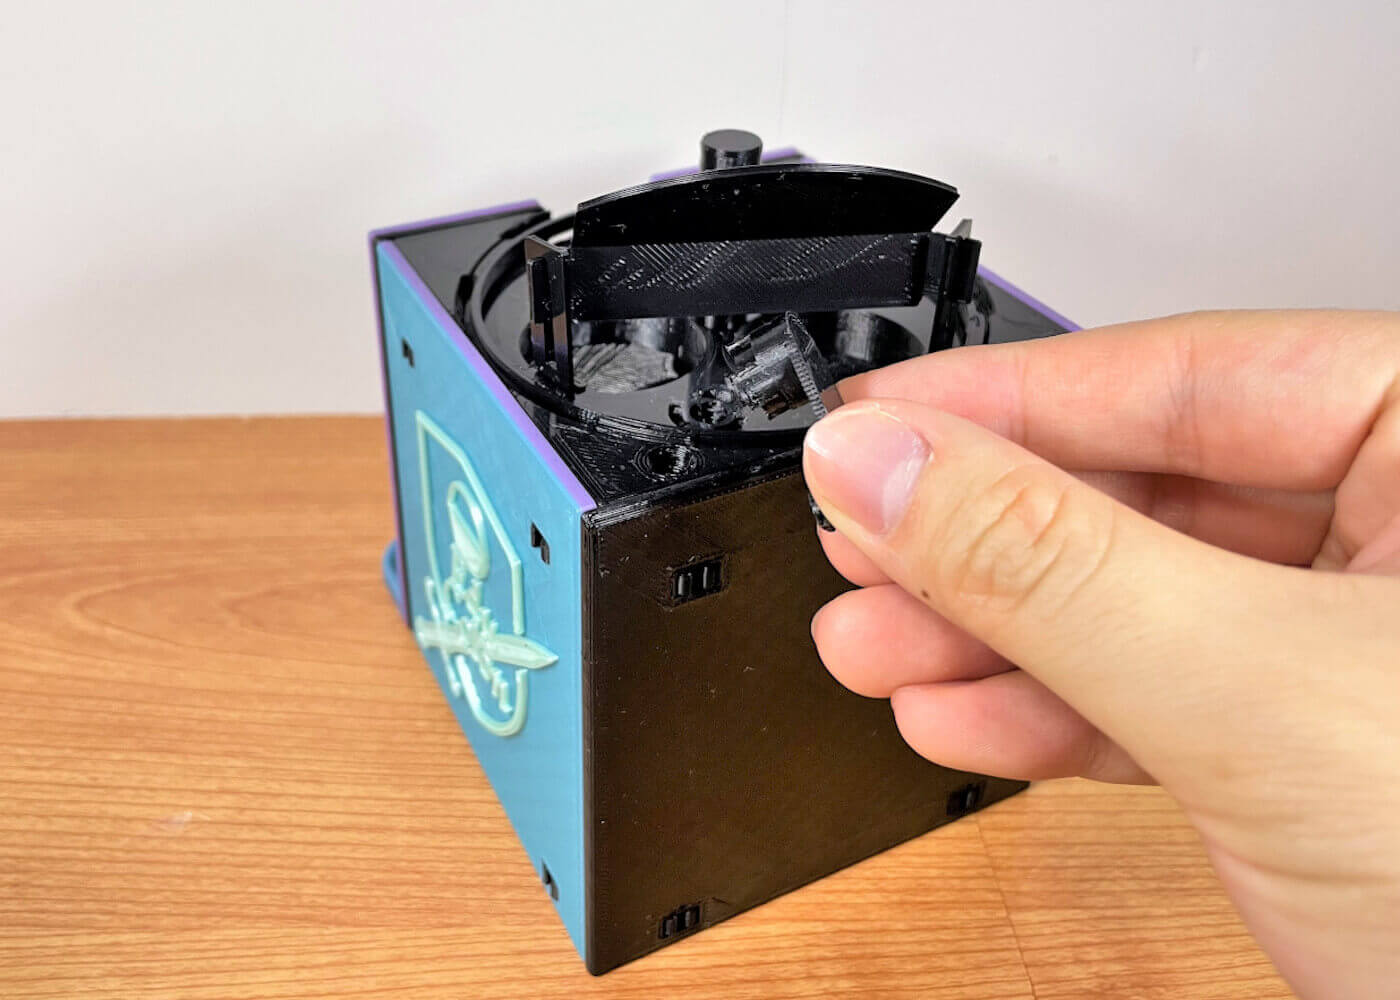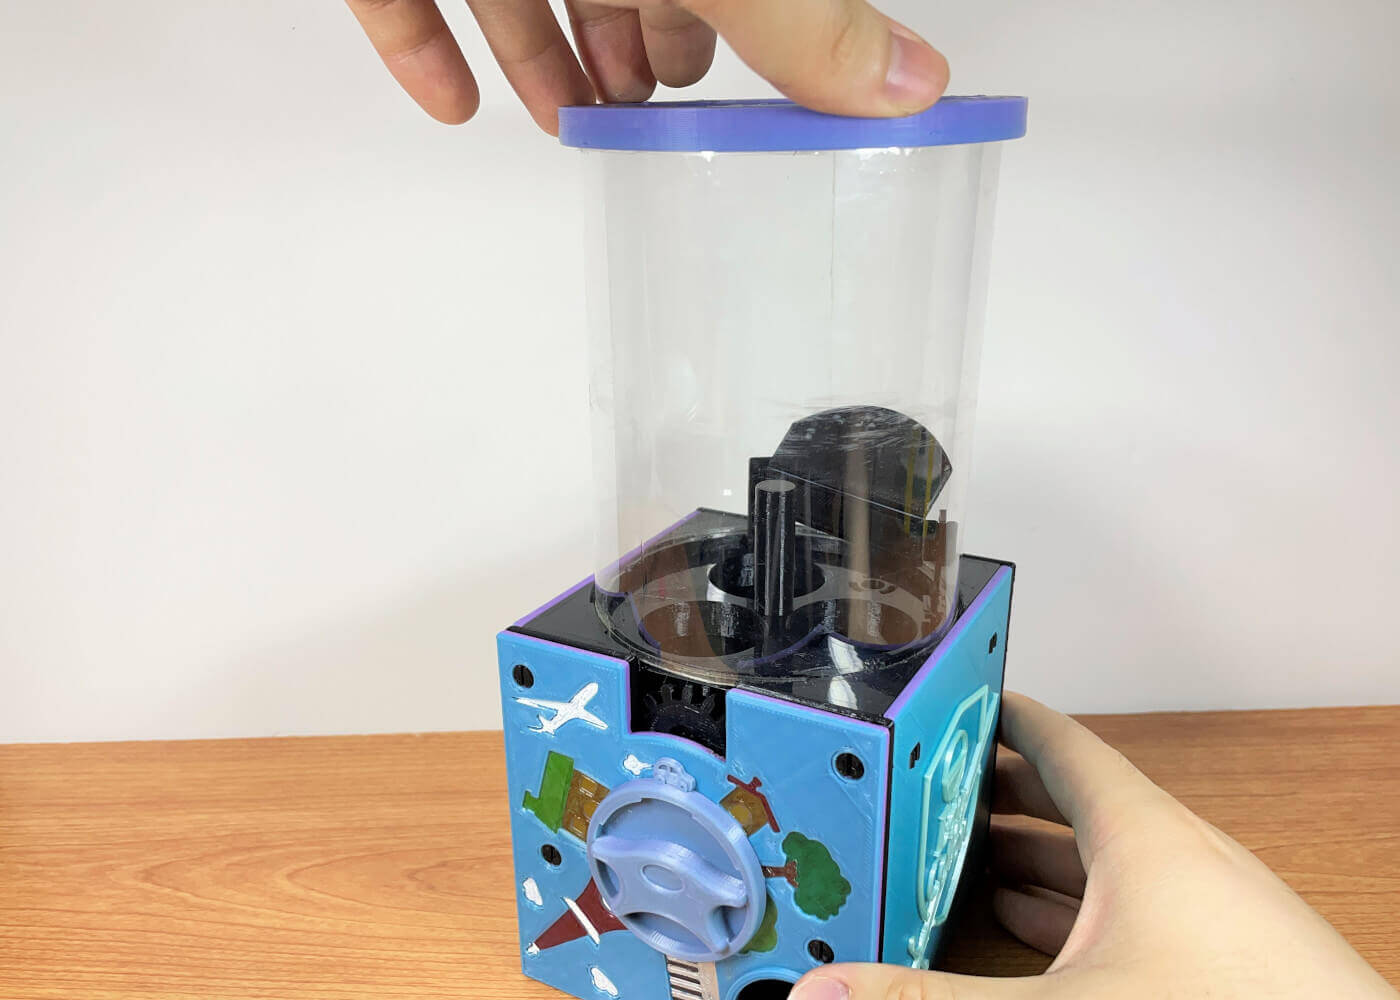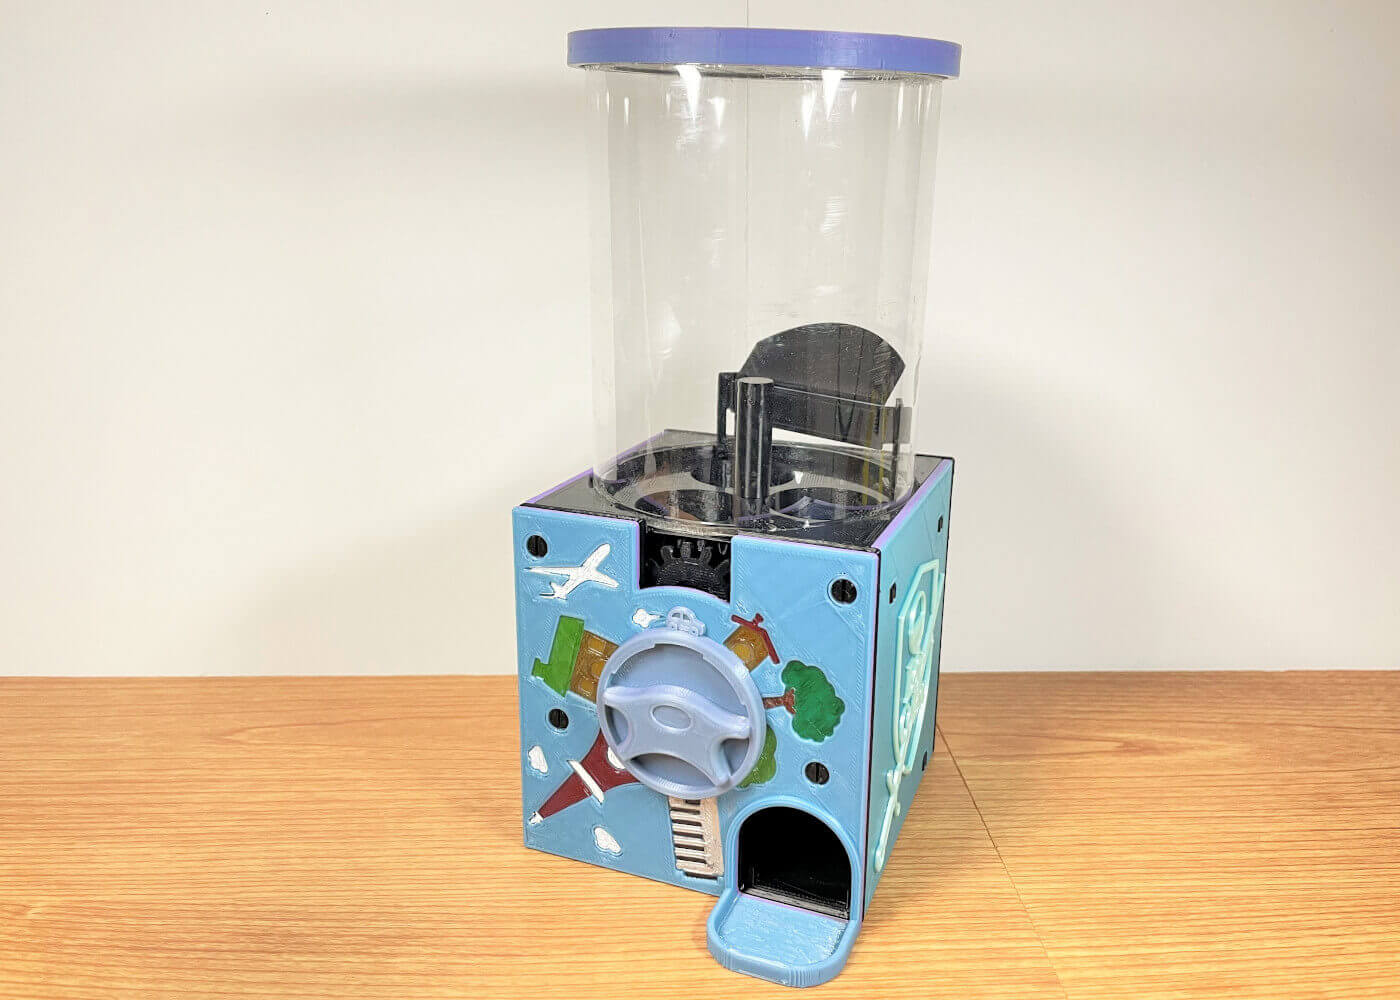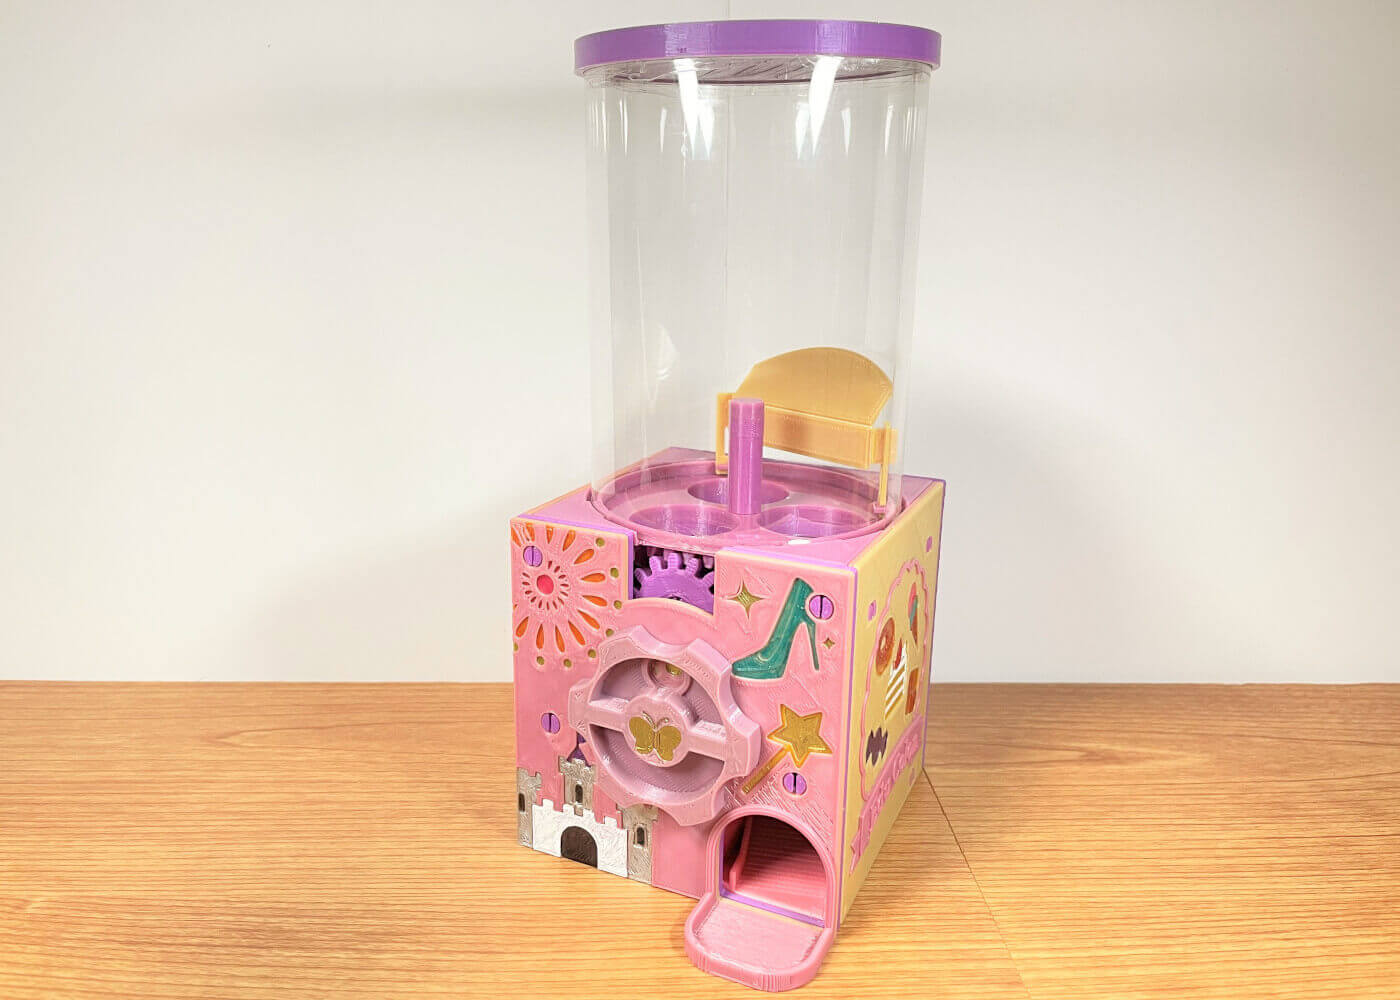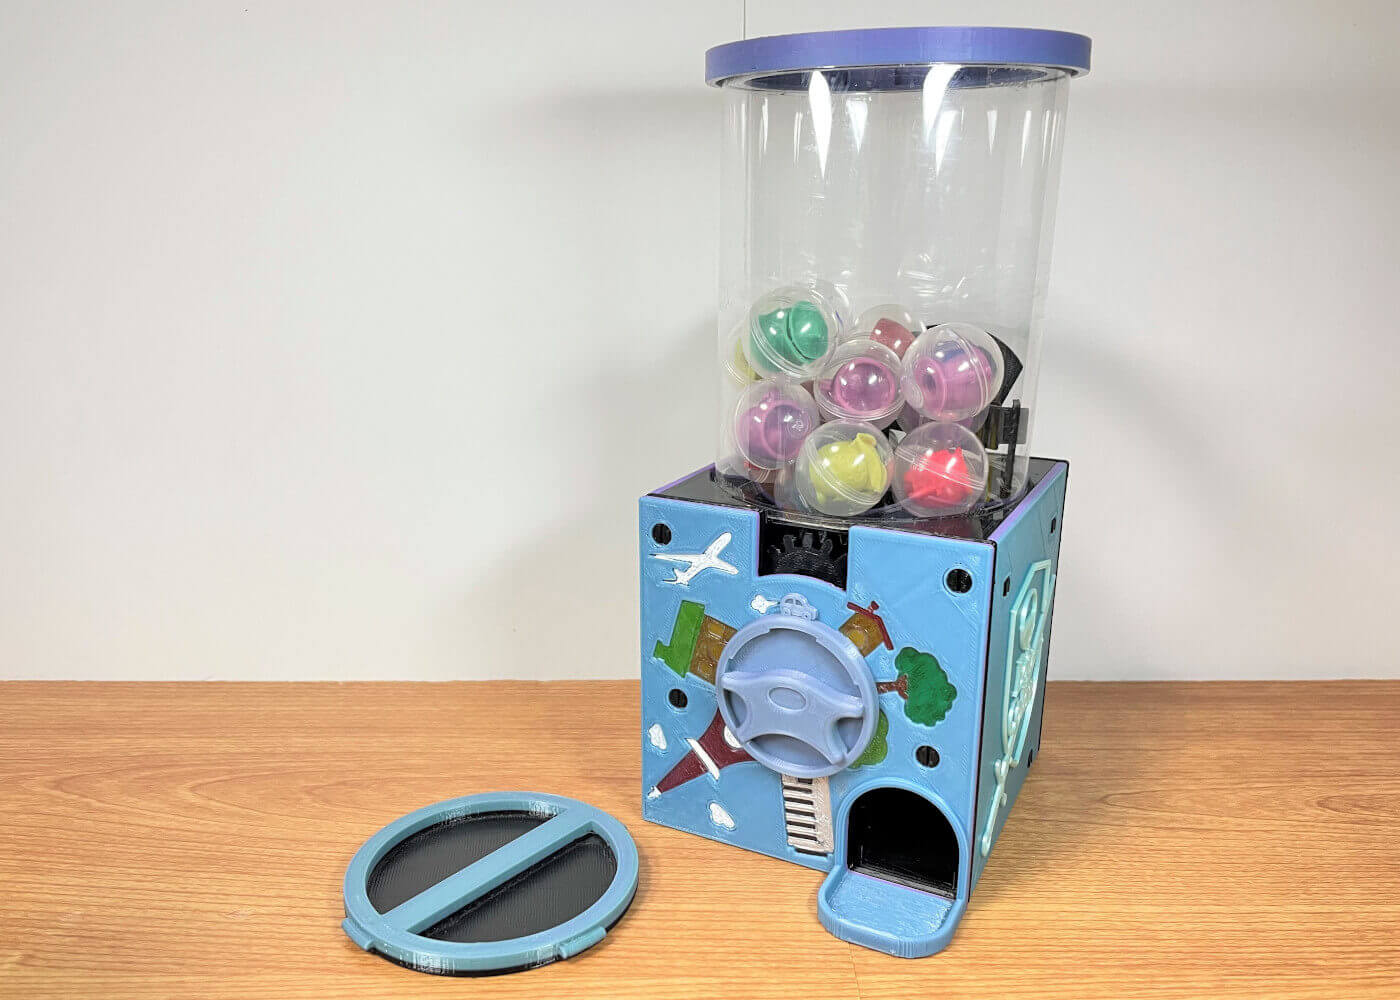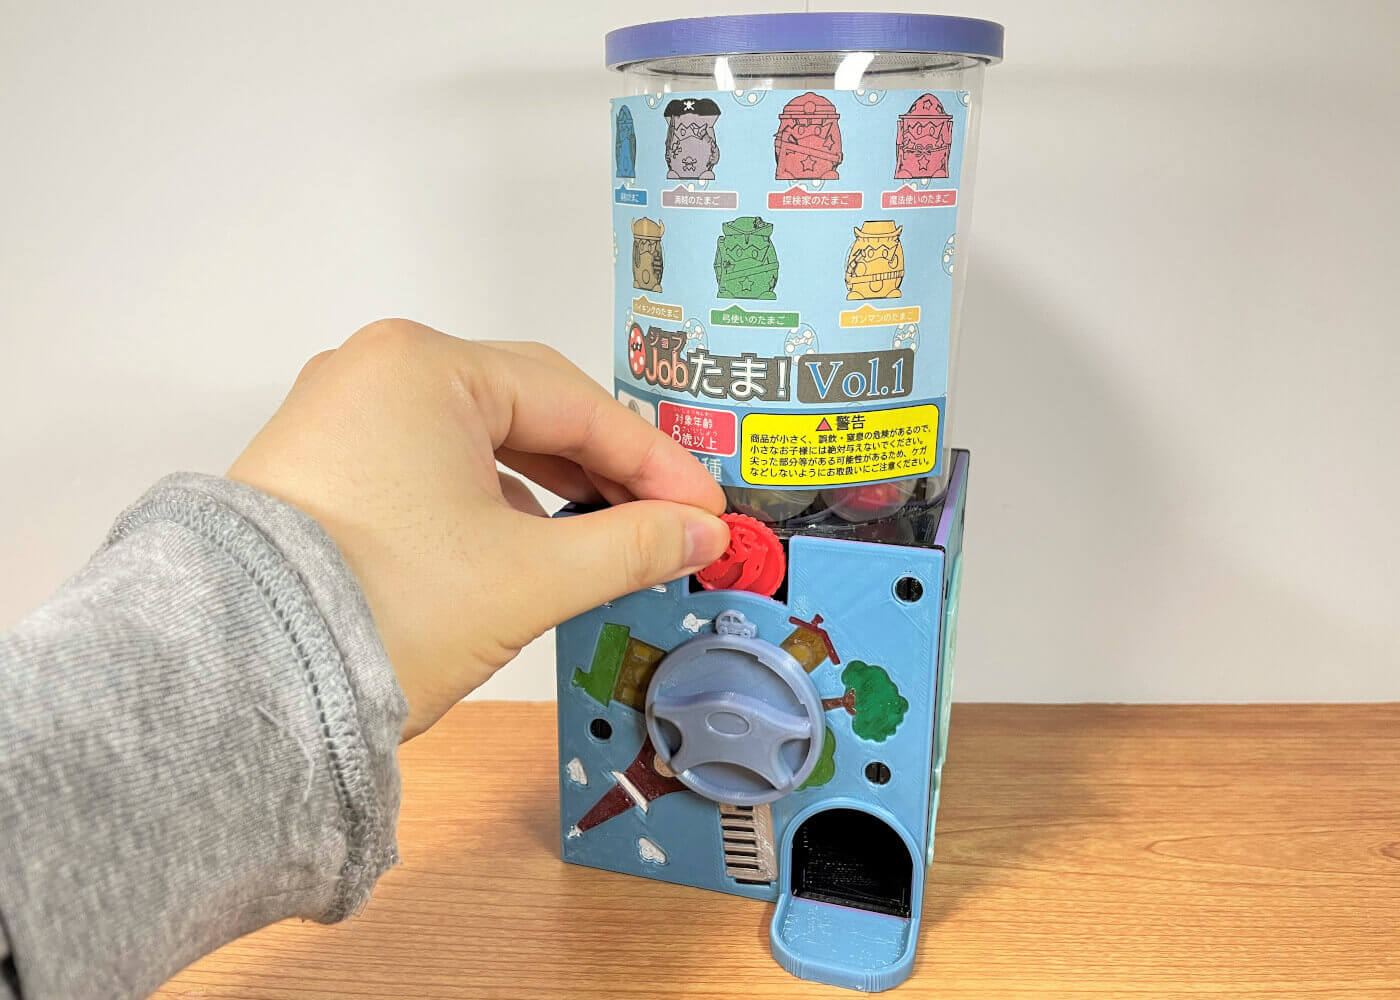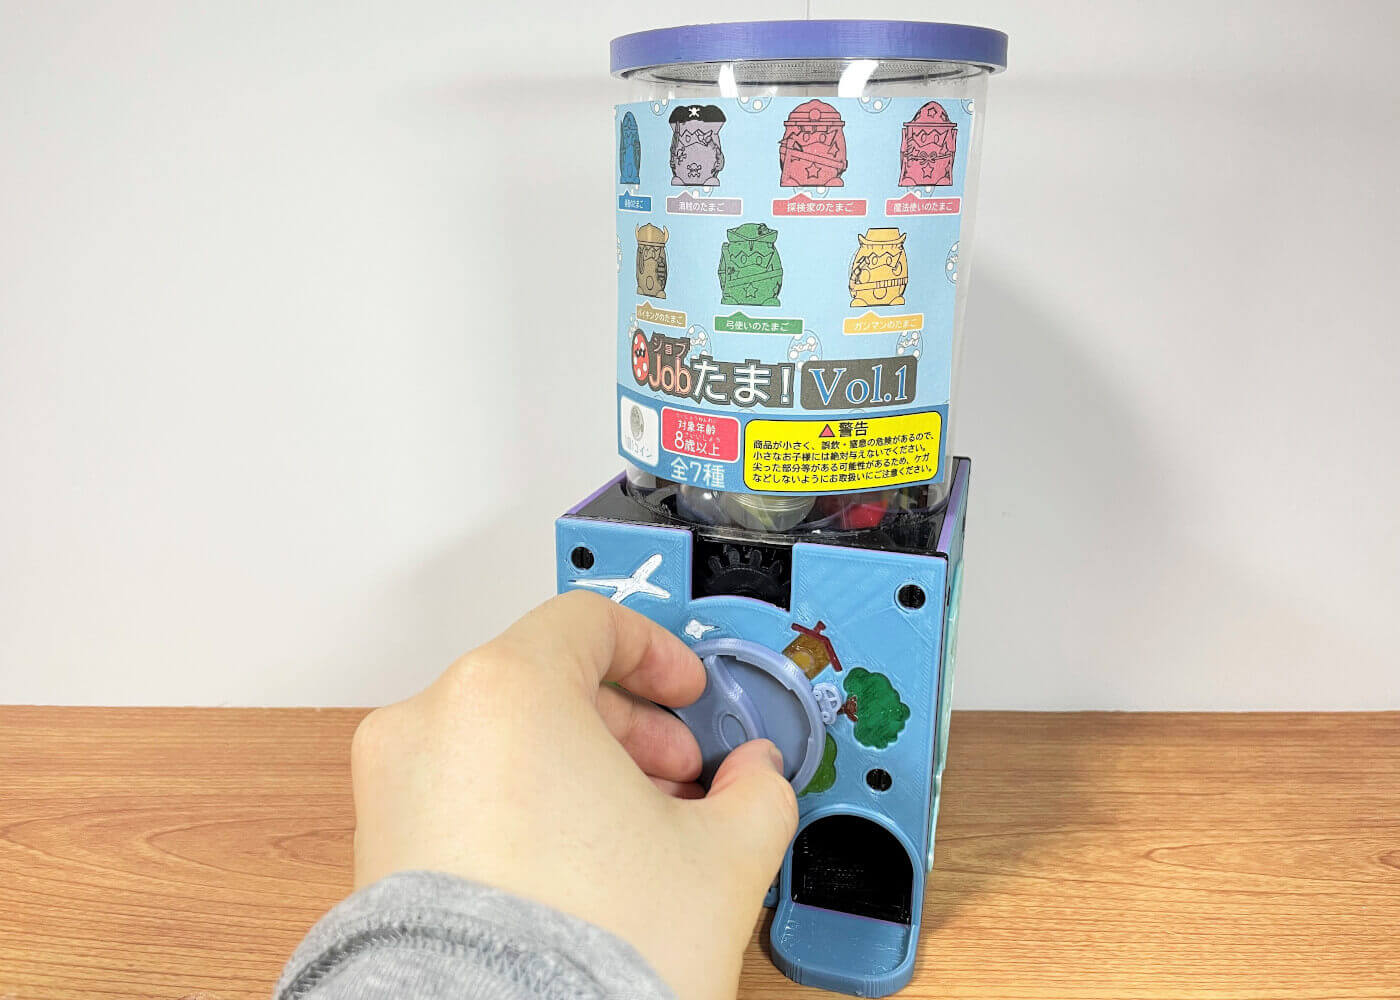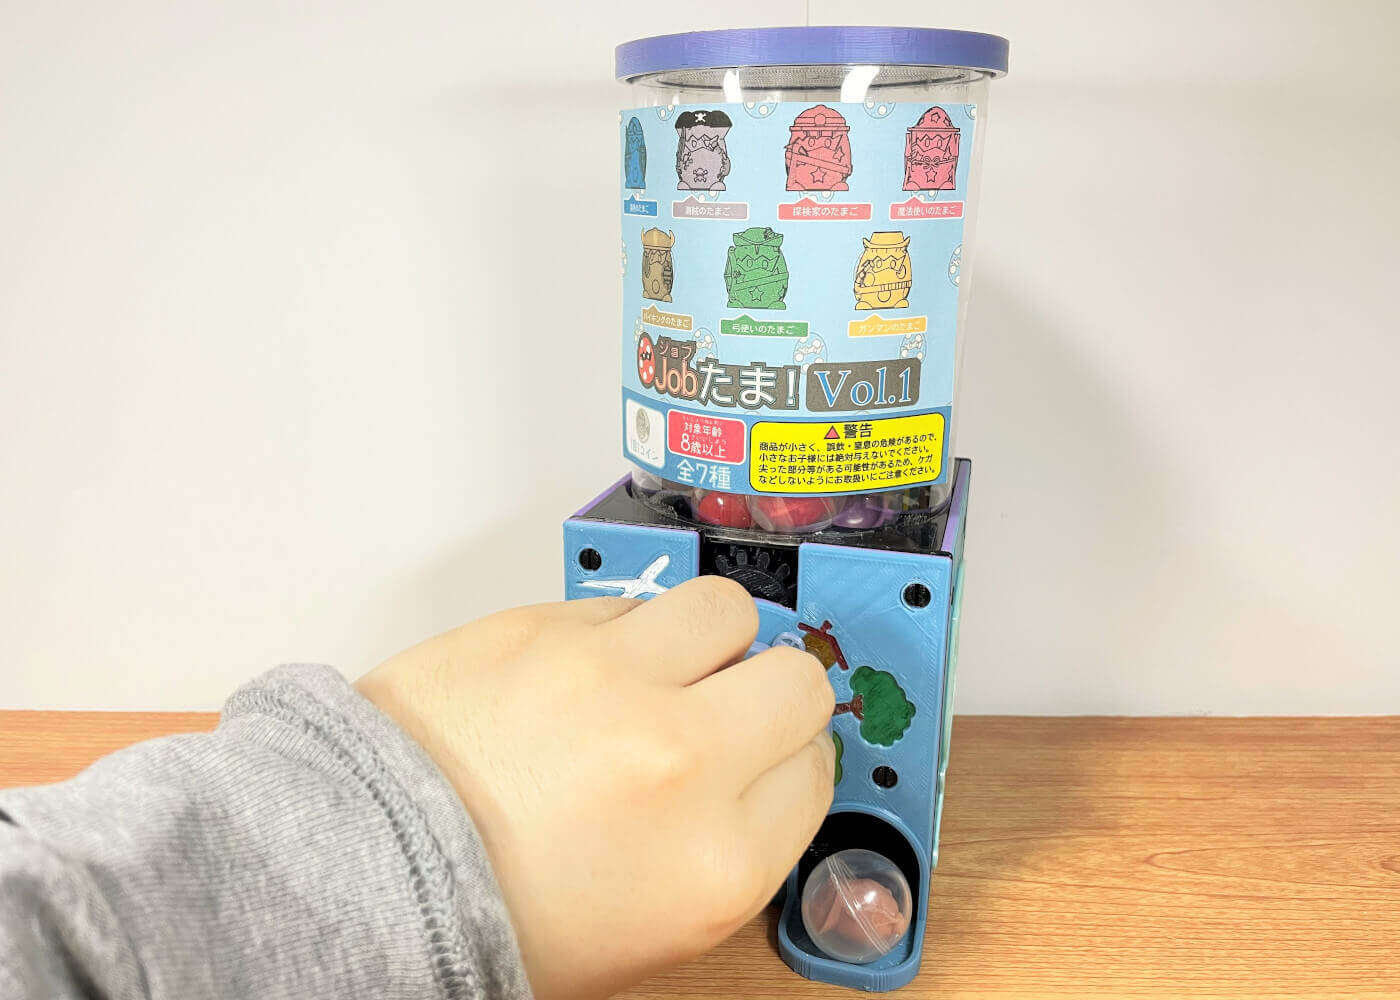
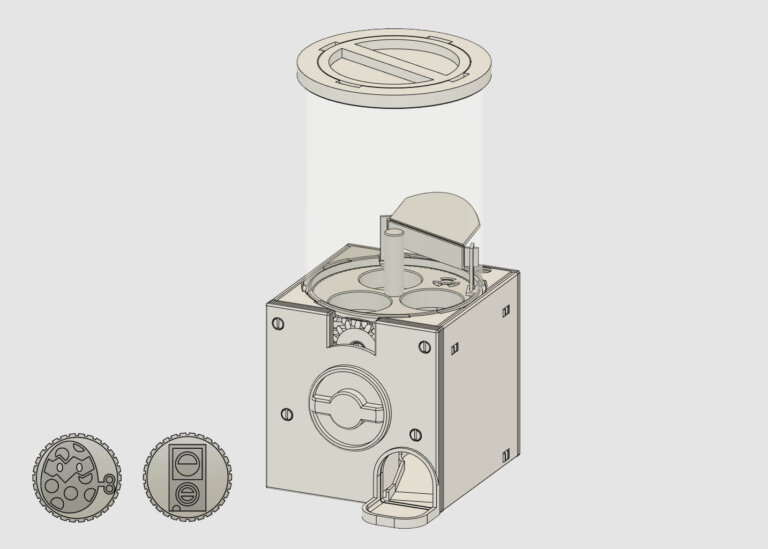
This page describes how to assemble “EduColon“, capsule machine that can make everything from the main body to the capsule toys inside.
The name “EduColon” is derived from “Edu (Education)” + “コロン (sound of capsule falling)”. I created this product in the hope that people will learn how machines work and become interested in engineering while assembling capsule machines (gacha-gacha or gashapon), which are a part of Japanese pop culture. I would be happy if you think it is even a little bit fun.
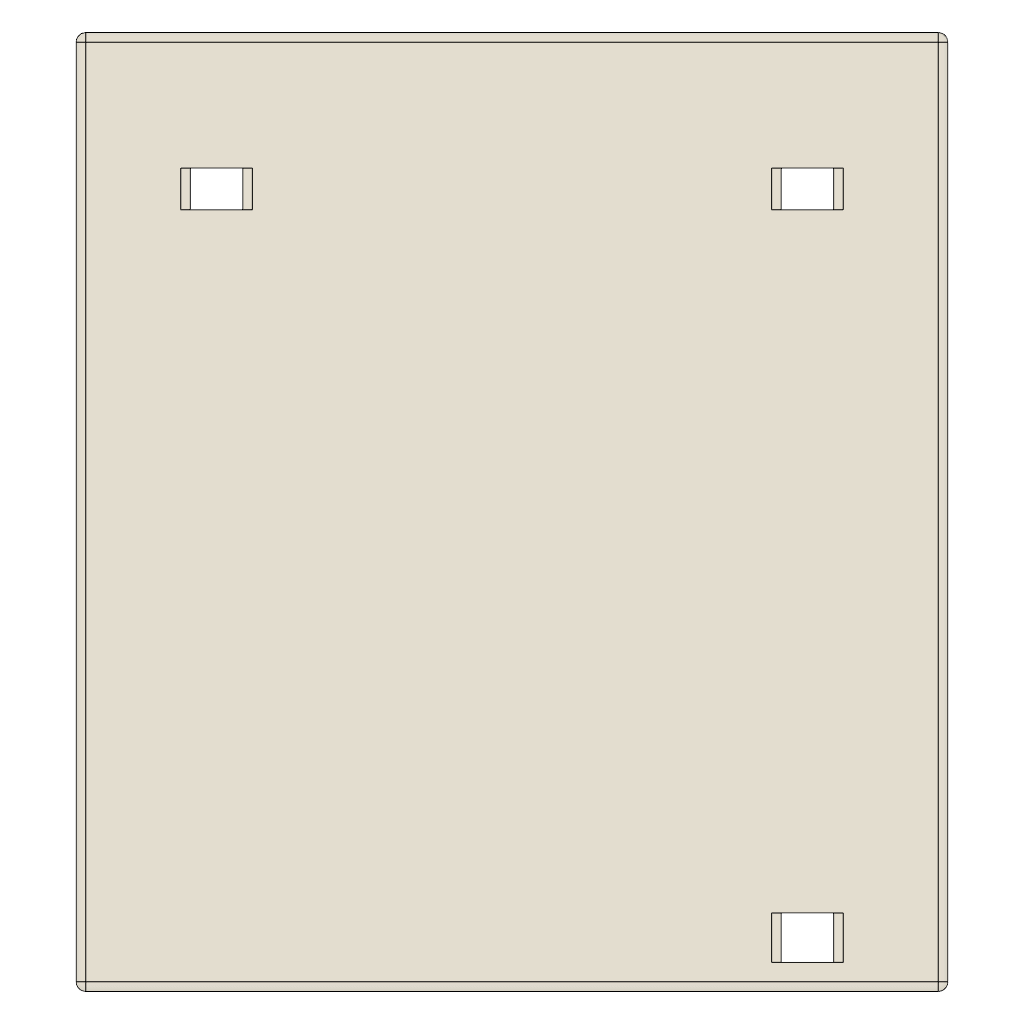
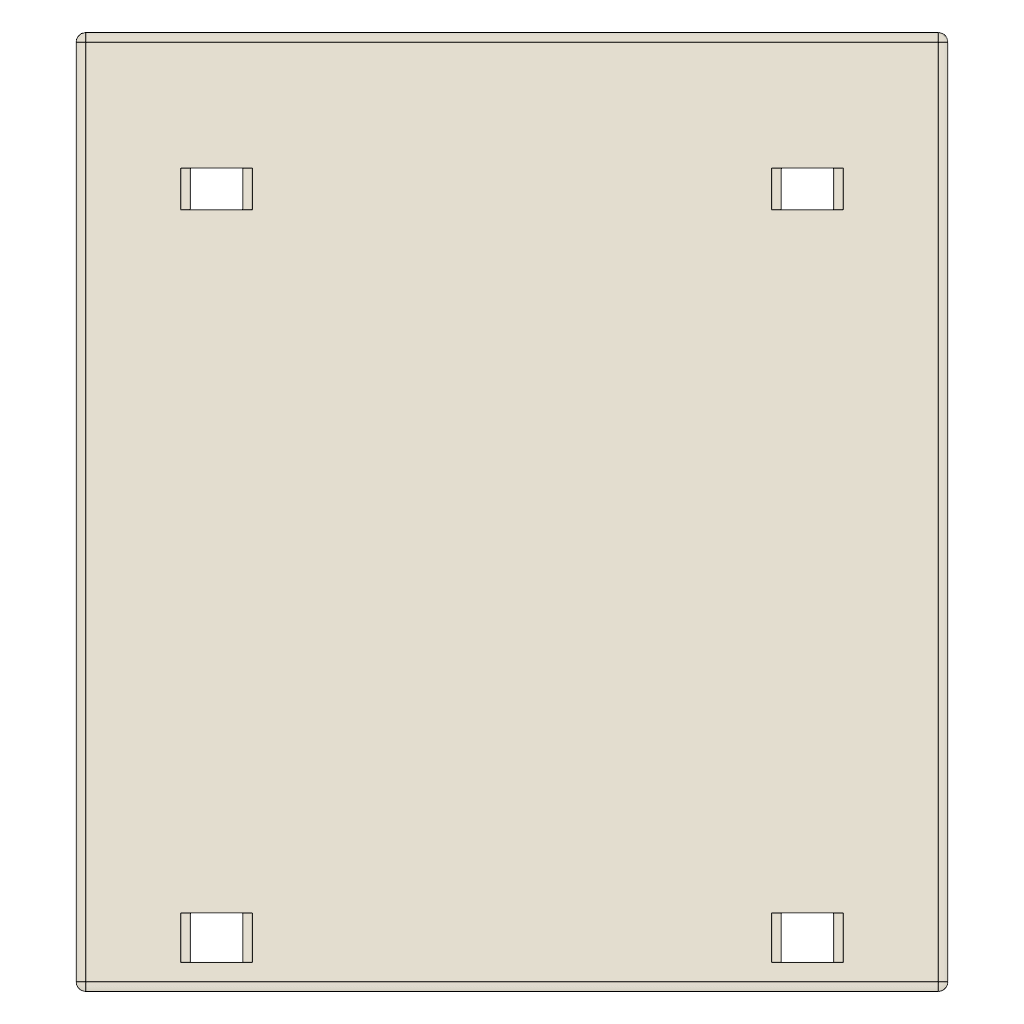
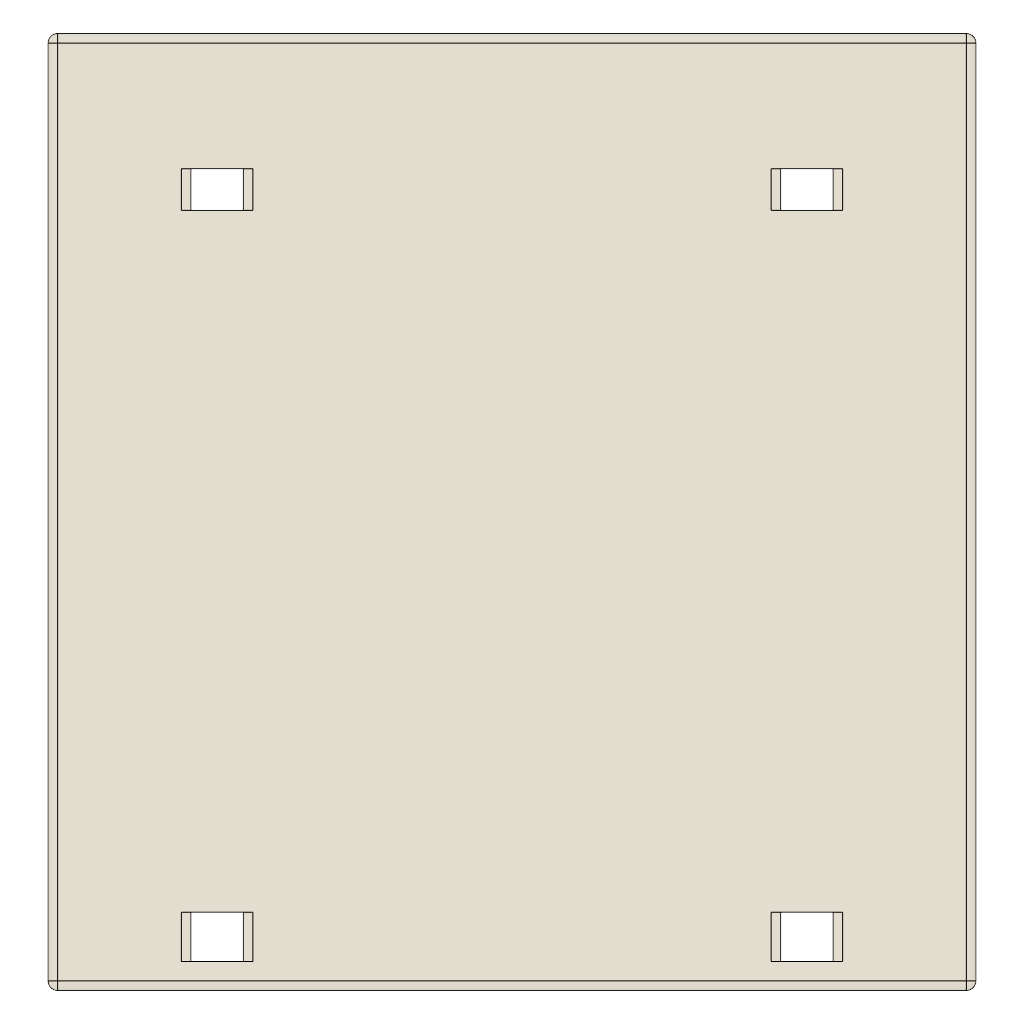
Table
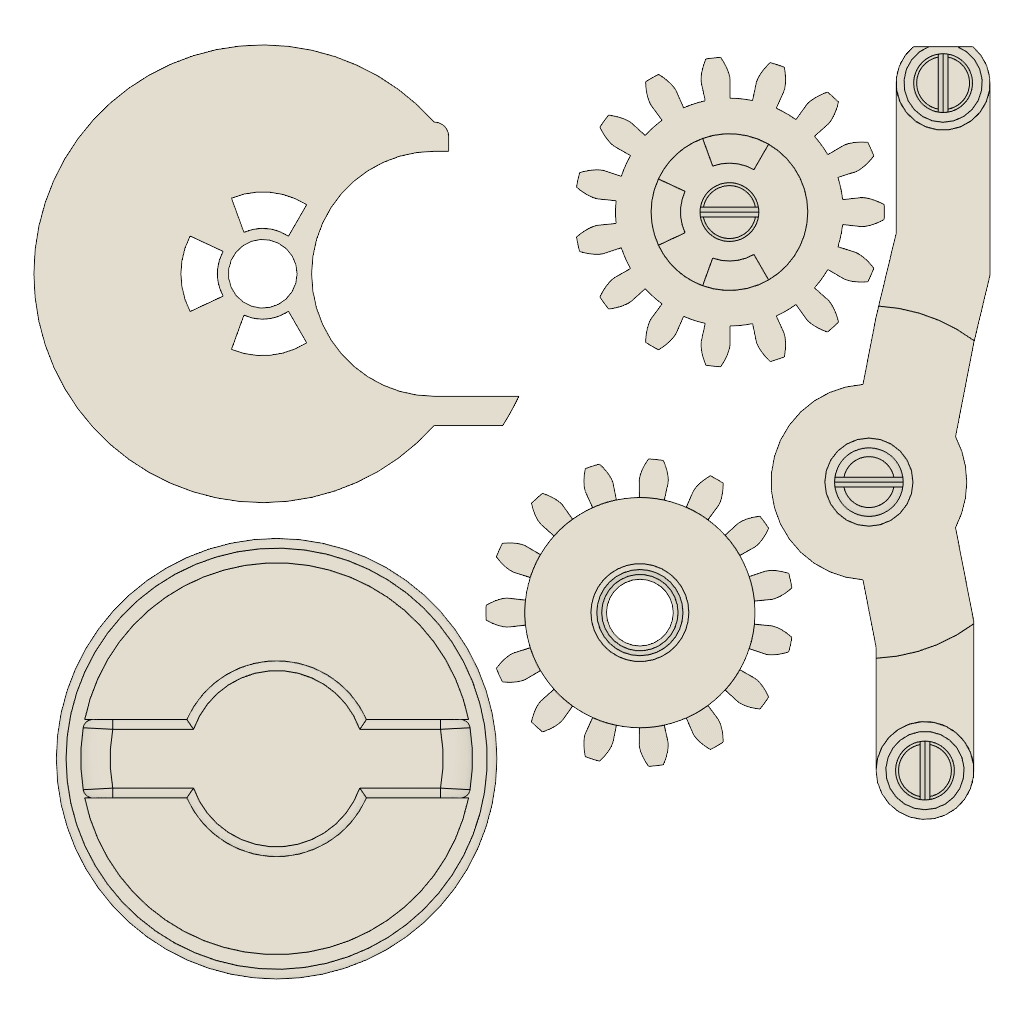
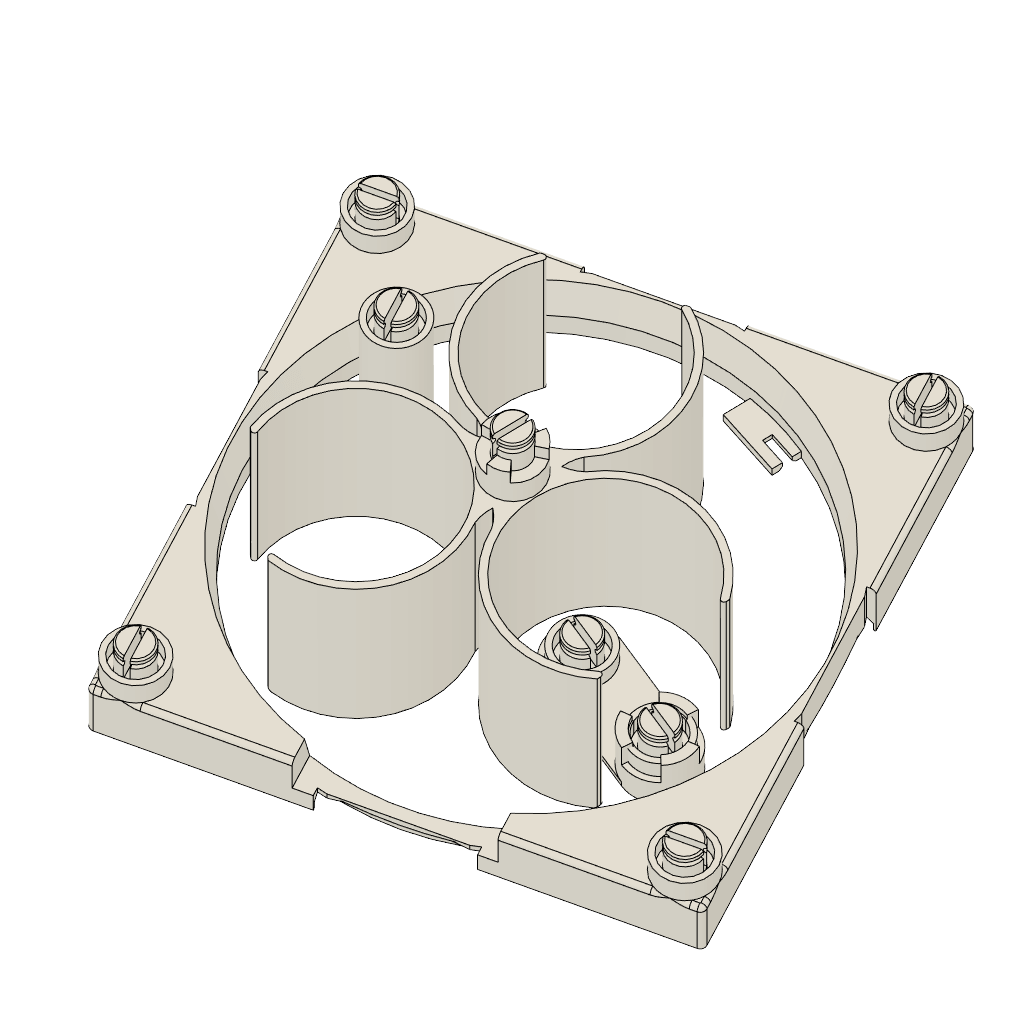
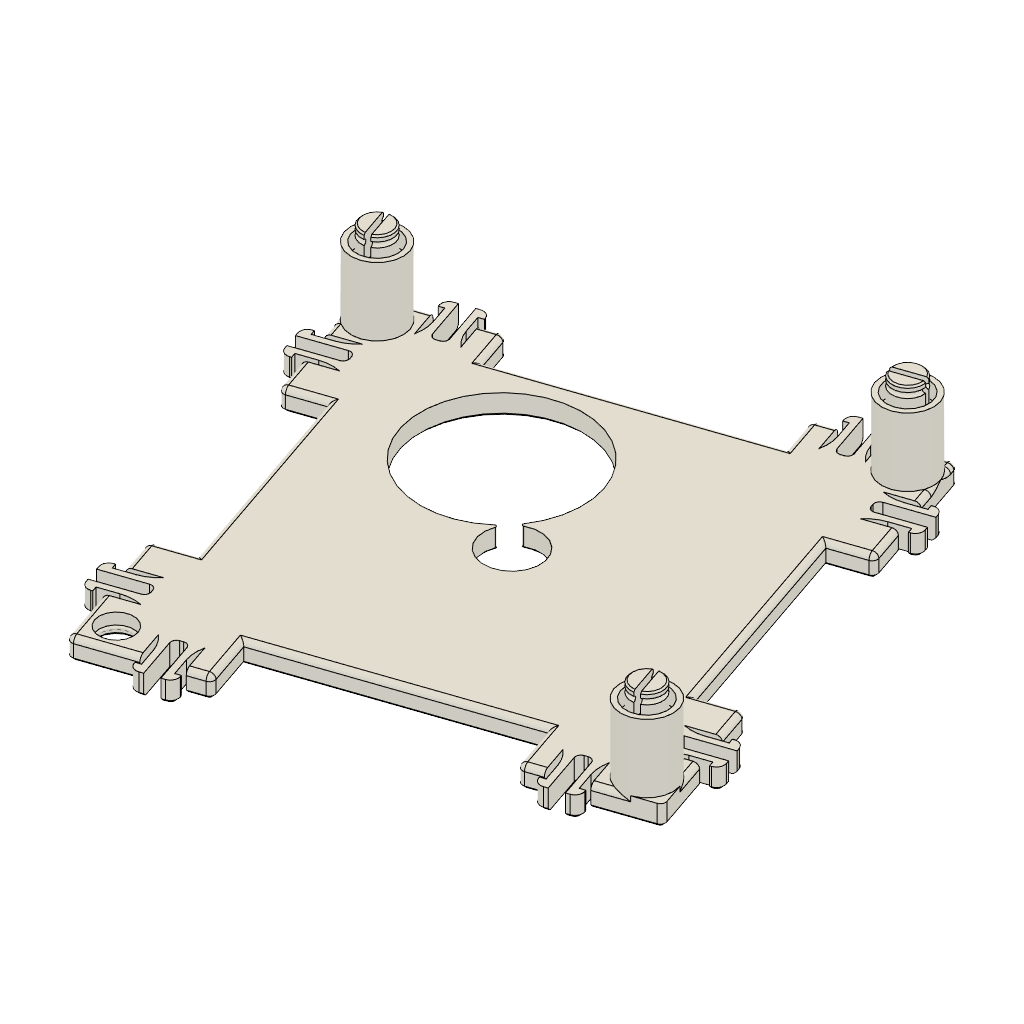
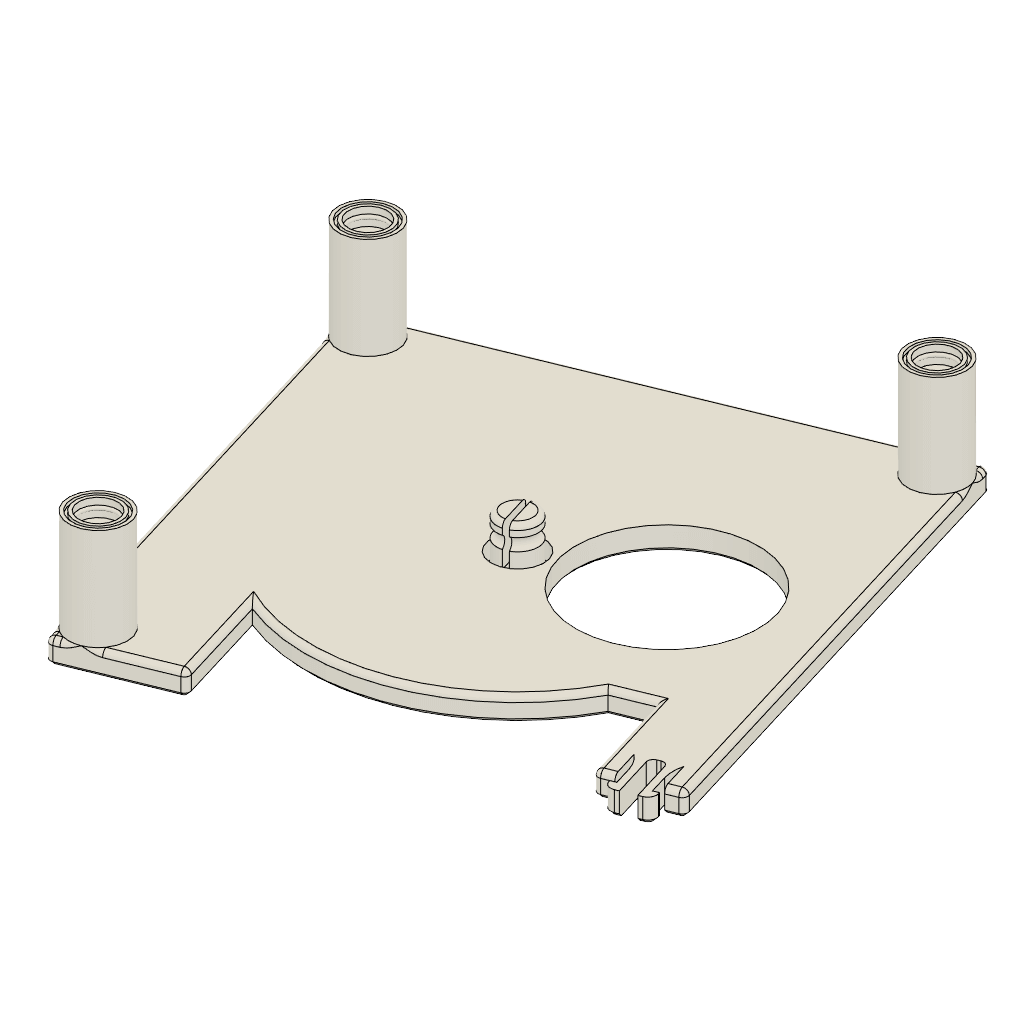
1.Necessities
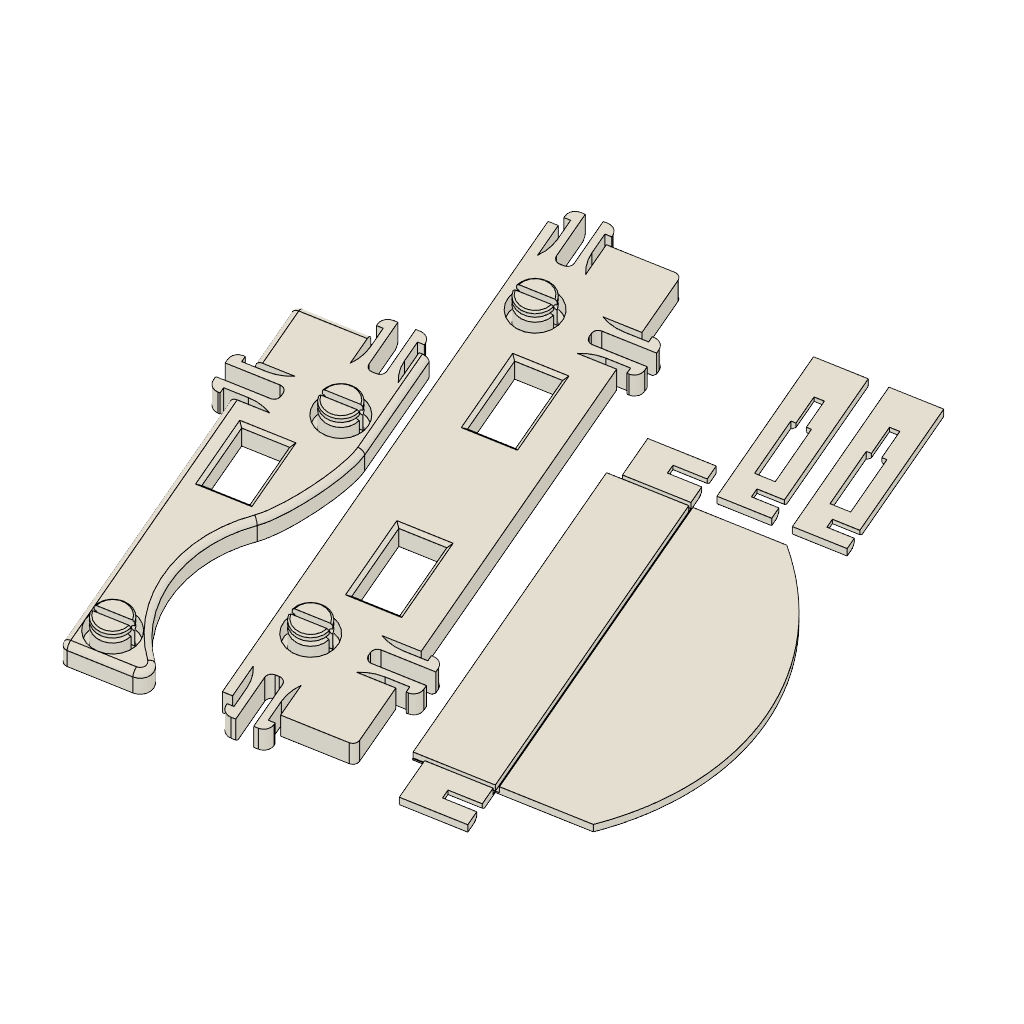
In addition to downloading the model of the main unit, you will also need to prepare the 3D printer-made parts, which are listed below.
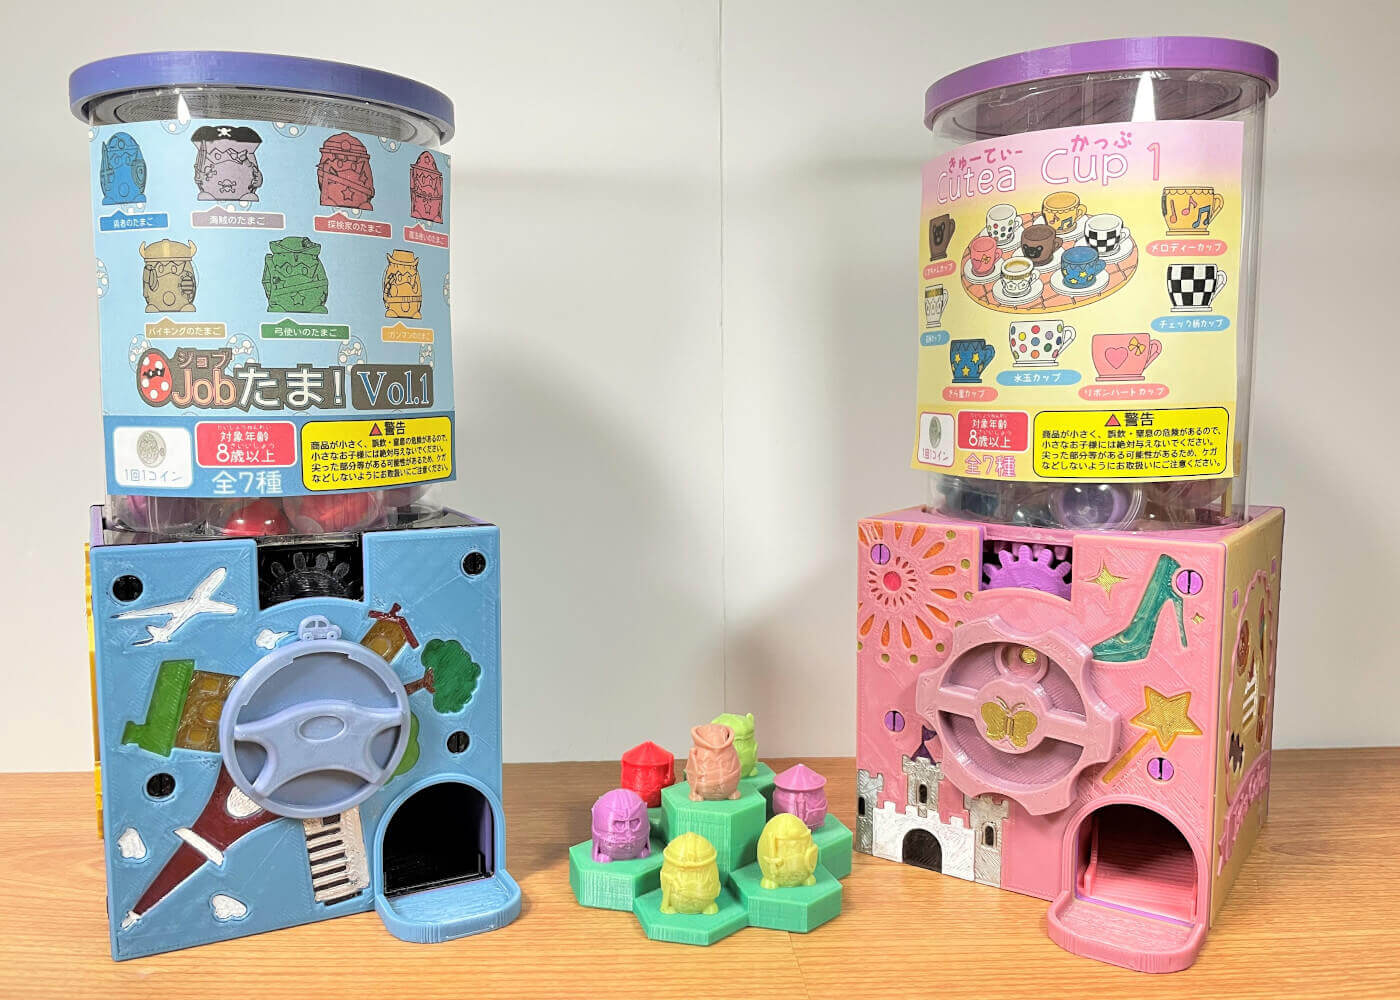
1-1.EduColon Model
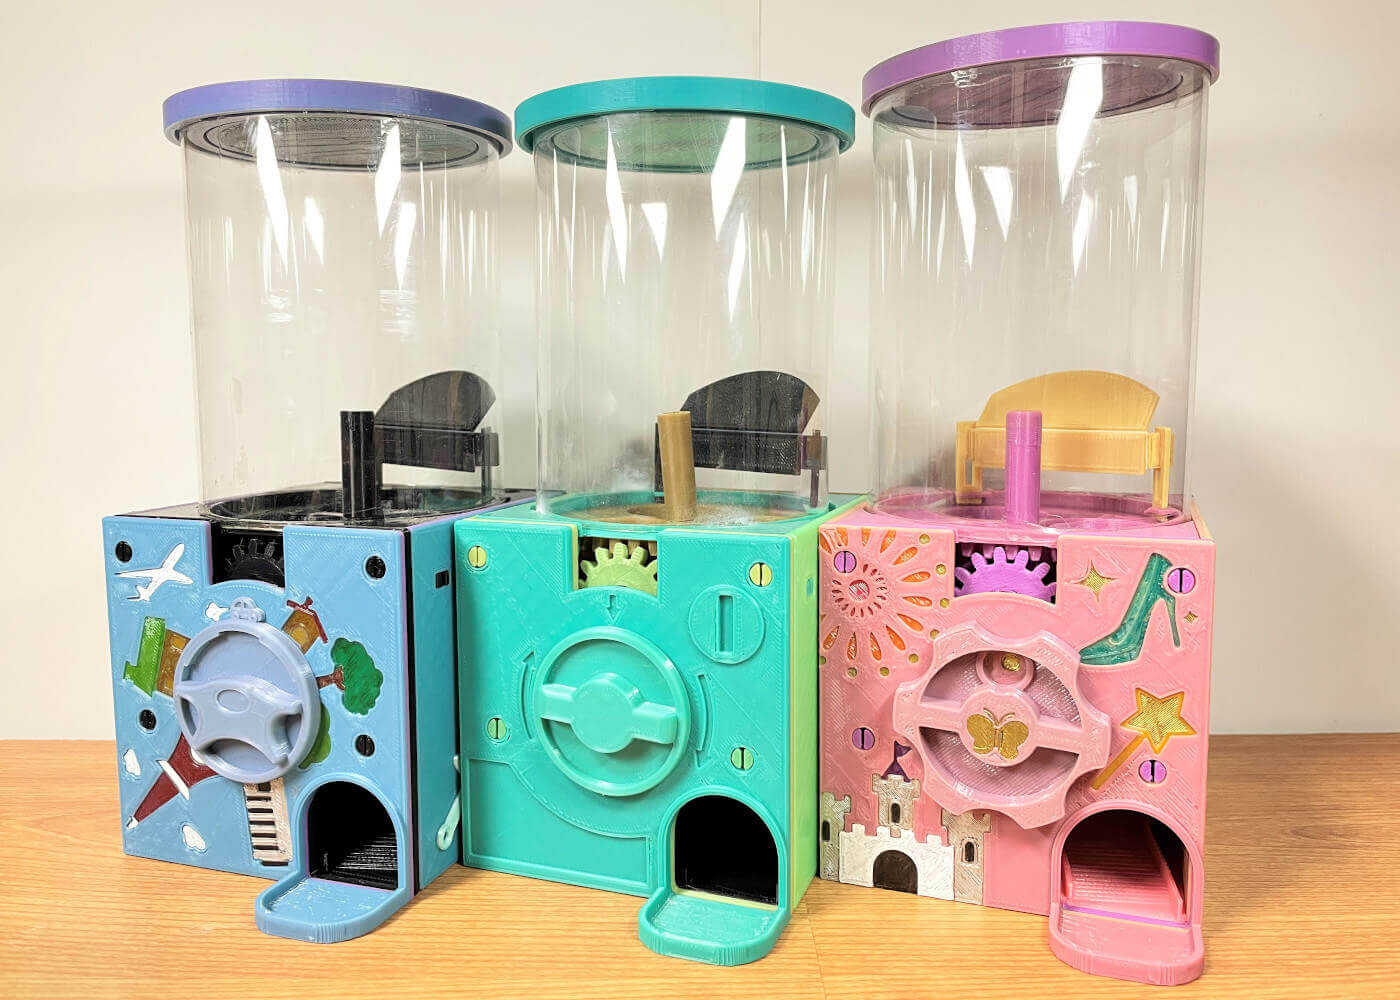
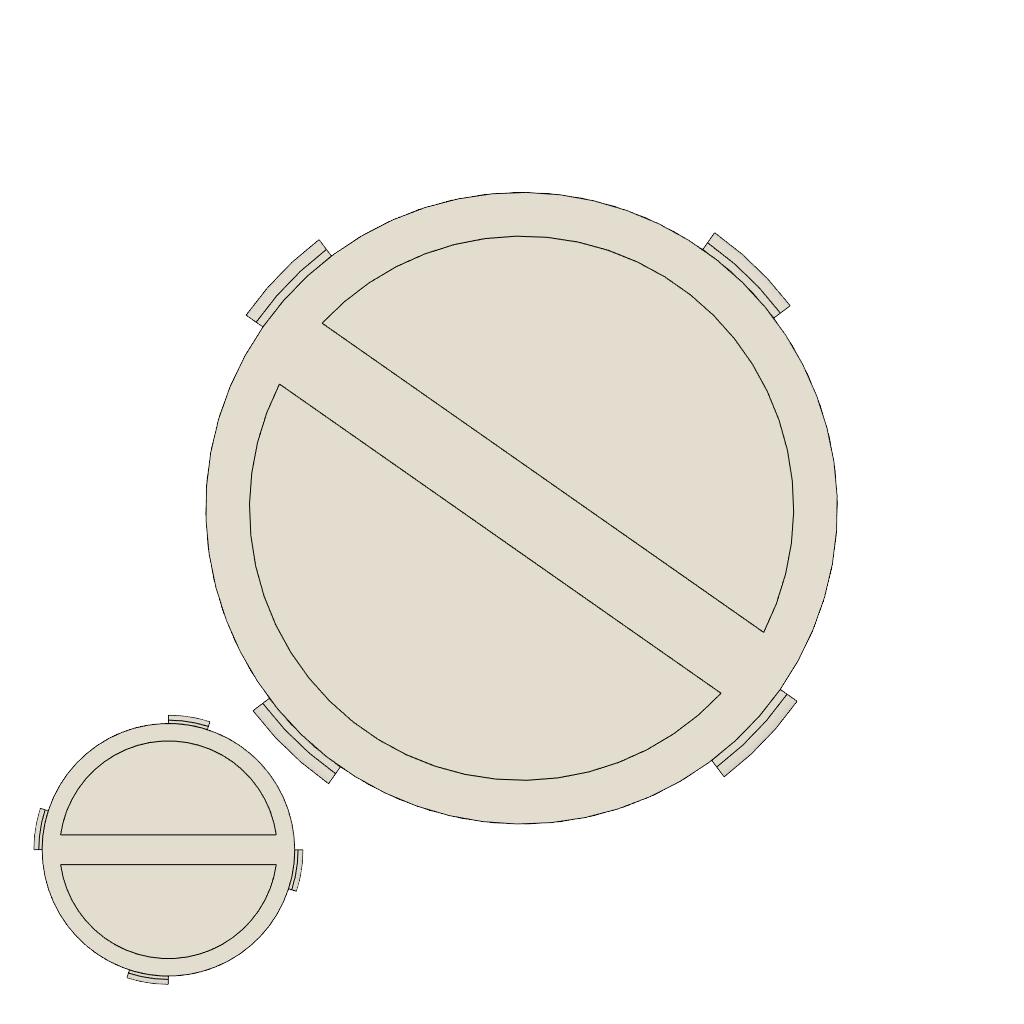
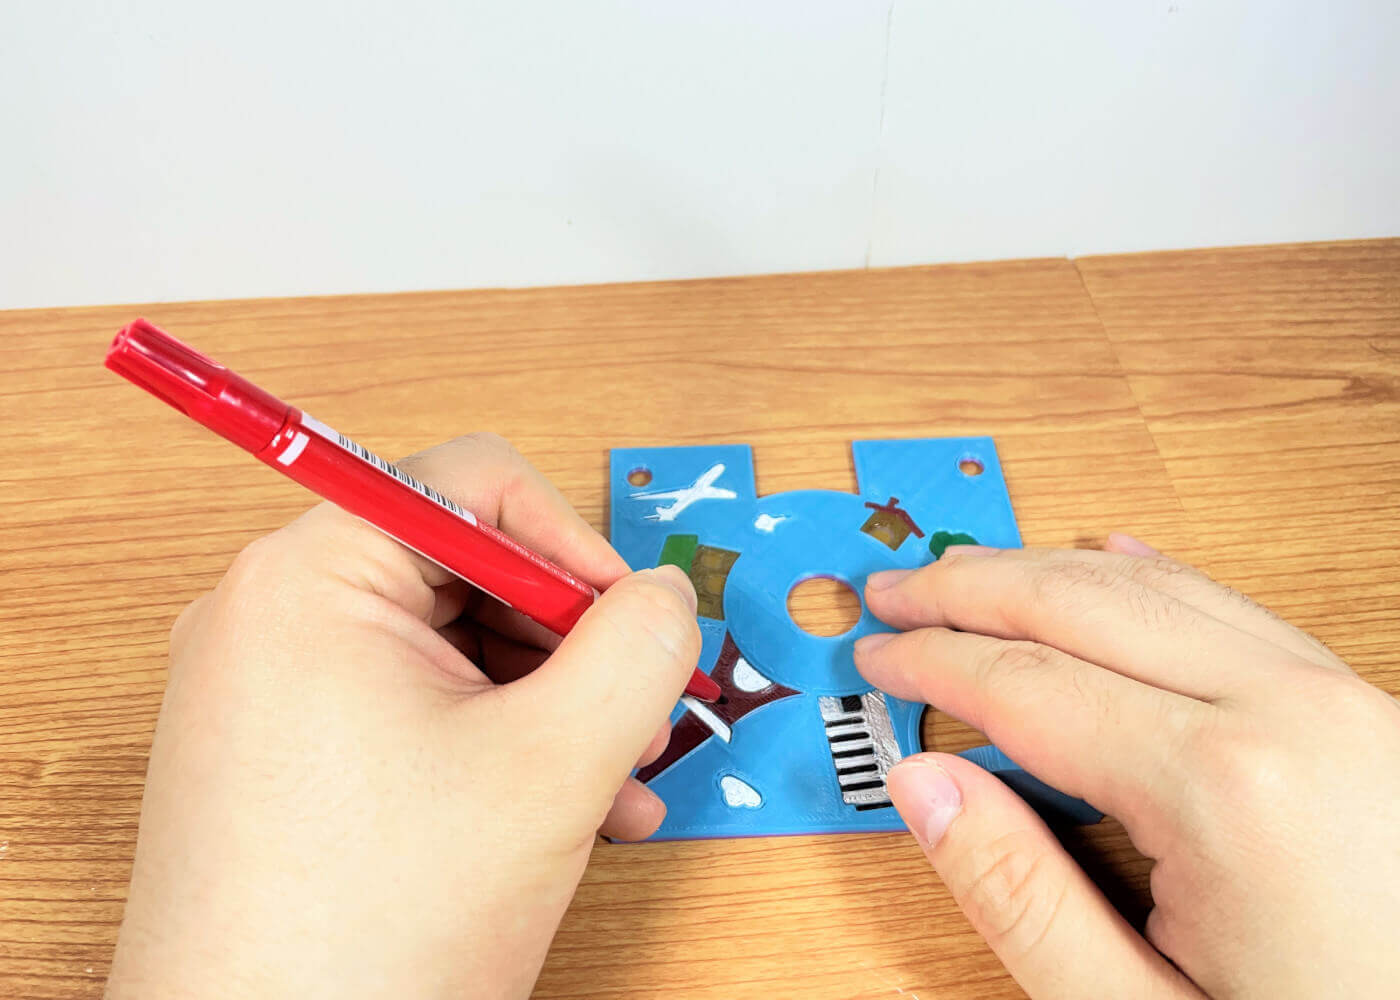
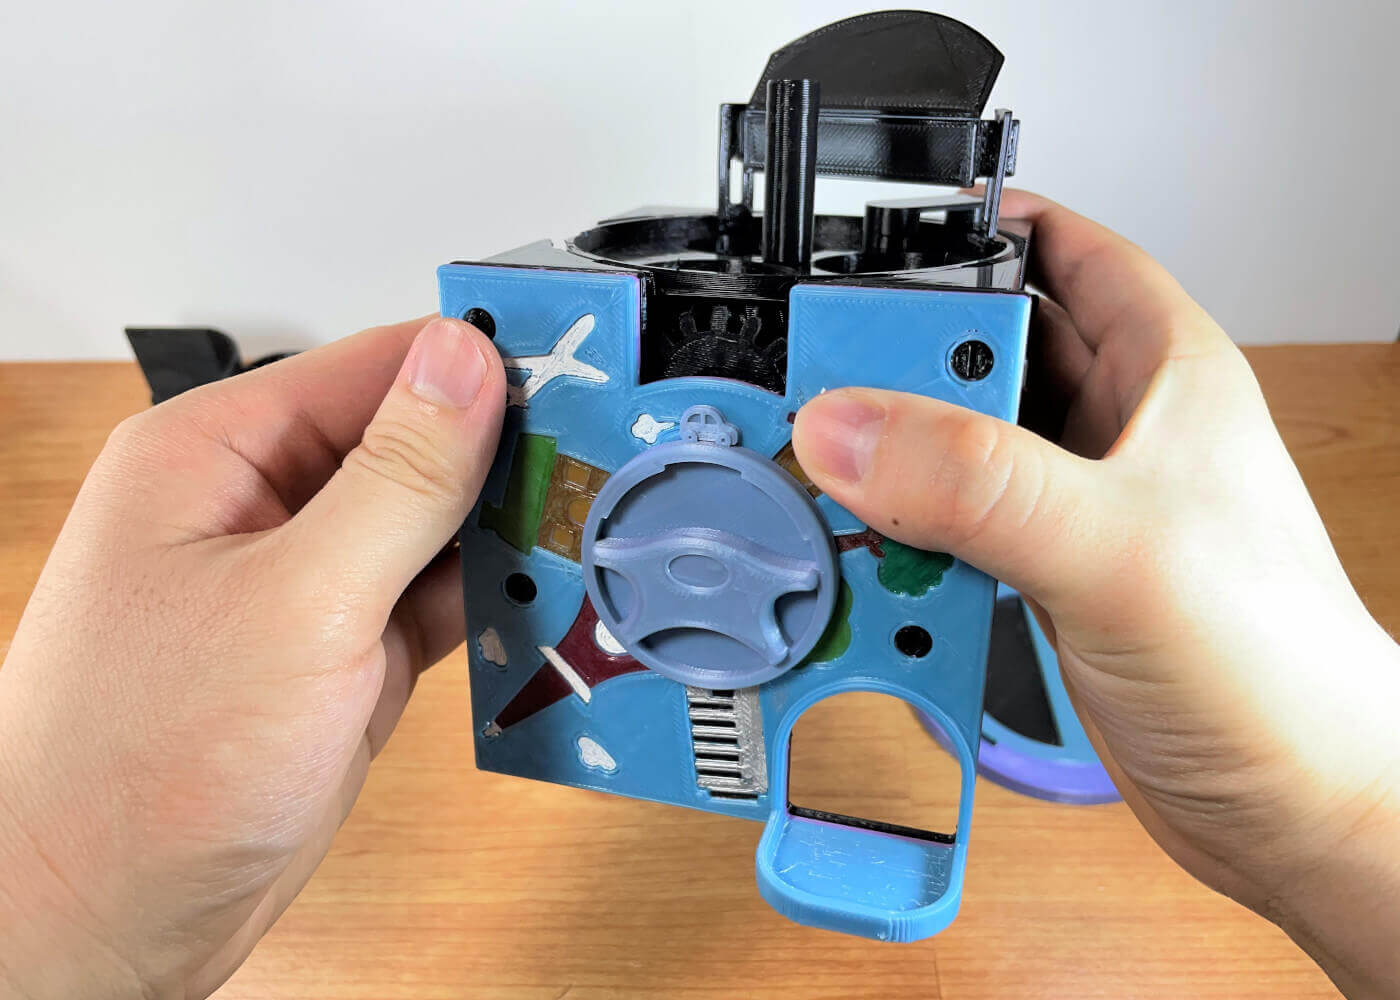
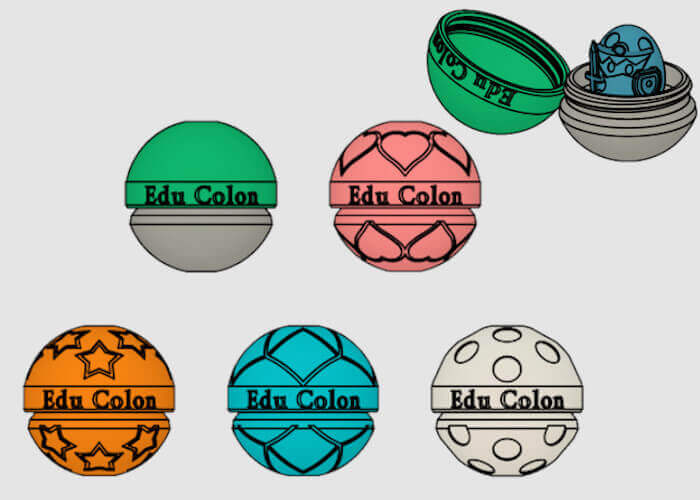
There are two types of EduColon: one is originally designed, and the other is a plain type that can be decorated with 3D puzzle pieces and other materials.
Choose the EduColon design you like!
*Attention:All parts of Edu-Colon are within 100mm*100mm in size and can be made with a 3D printer whose build plate is larger than 100mm*100mm. If you have not yet purchased a 3D printer and want to make Edu cologne, please be sure to check the build plate size.
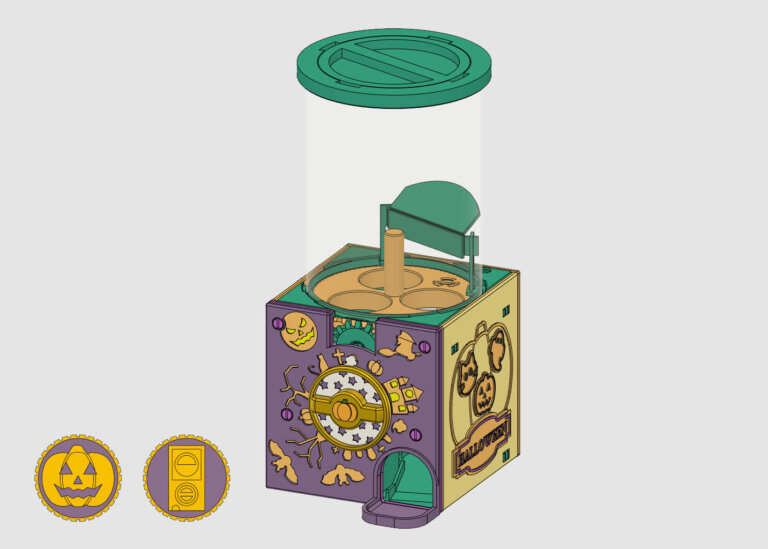
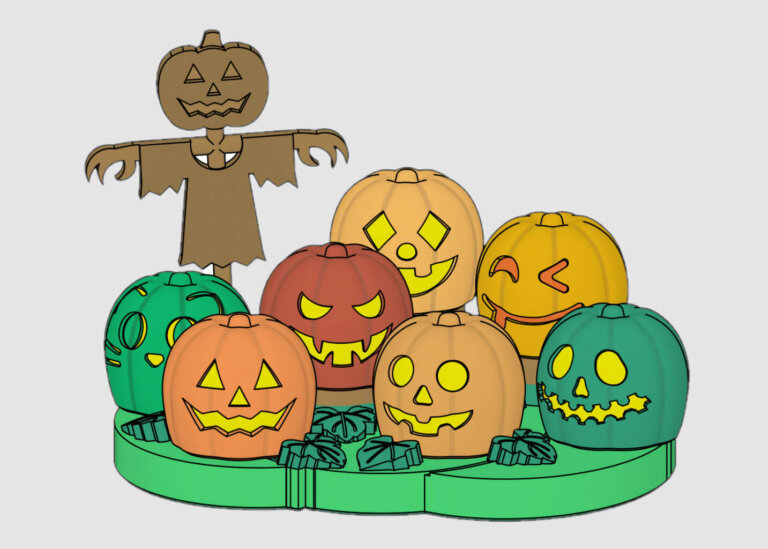
(Scare Helloween)
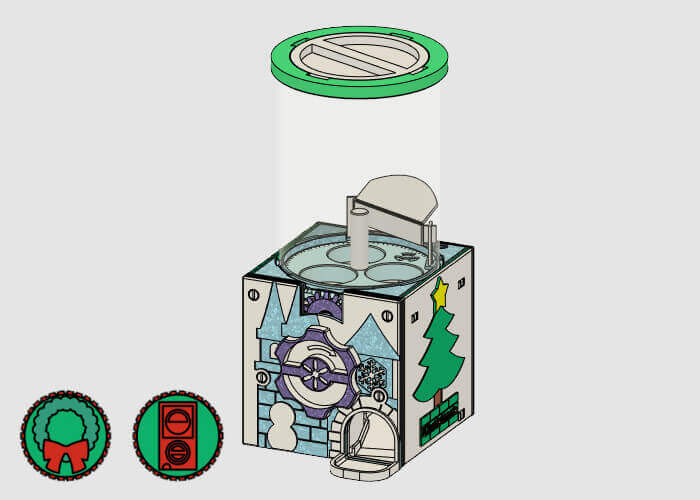
Happy Christmas
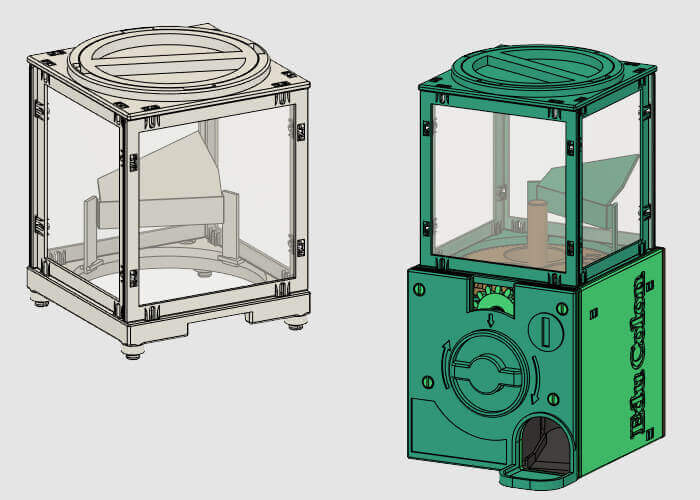
(Blank)
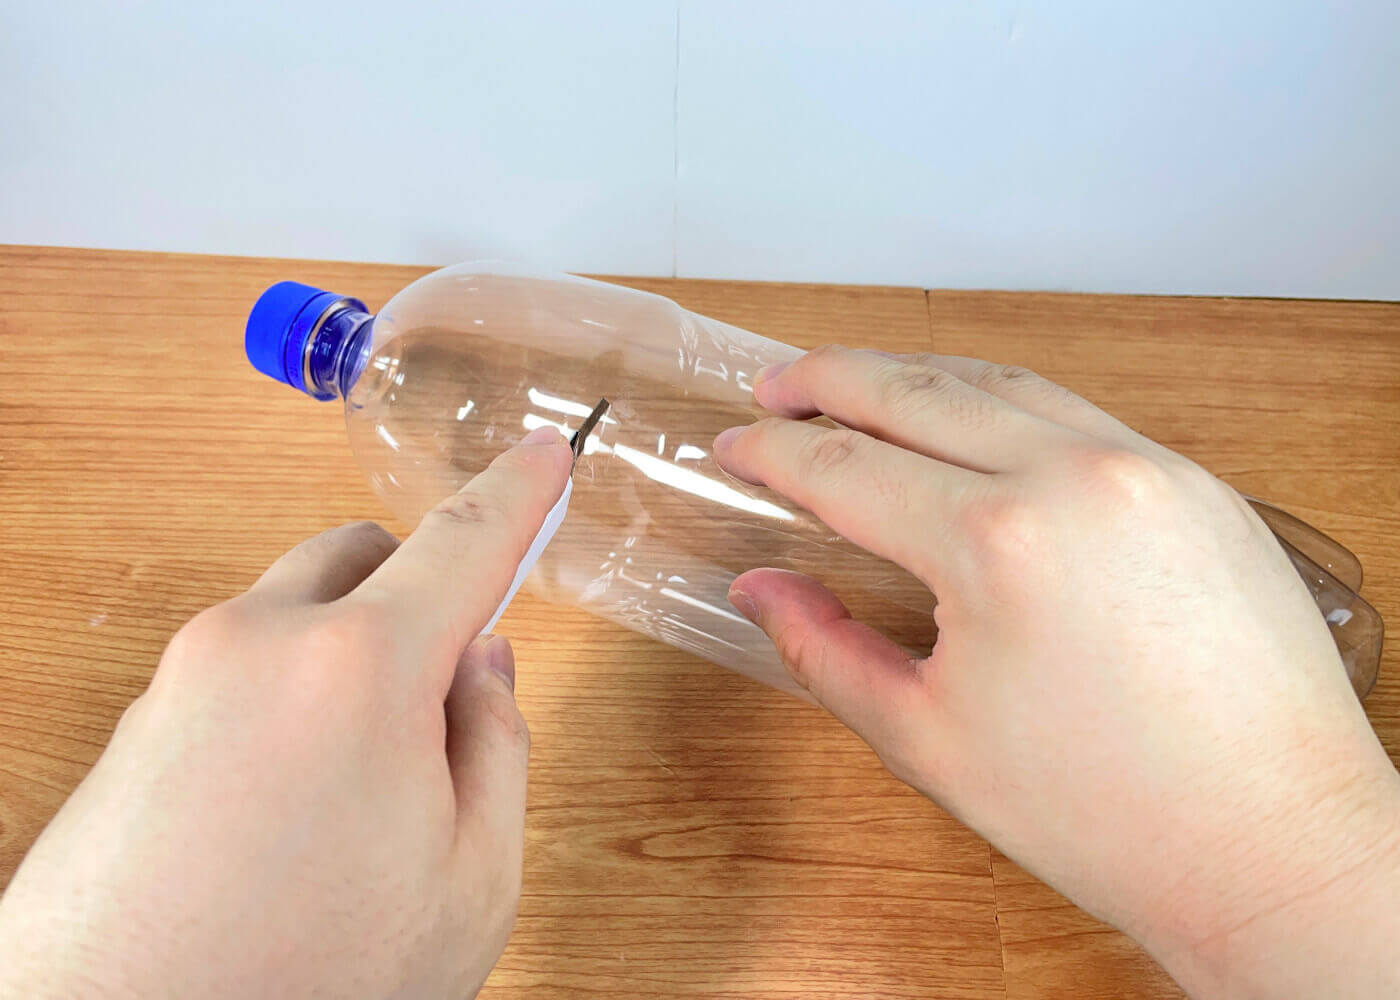
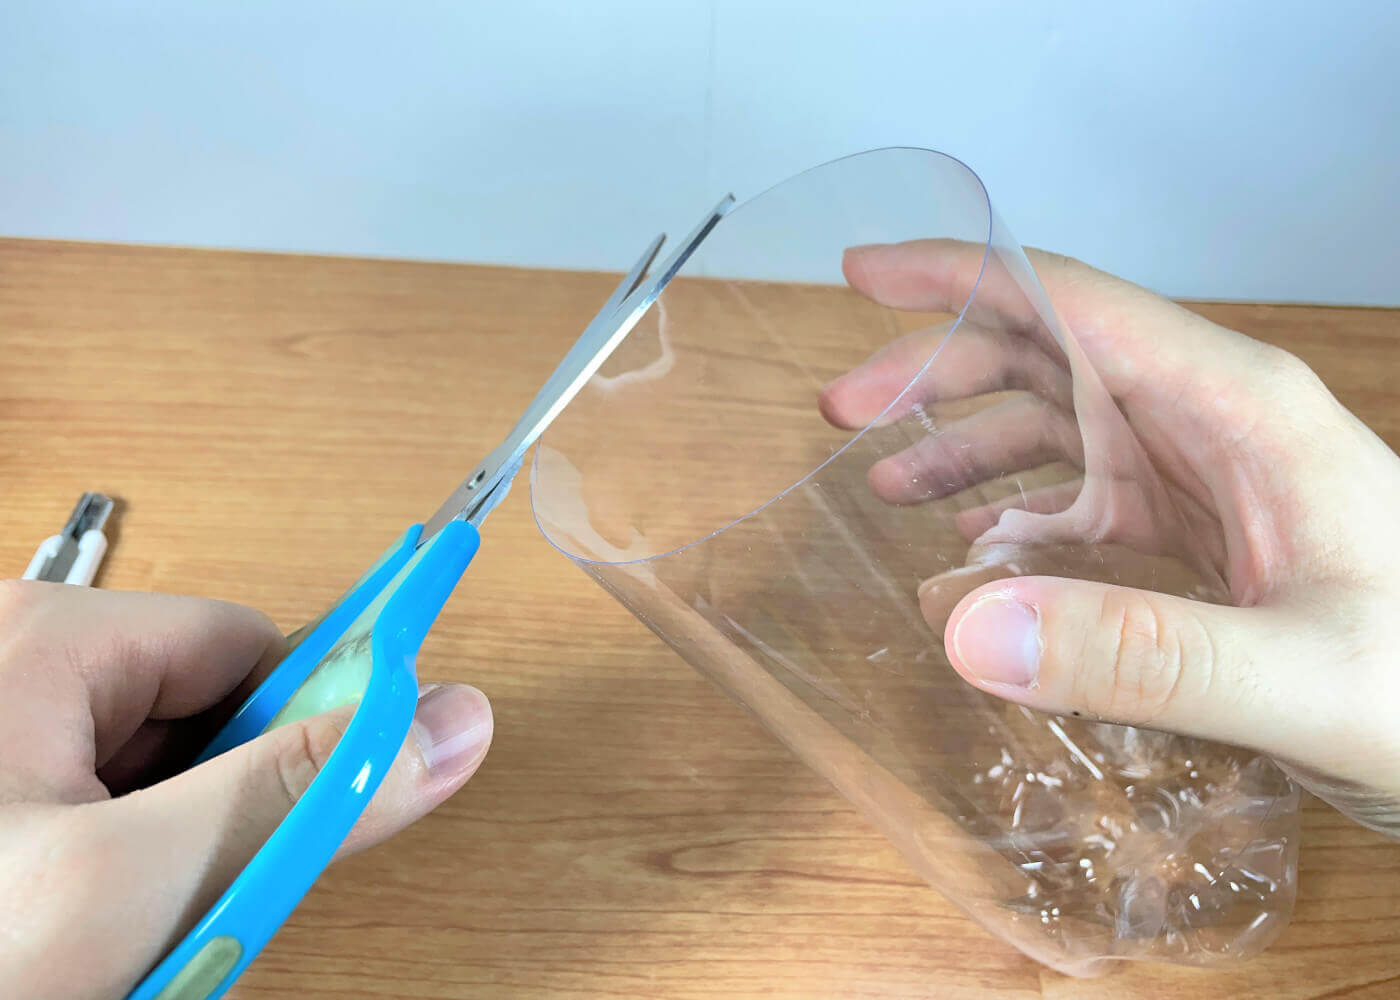
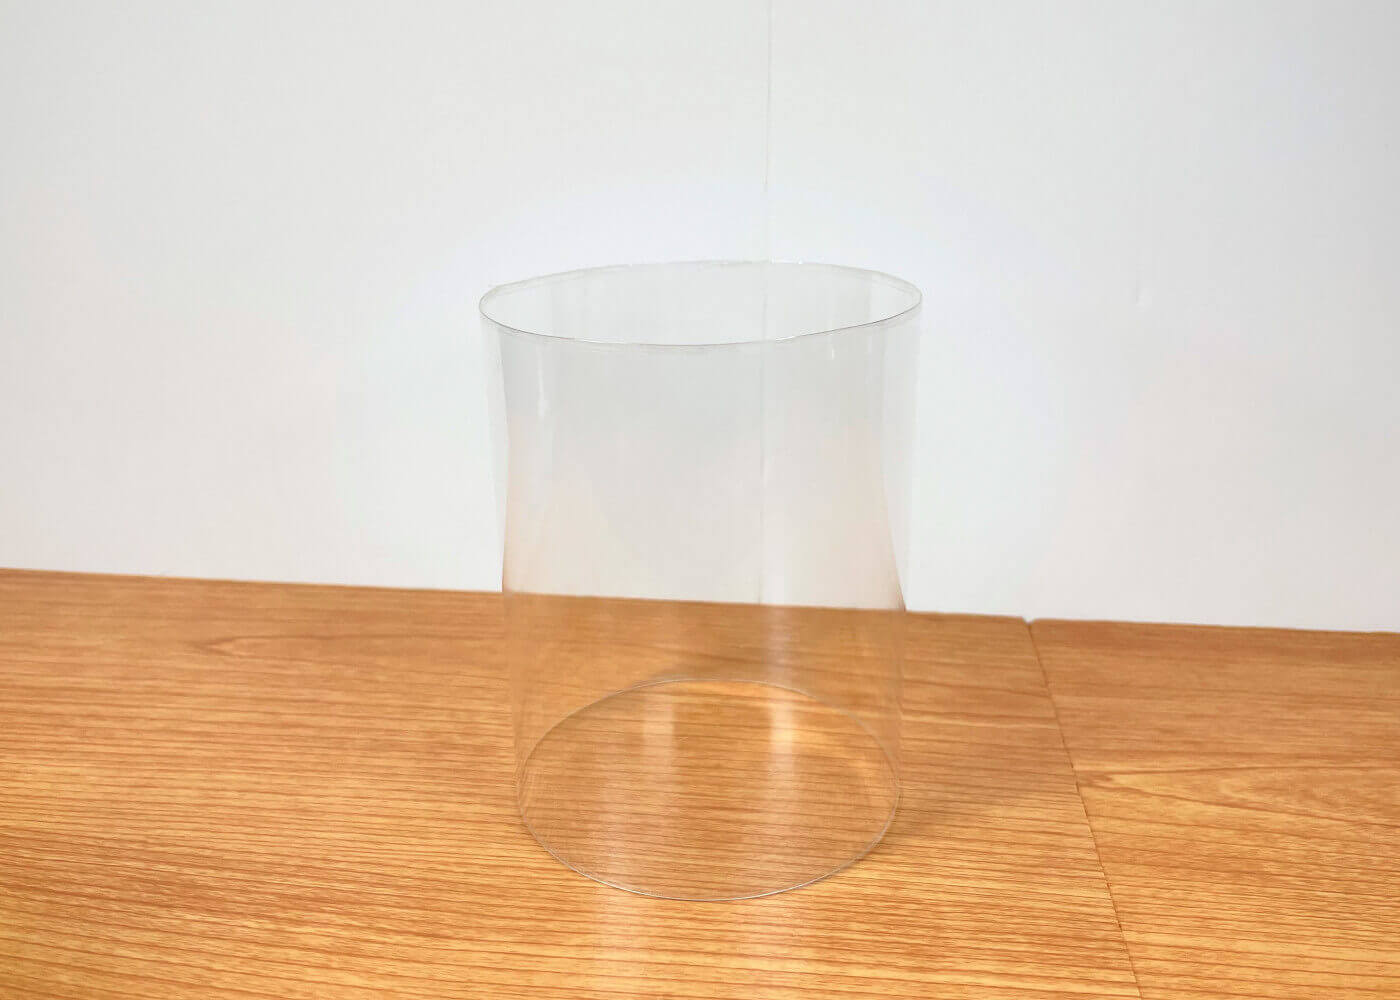
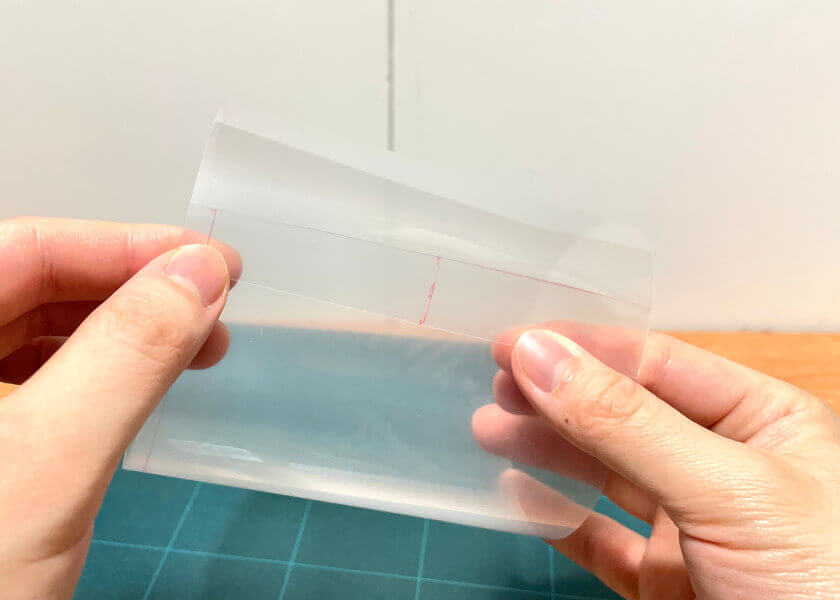
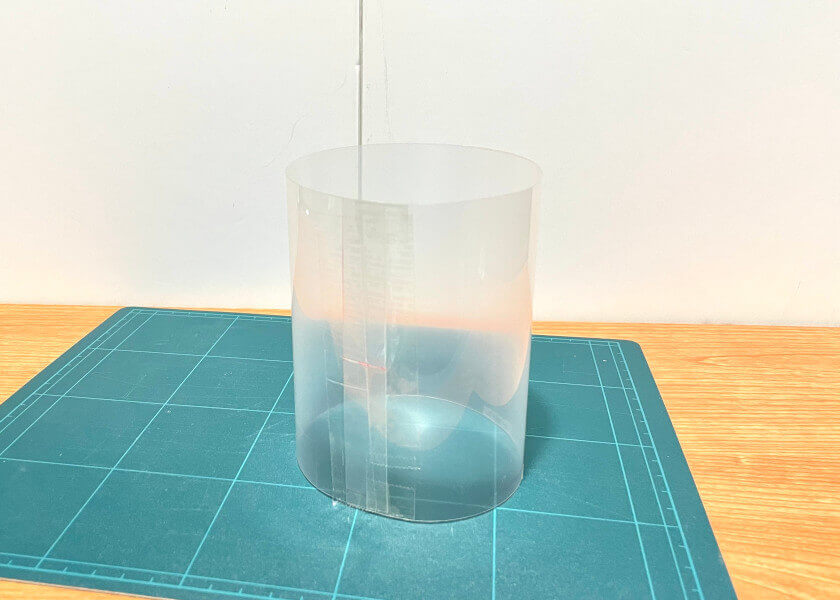
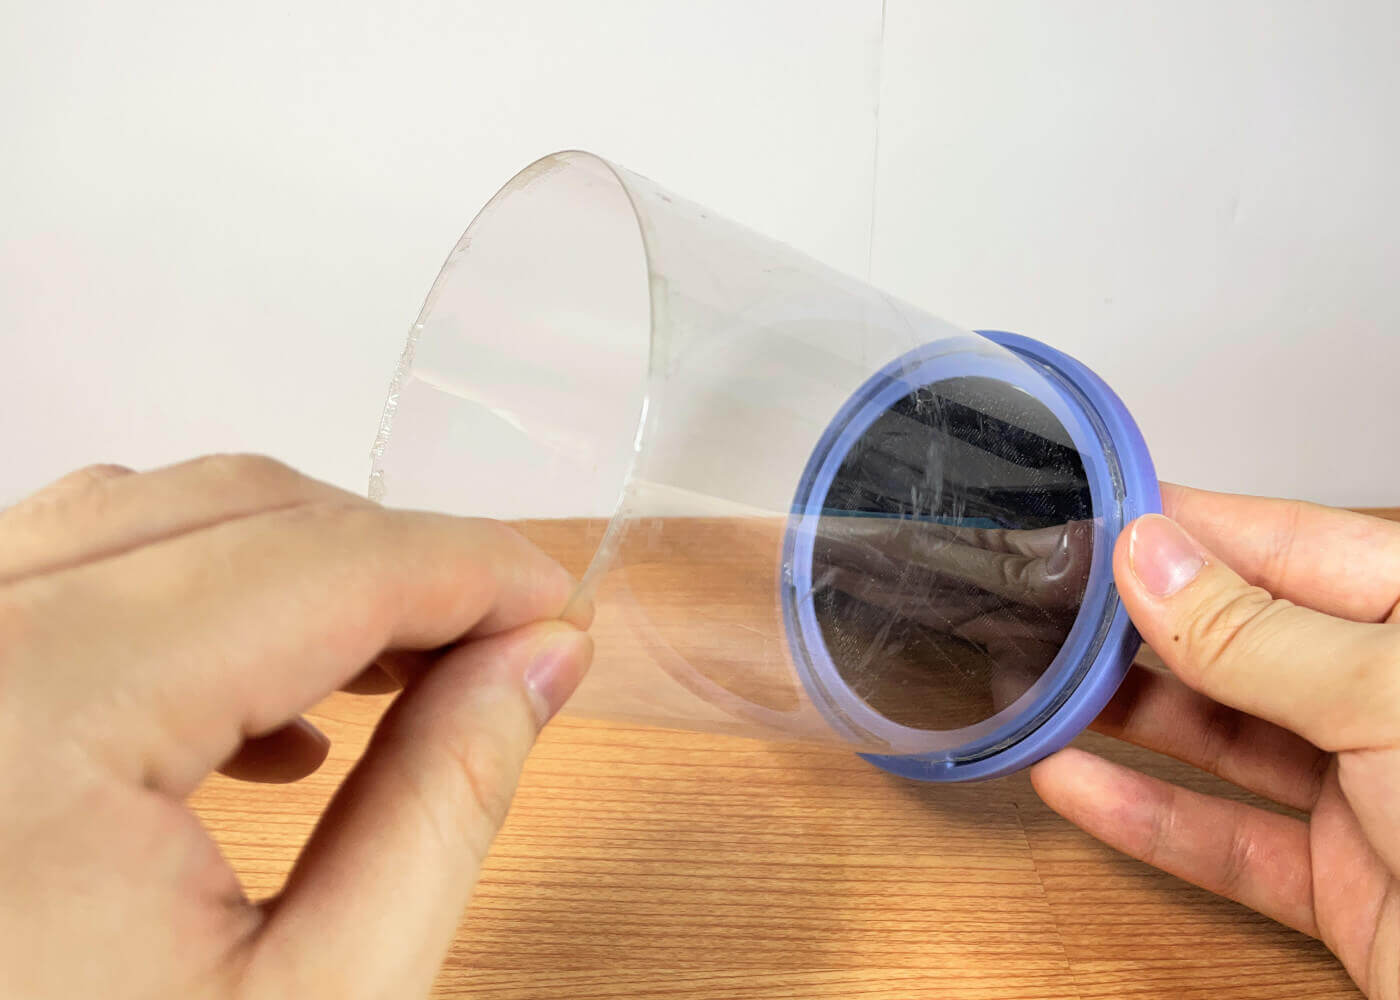
1-2. 1.5L Plastic Bottle・Plastic Plate
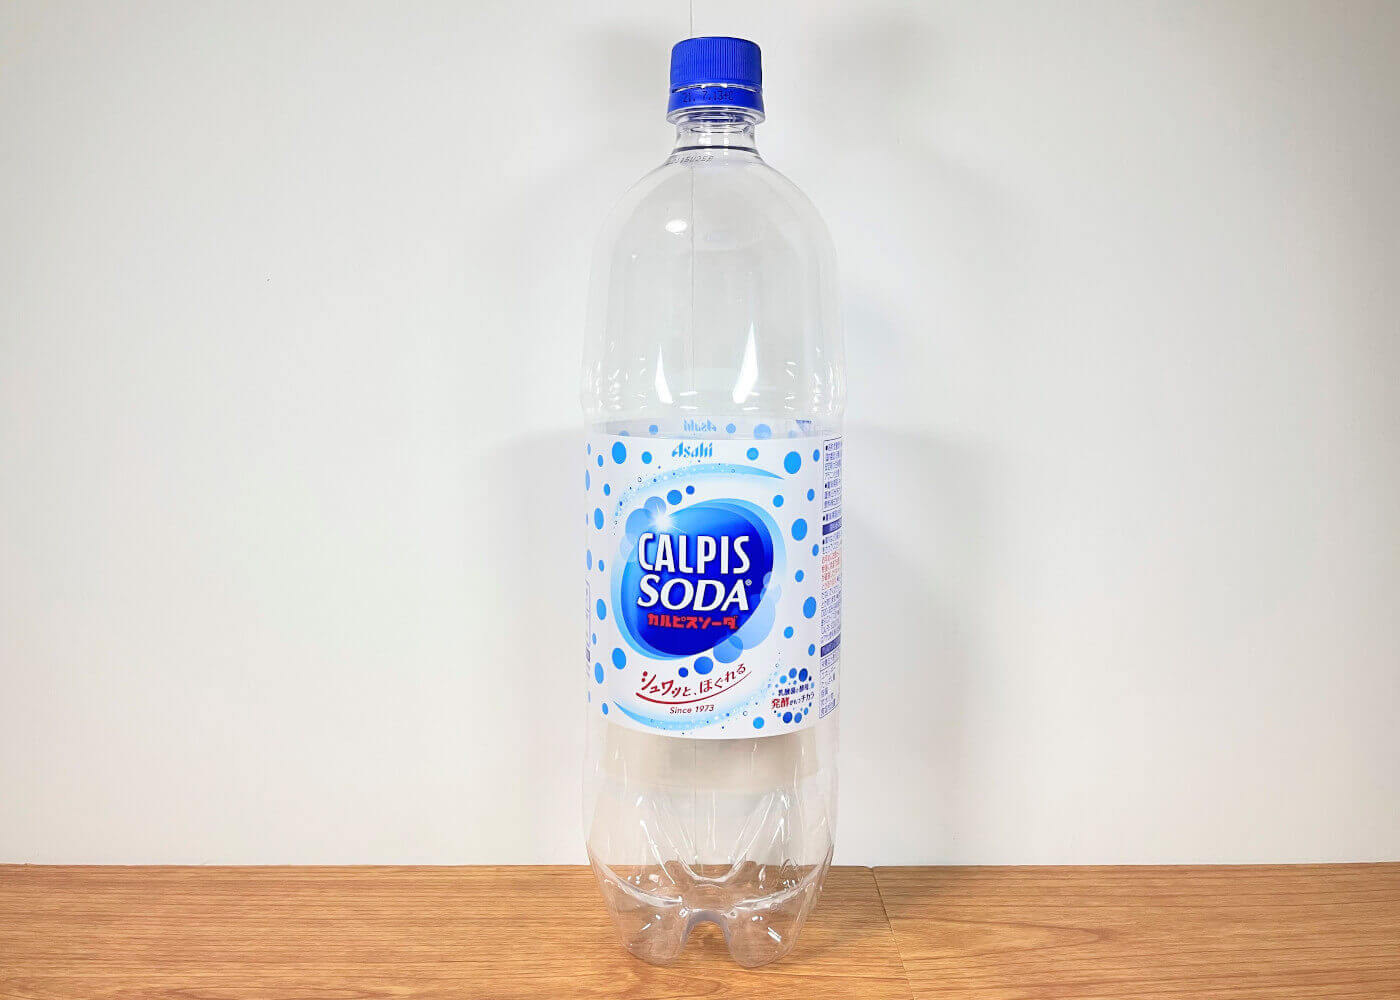
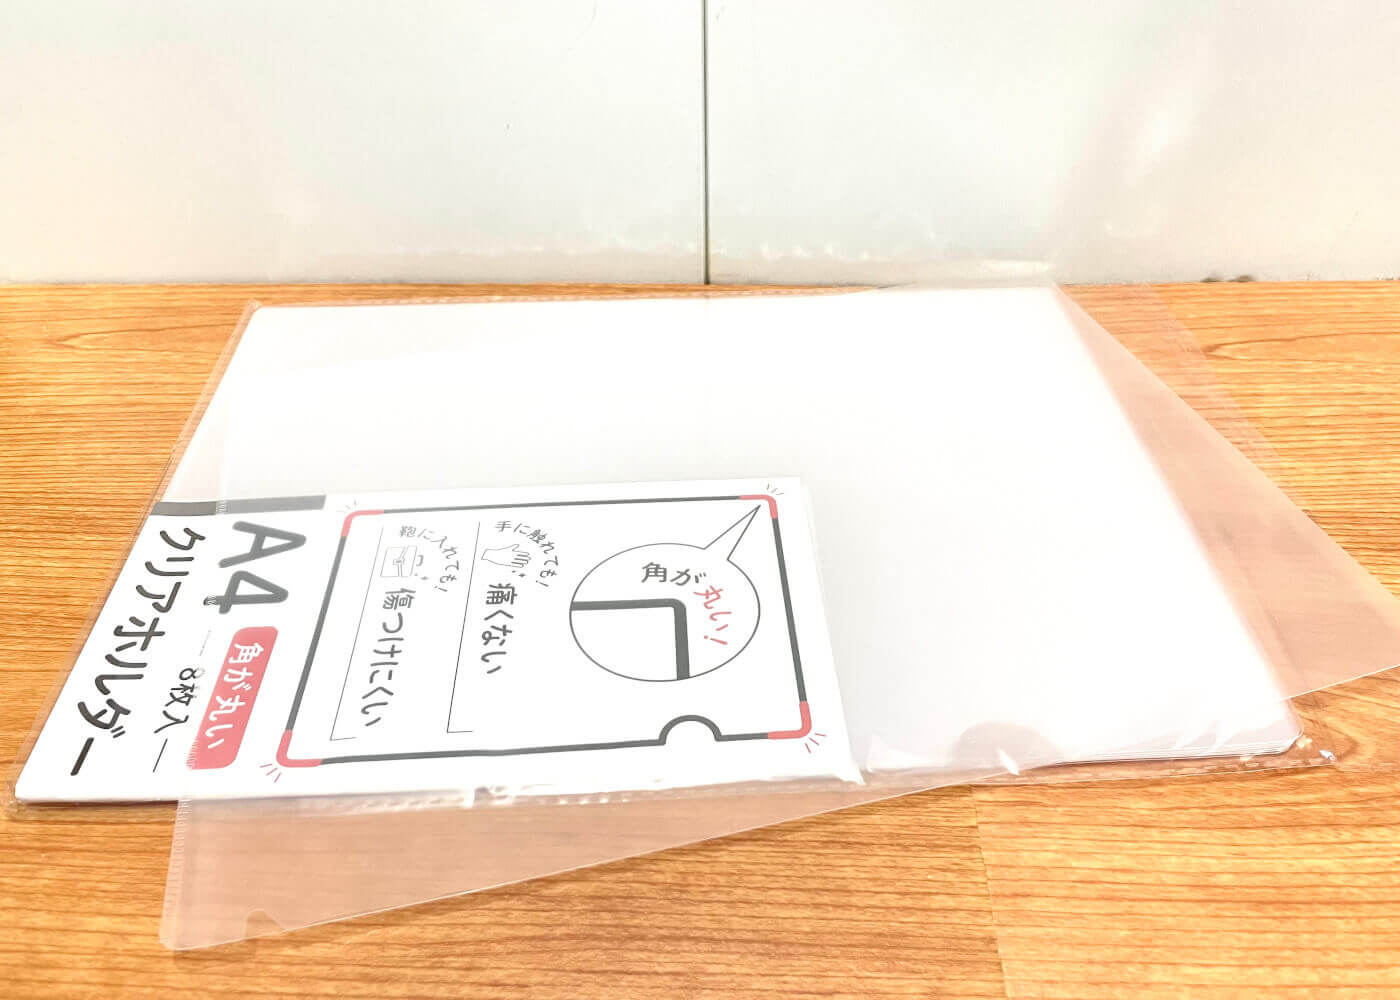
Use plastic bottles or plastic sheets such as clear files for capsule holders. Plastic bottle corresponds to the shape of Mitsuya Cider, a popular drinking water in Japan, and the same shape is used for Calpis Soda and MATCH.
*2023/6/23 A model of a capsule holder that can be 3D printed is now available.
If you do not have a compatible PET bottle, please use this model. Also, by using transparent filaments, the inside can be seen through, just like an actual capsule machine.
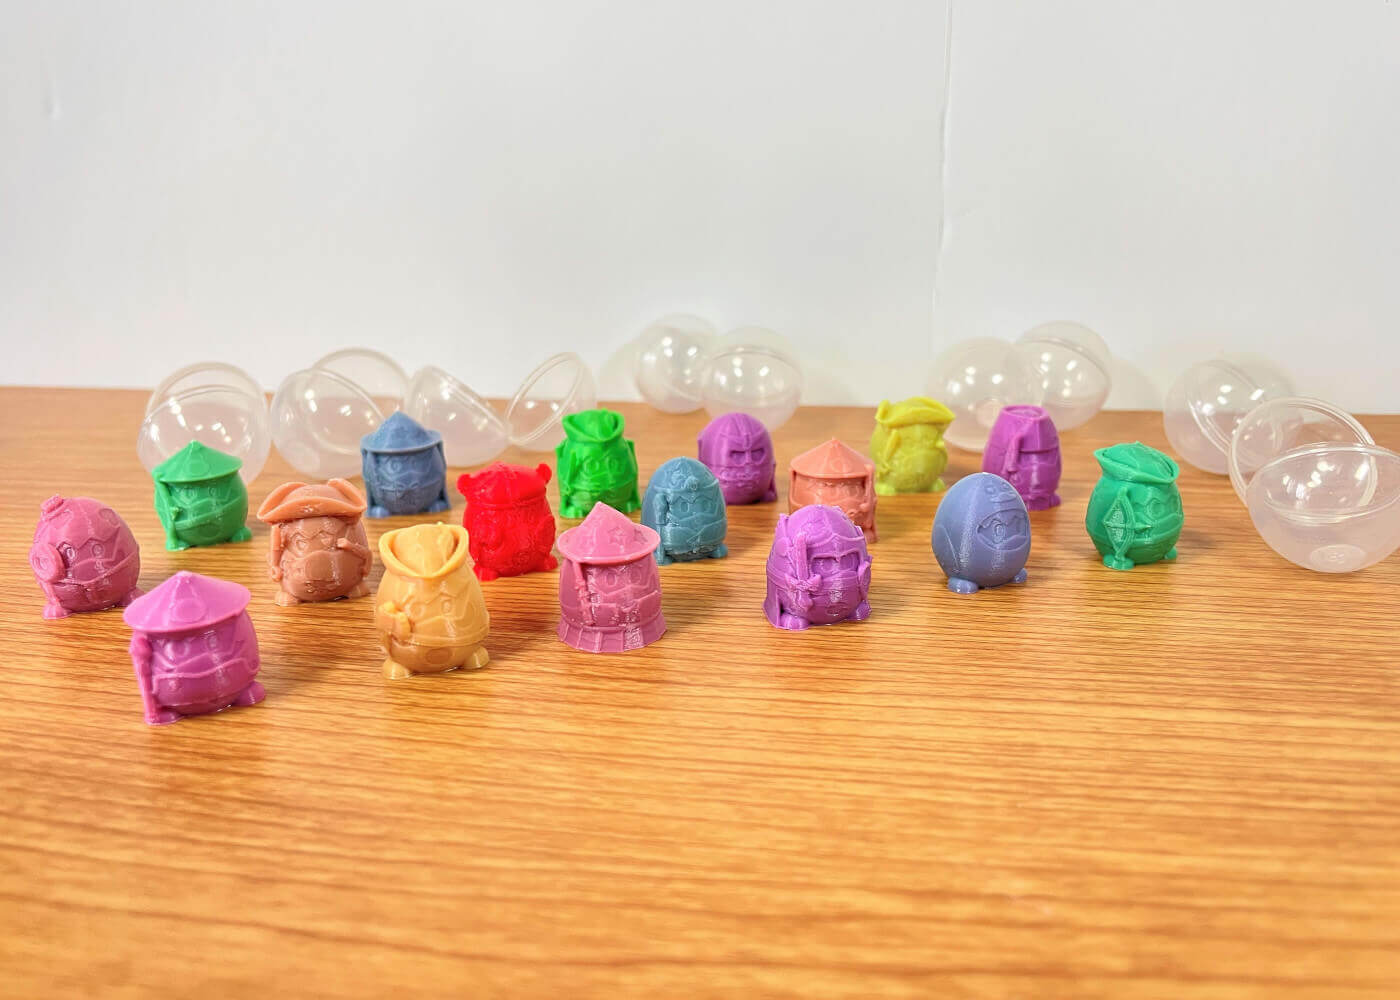
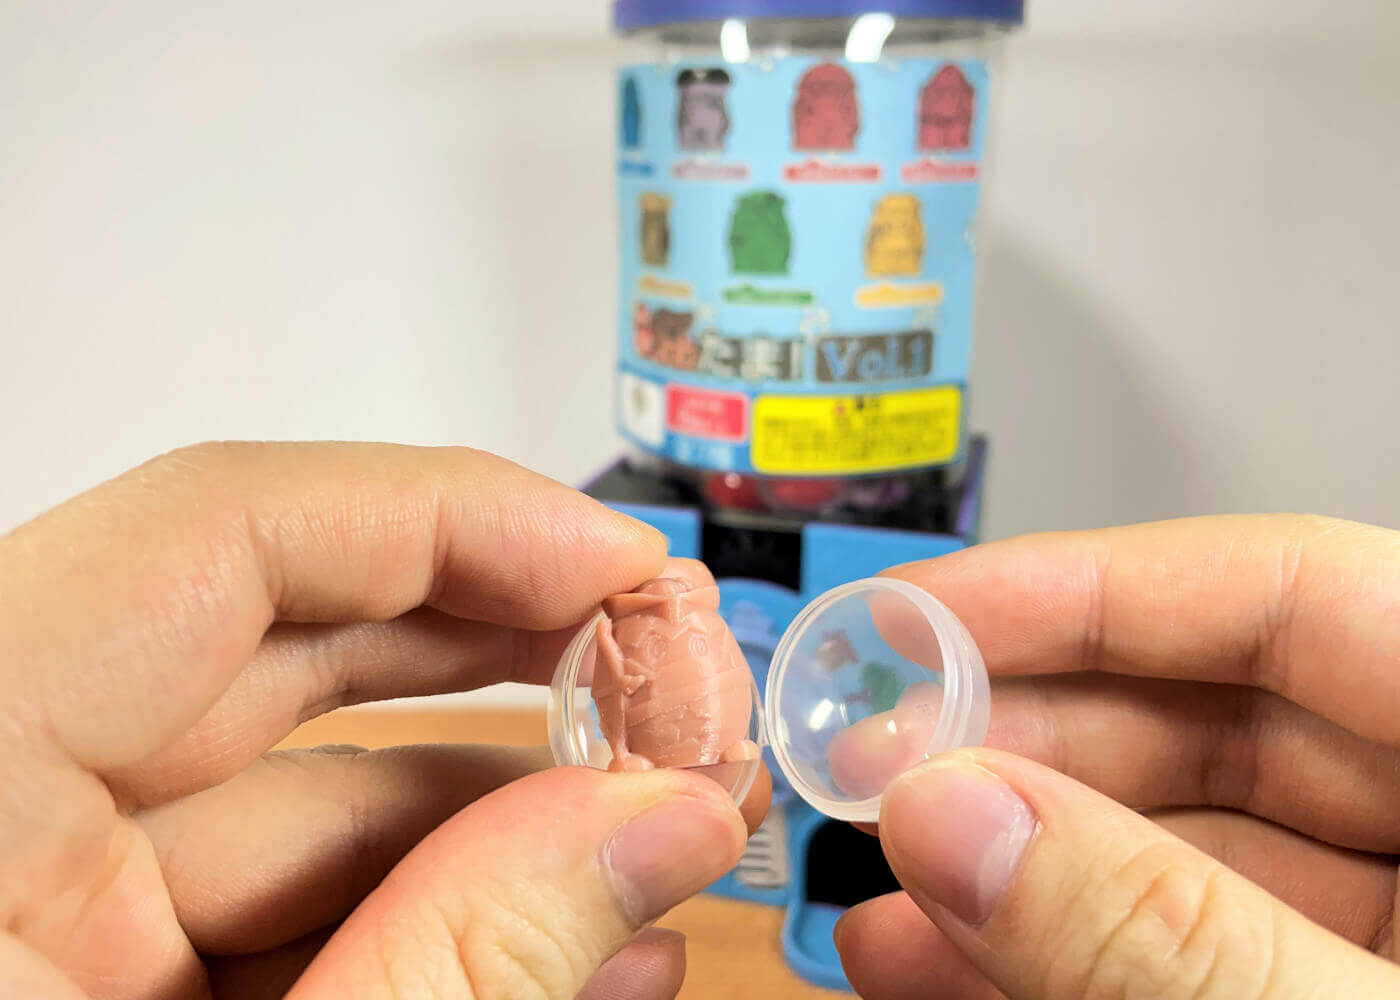
1-3.Capsule
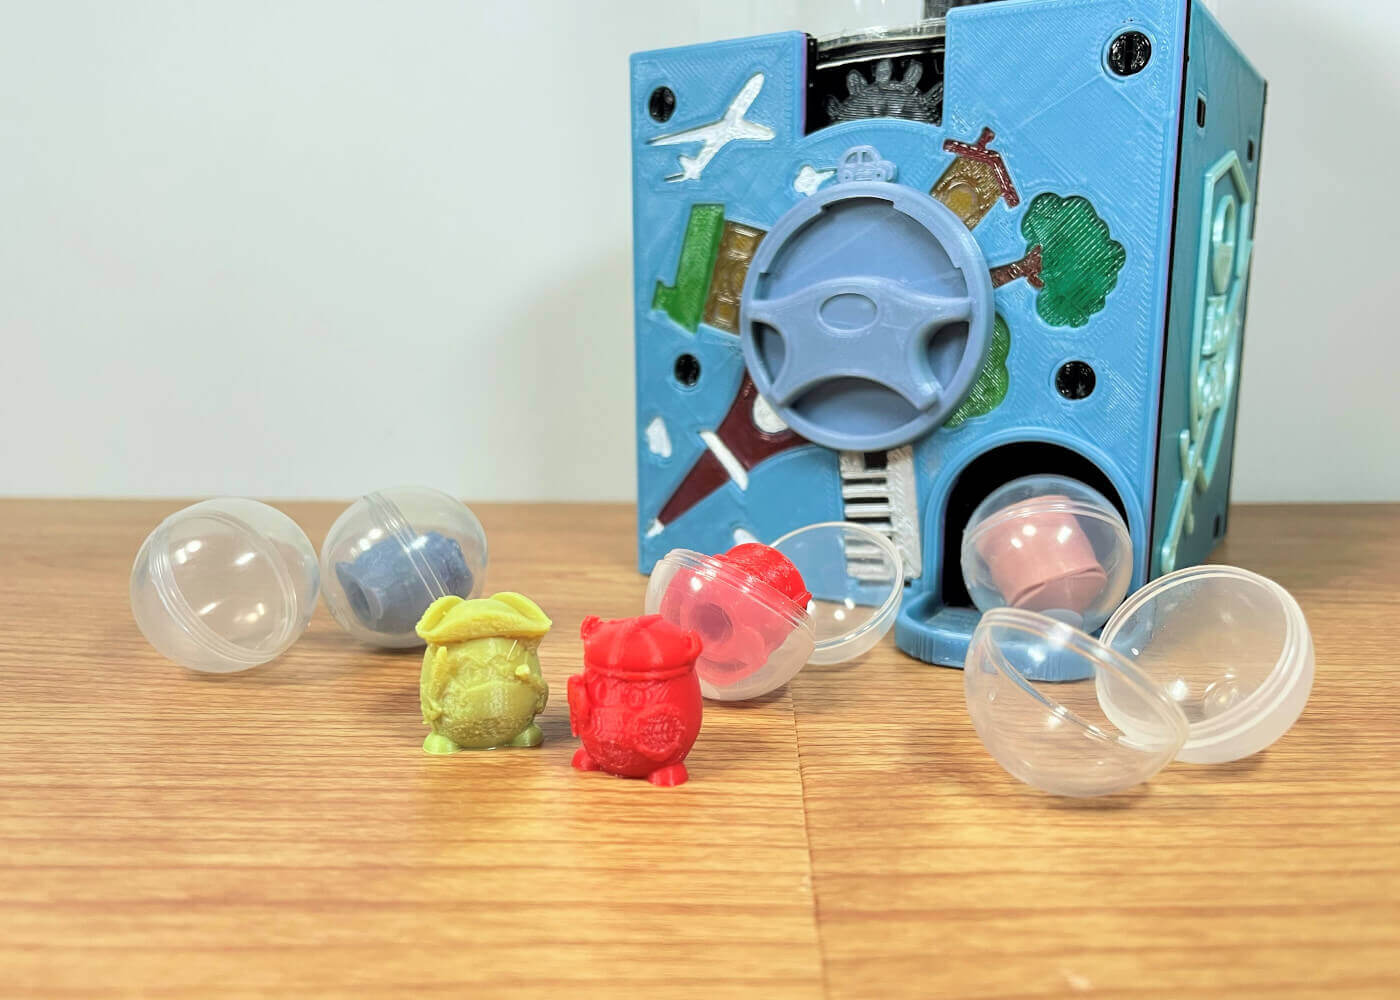
Capsules are available in 27mm and 30mm sizes. Capsules made by Ah-Muse are especially recommended for children, as they can be opened and closed with light force. STAG.B also offers a model of a 30mm 3D printable capsule.
Use whichever you prefer.
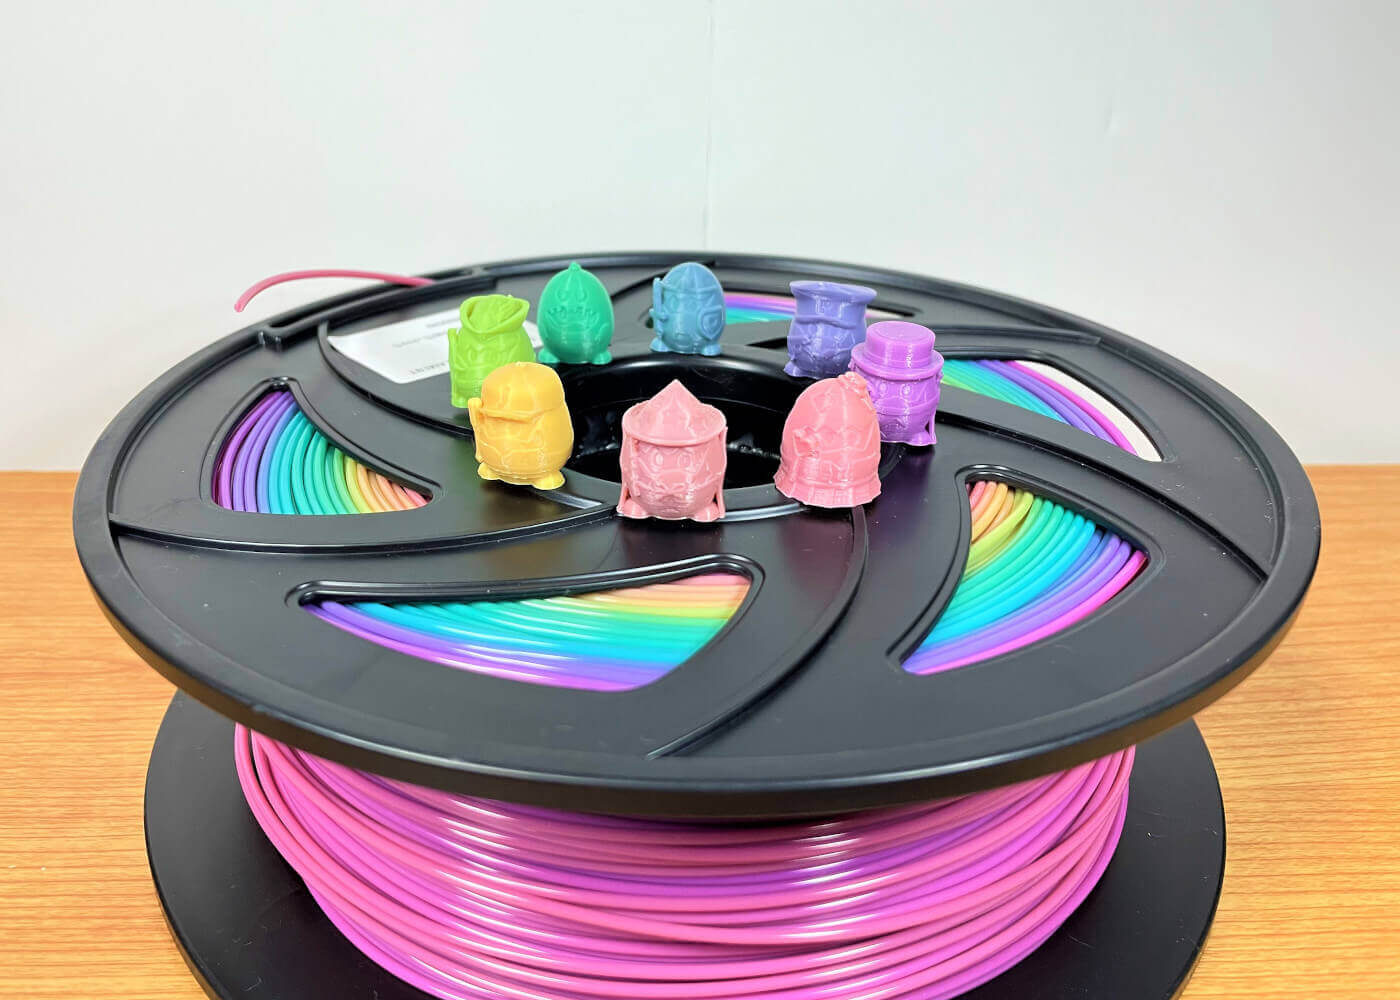
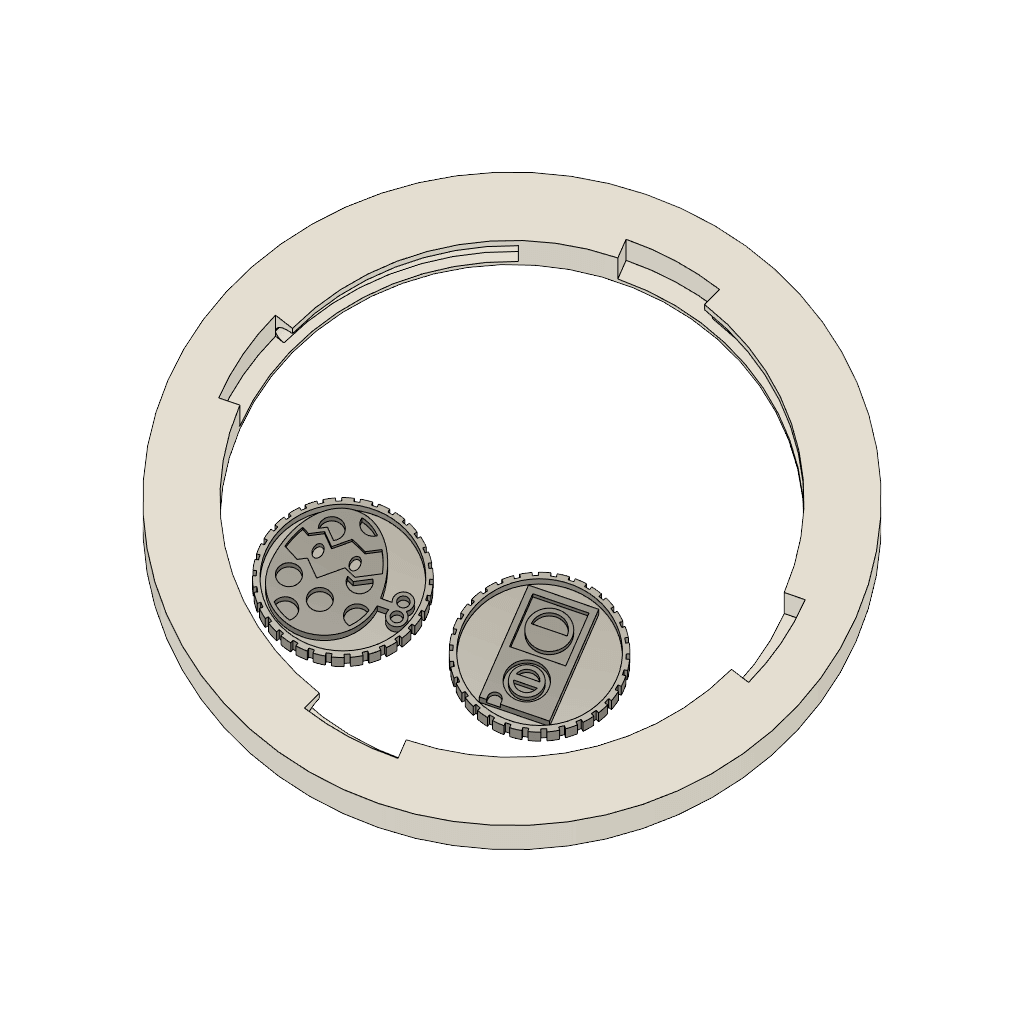
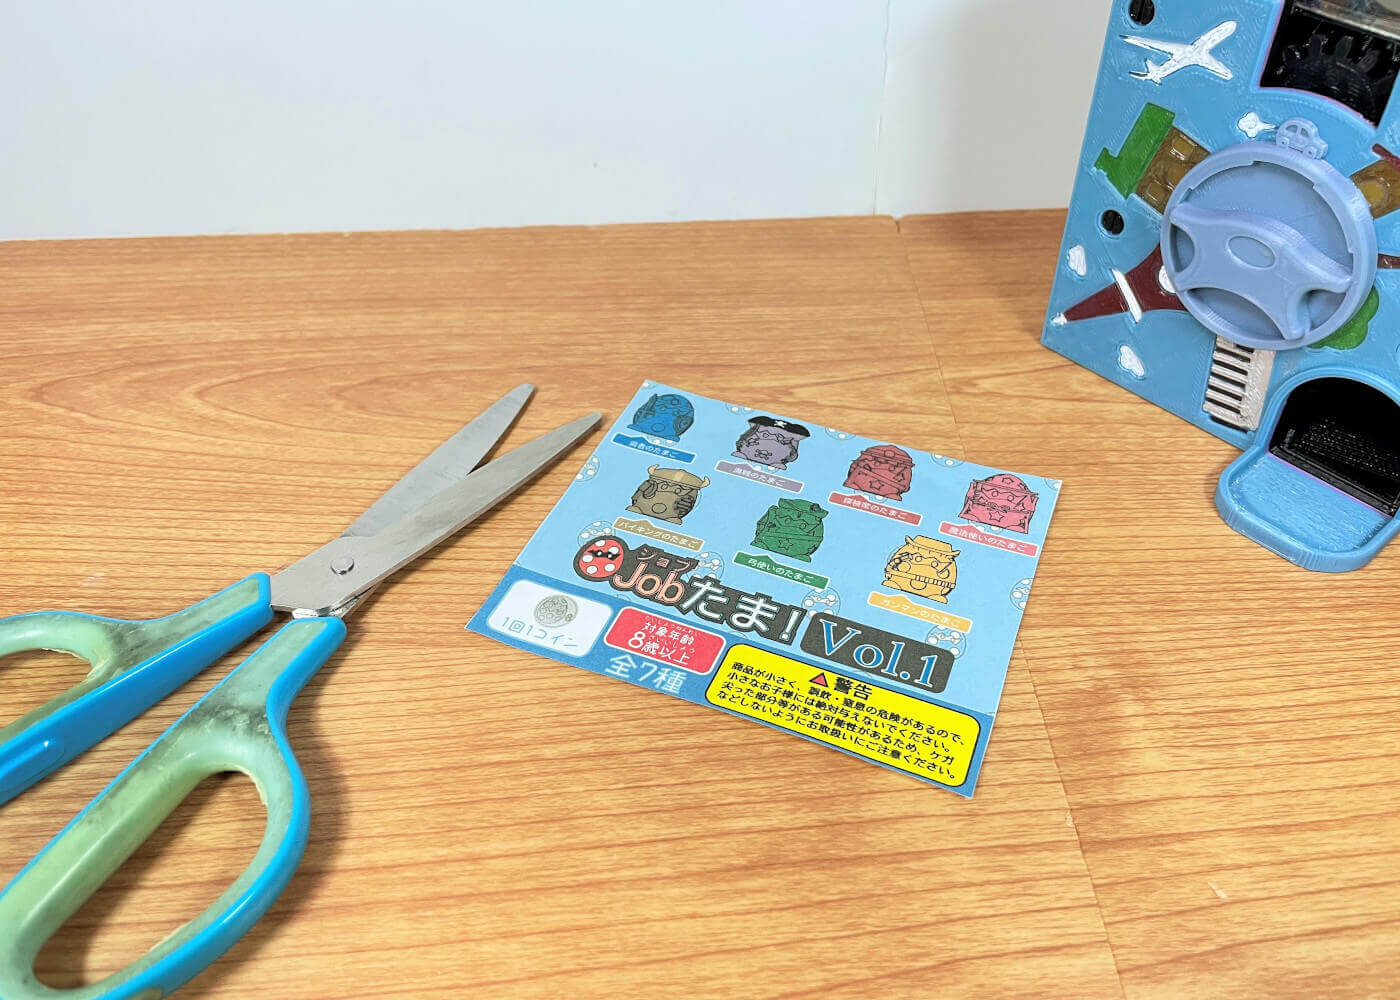
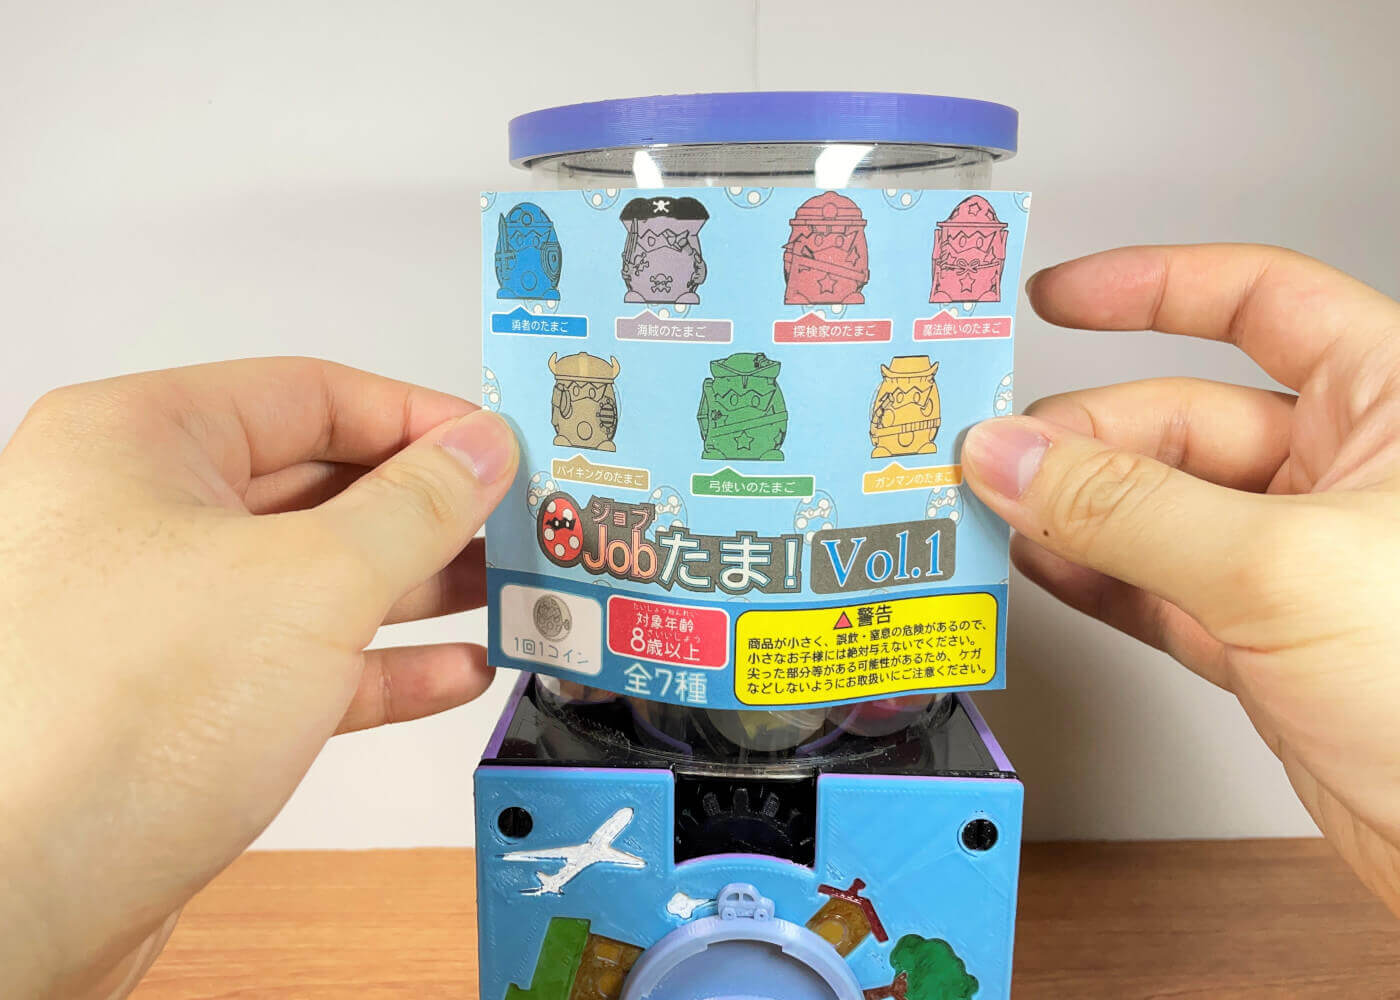
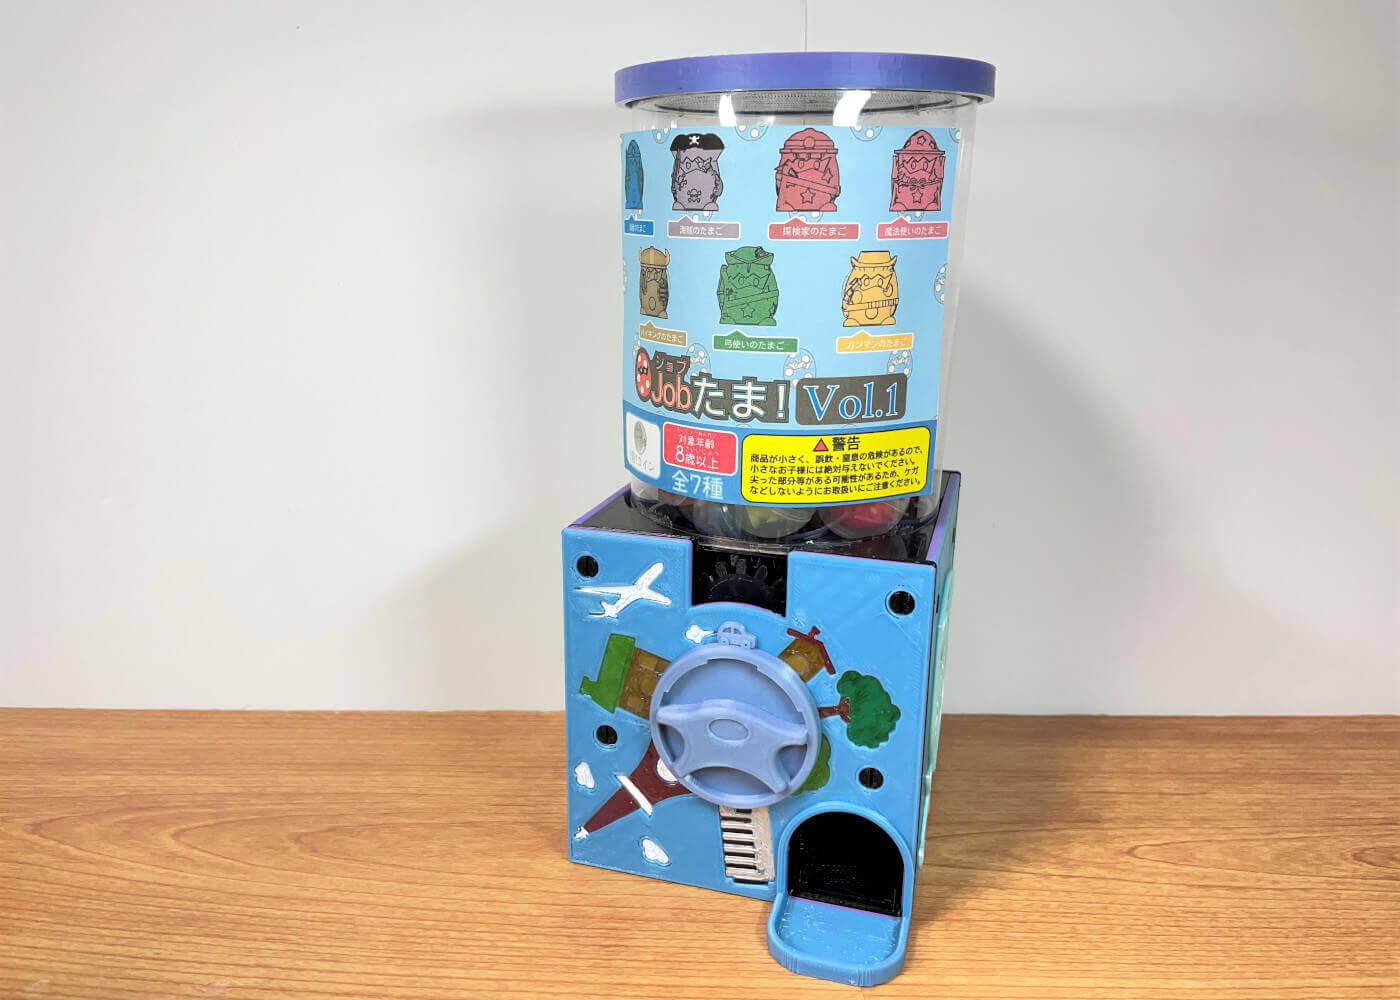
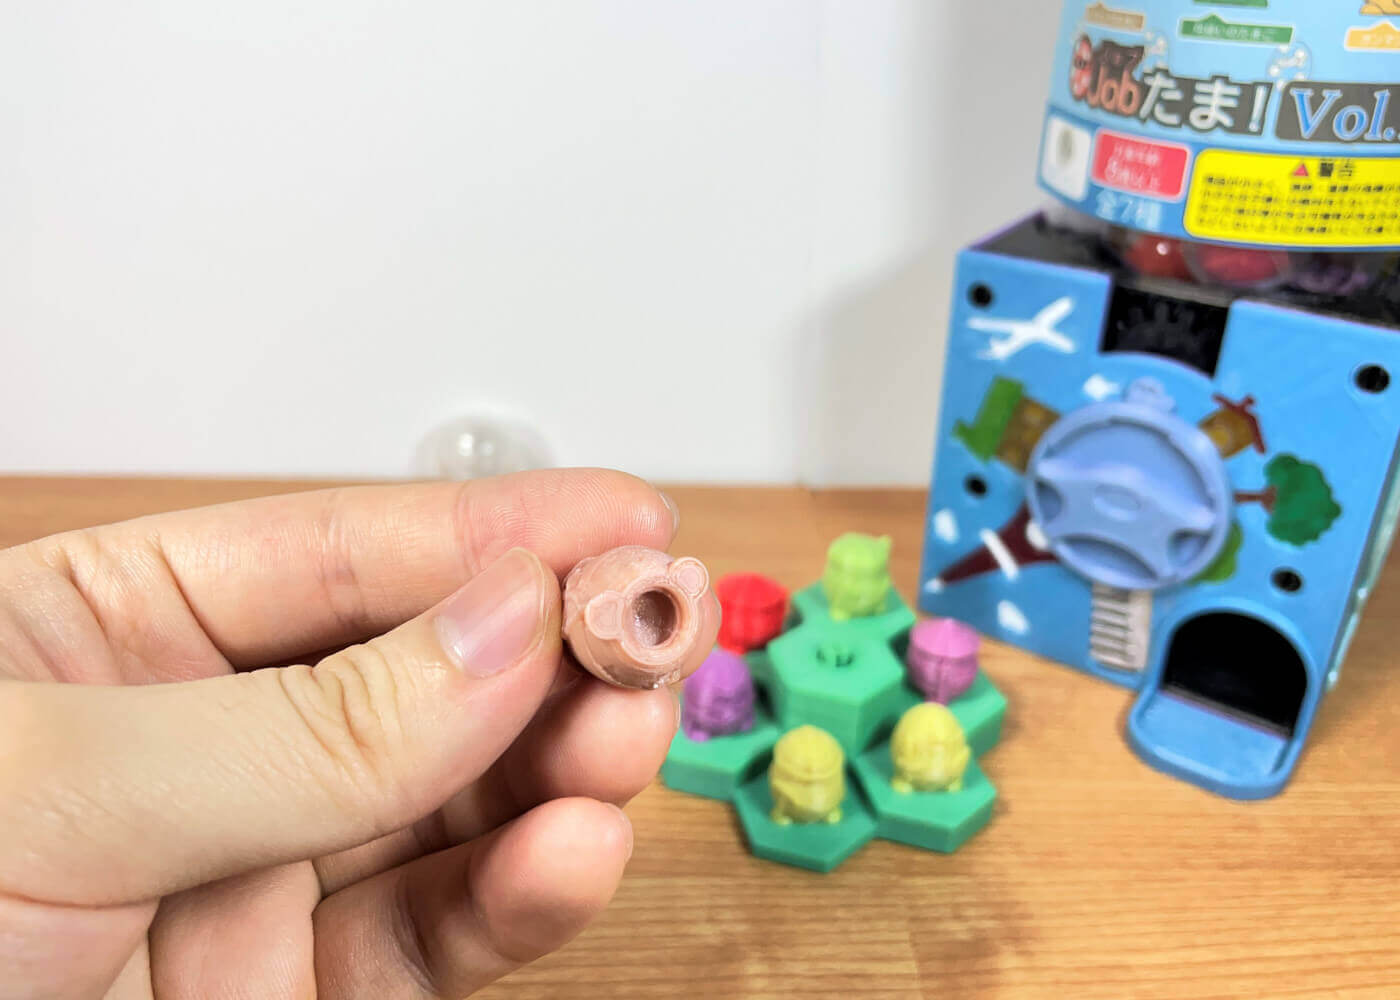
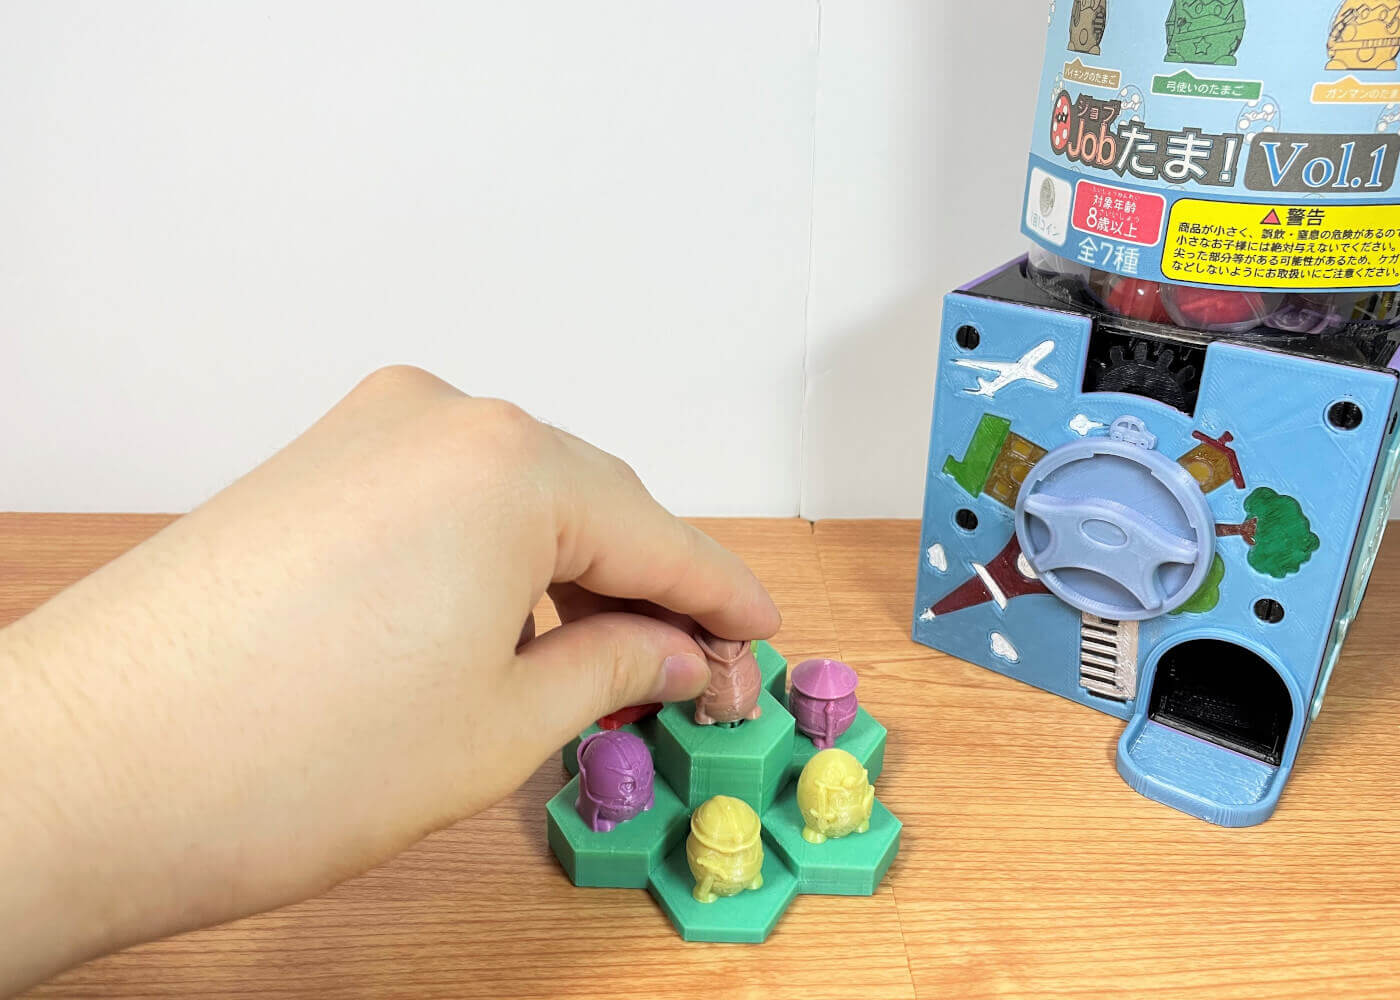
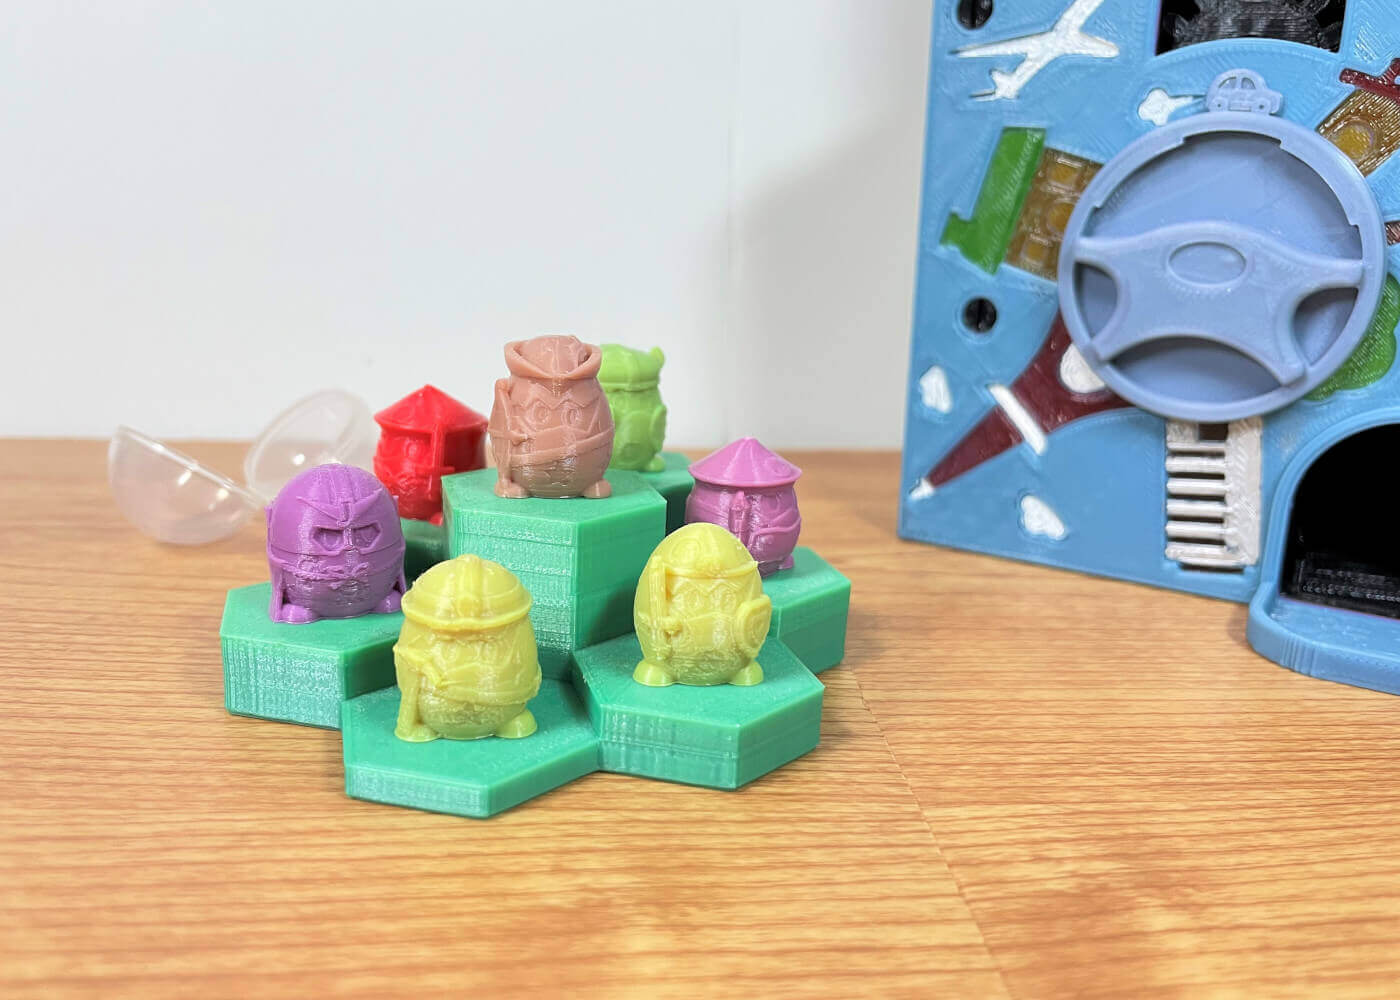
1-4.Capsule Toy
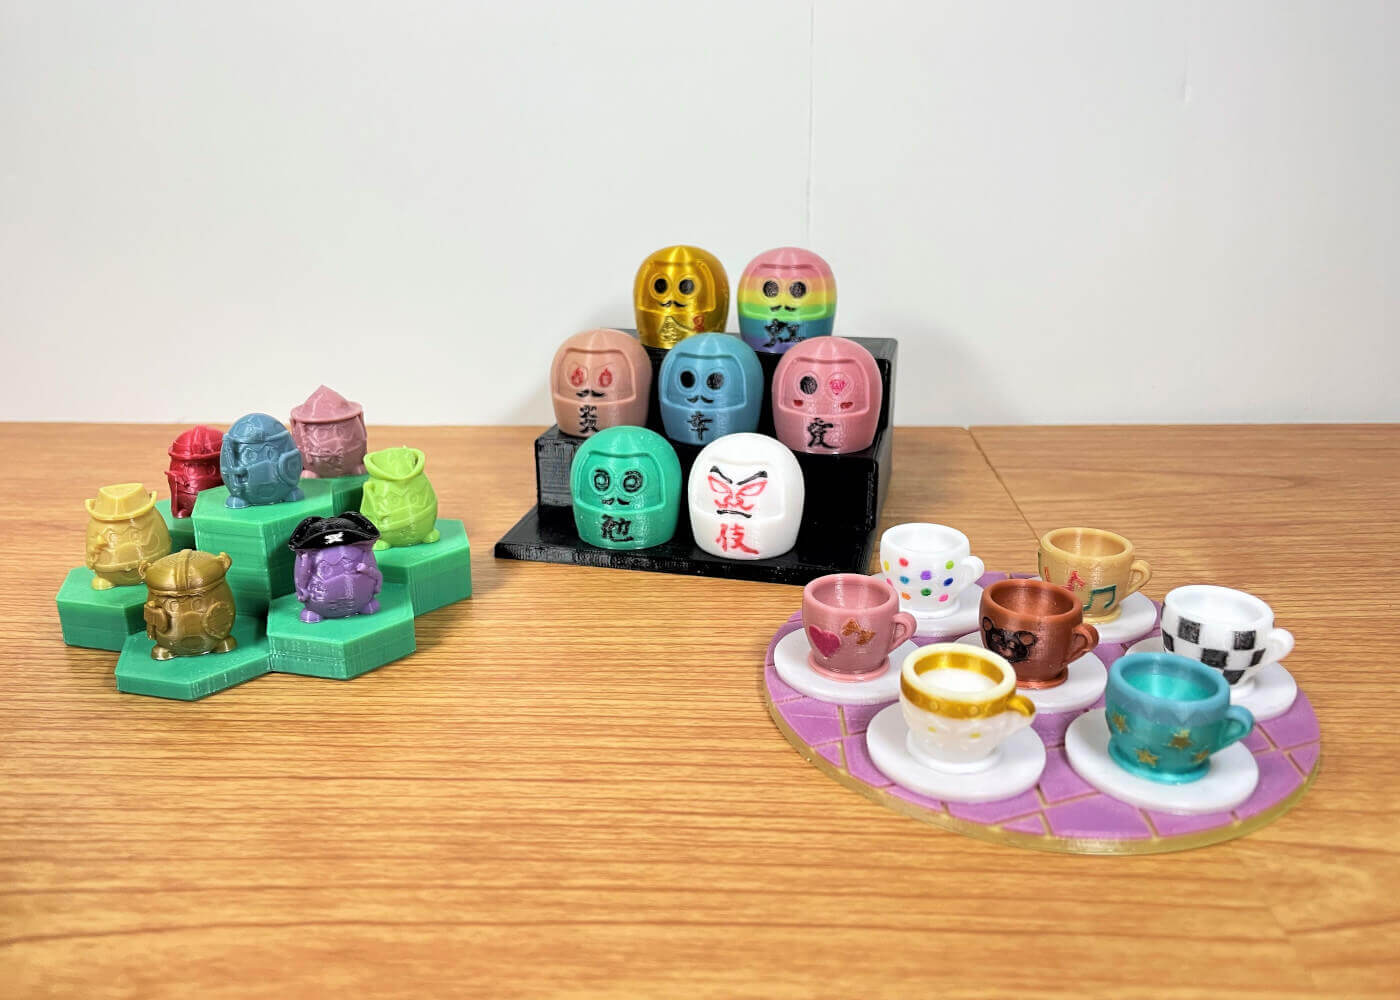
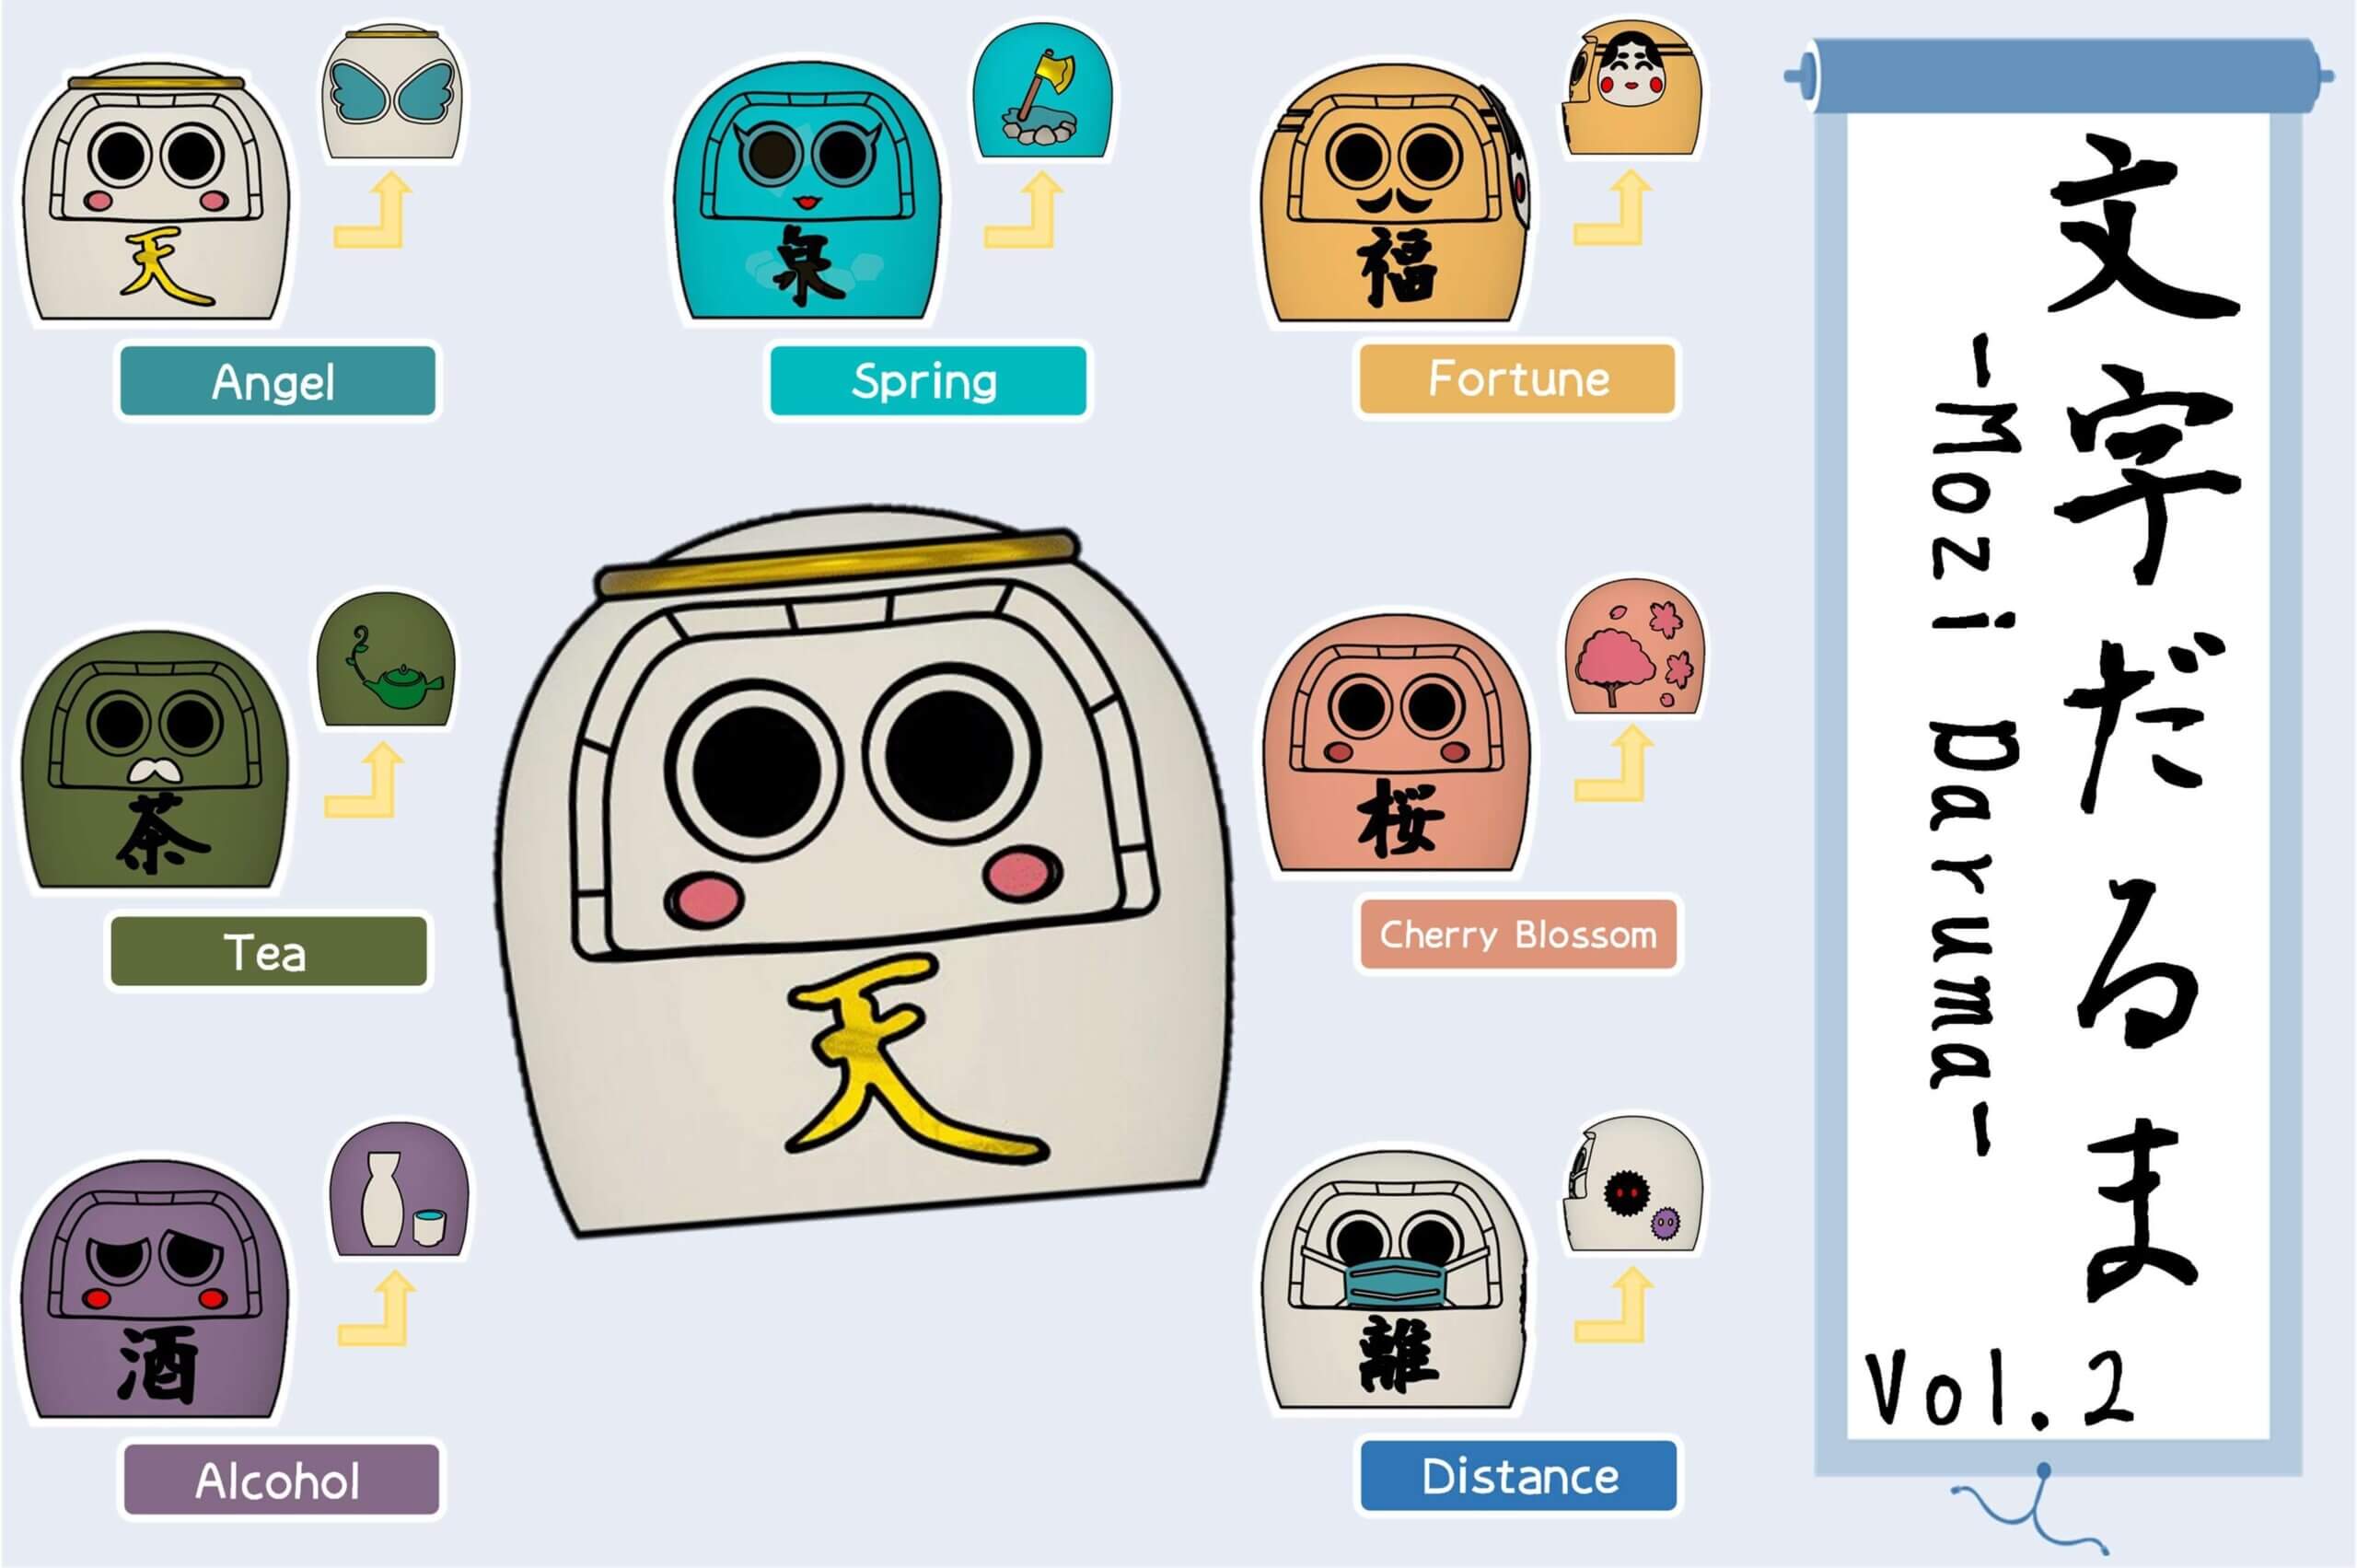
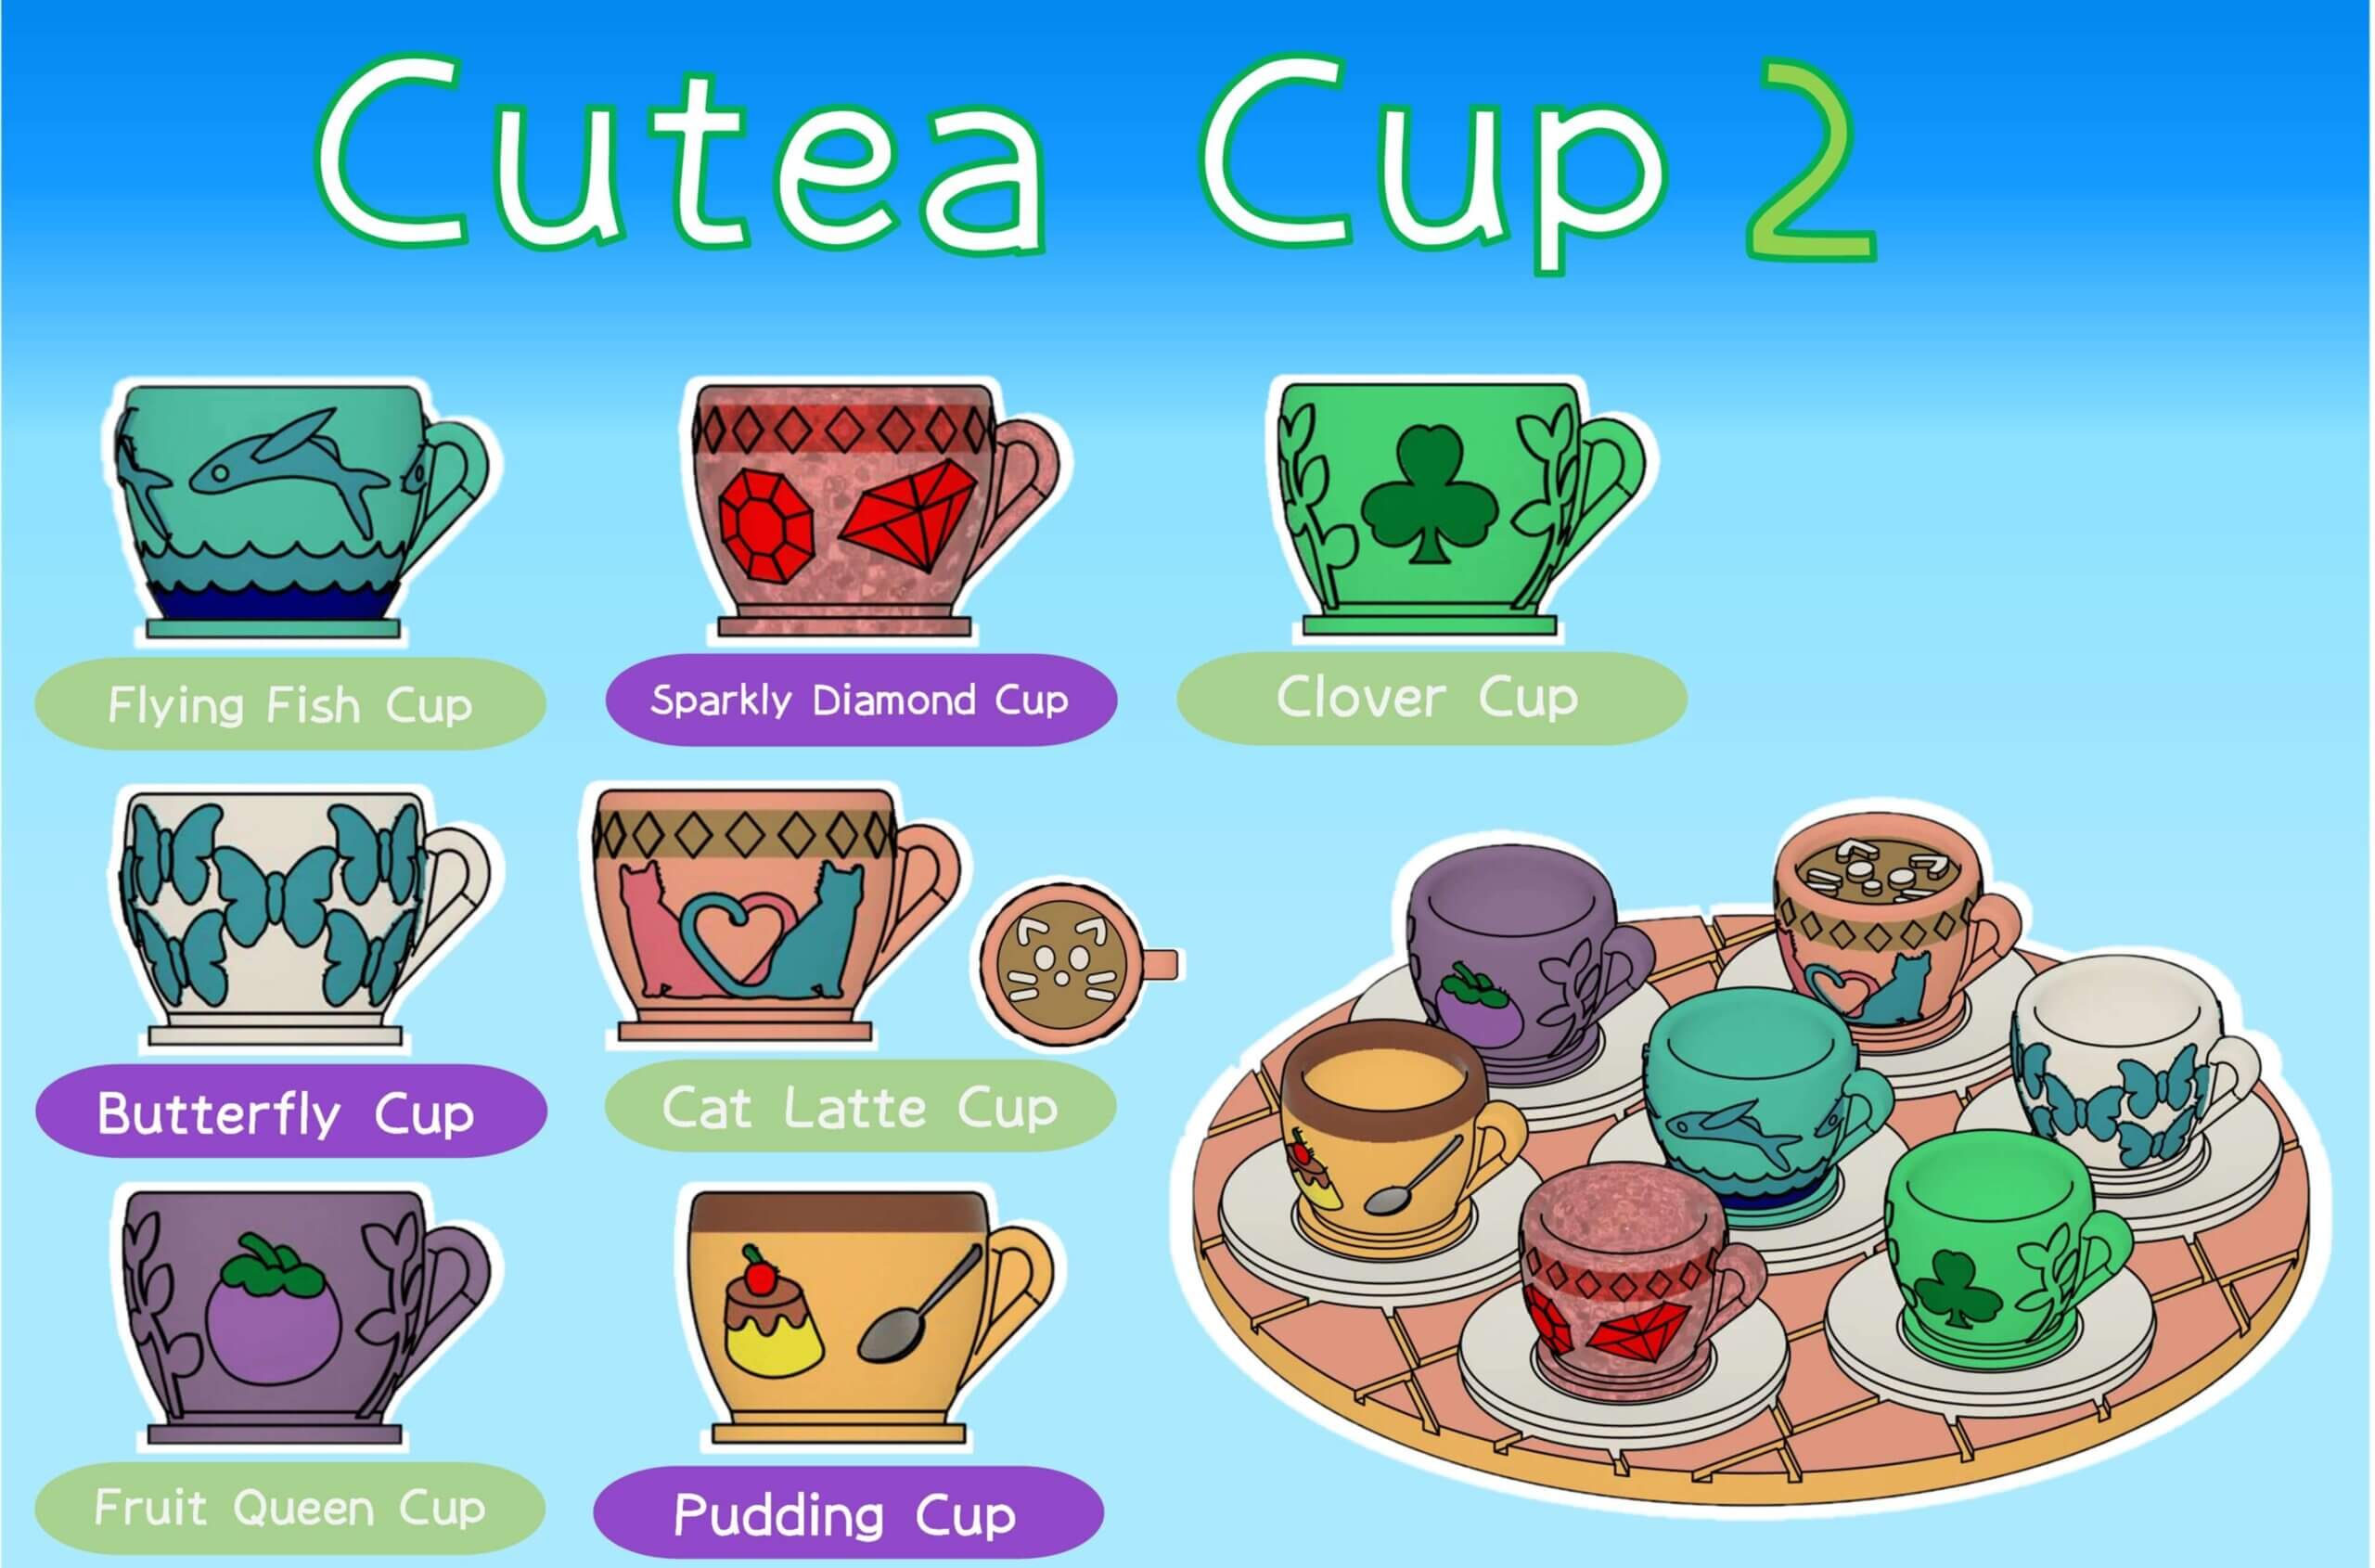
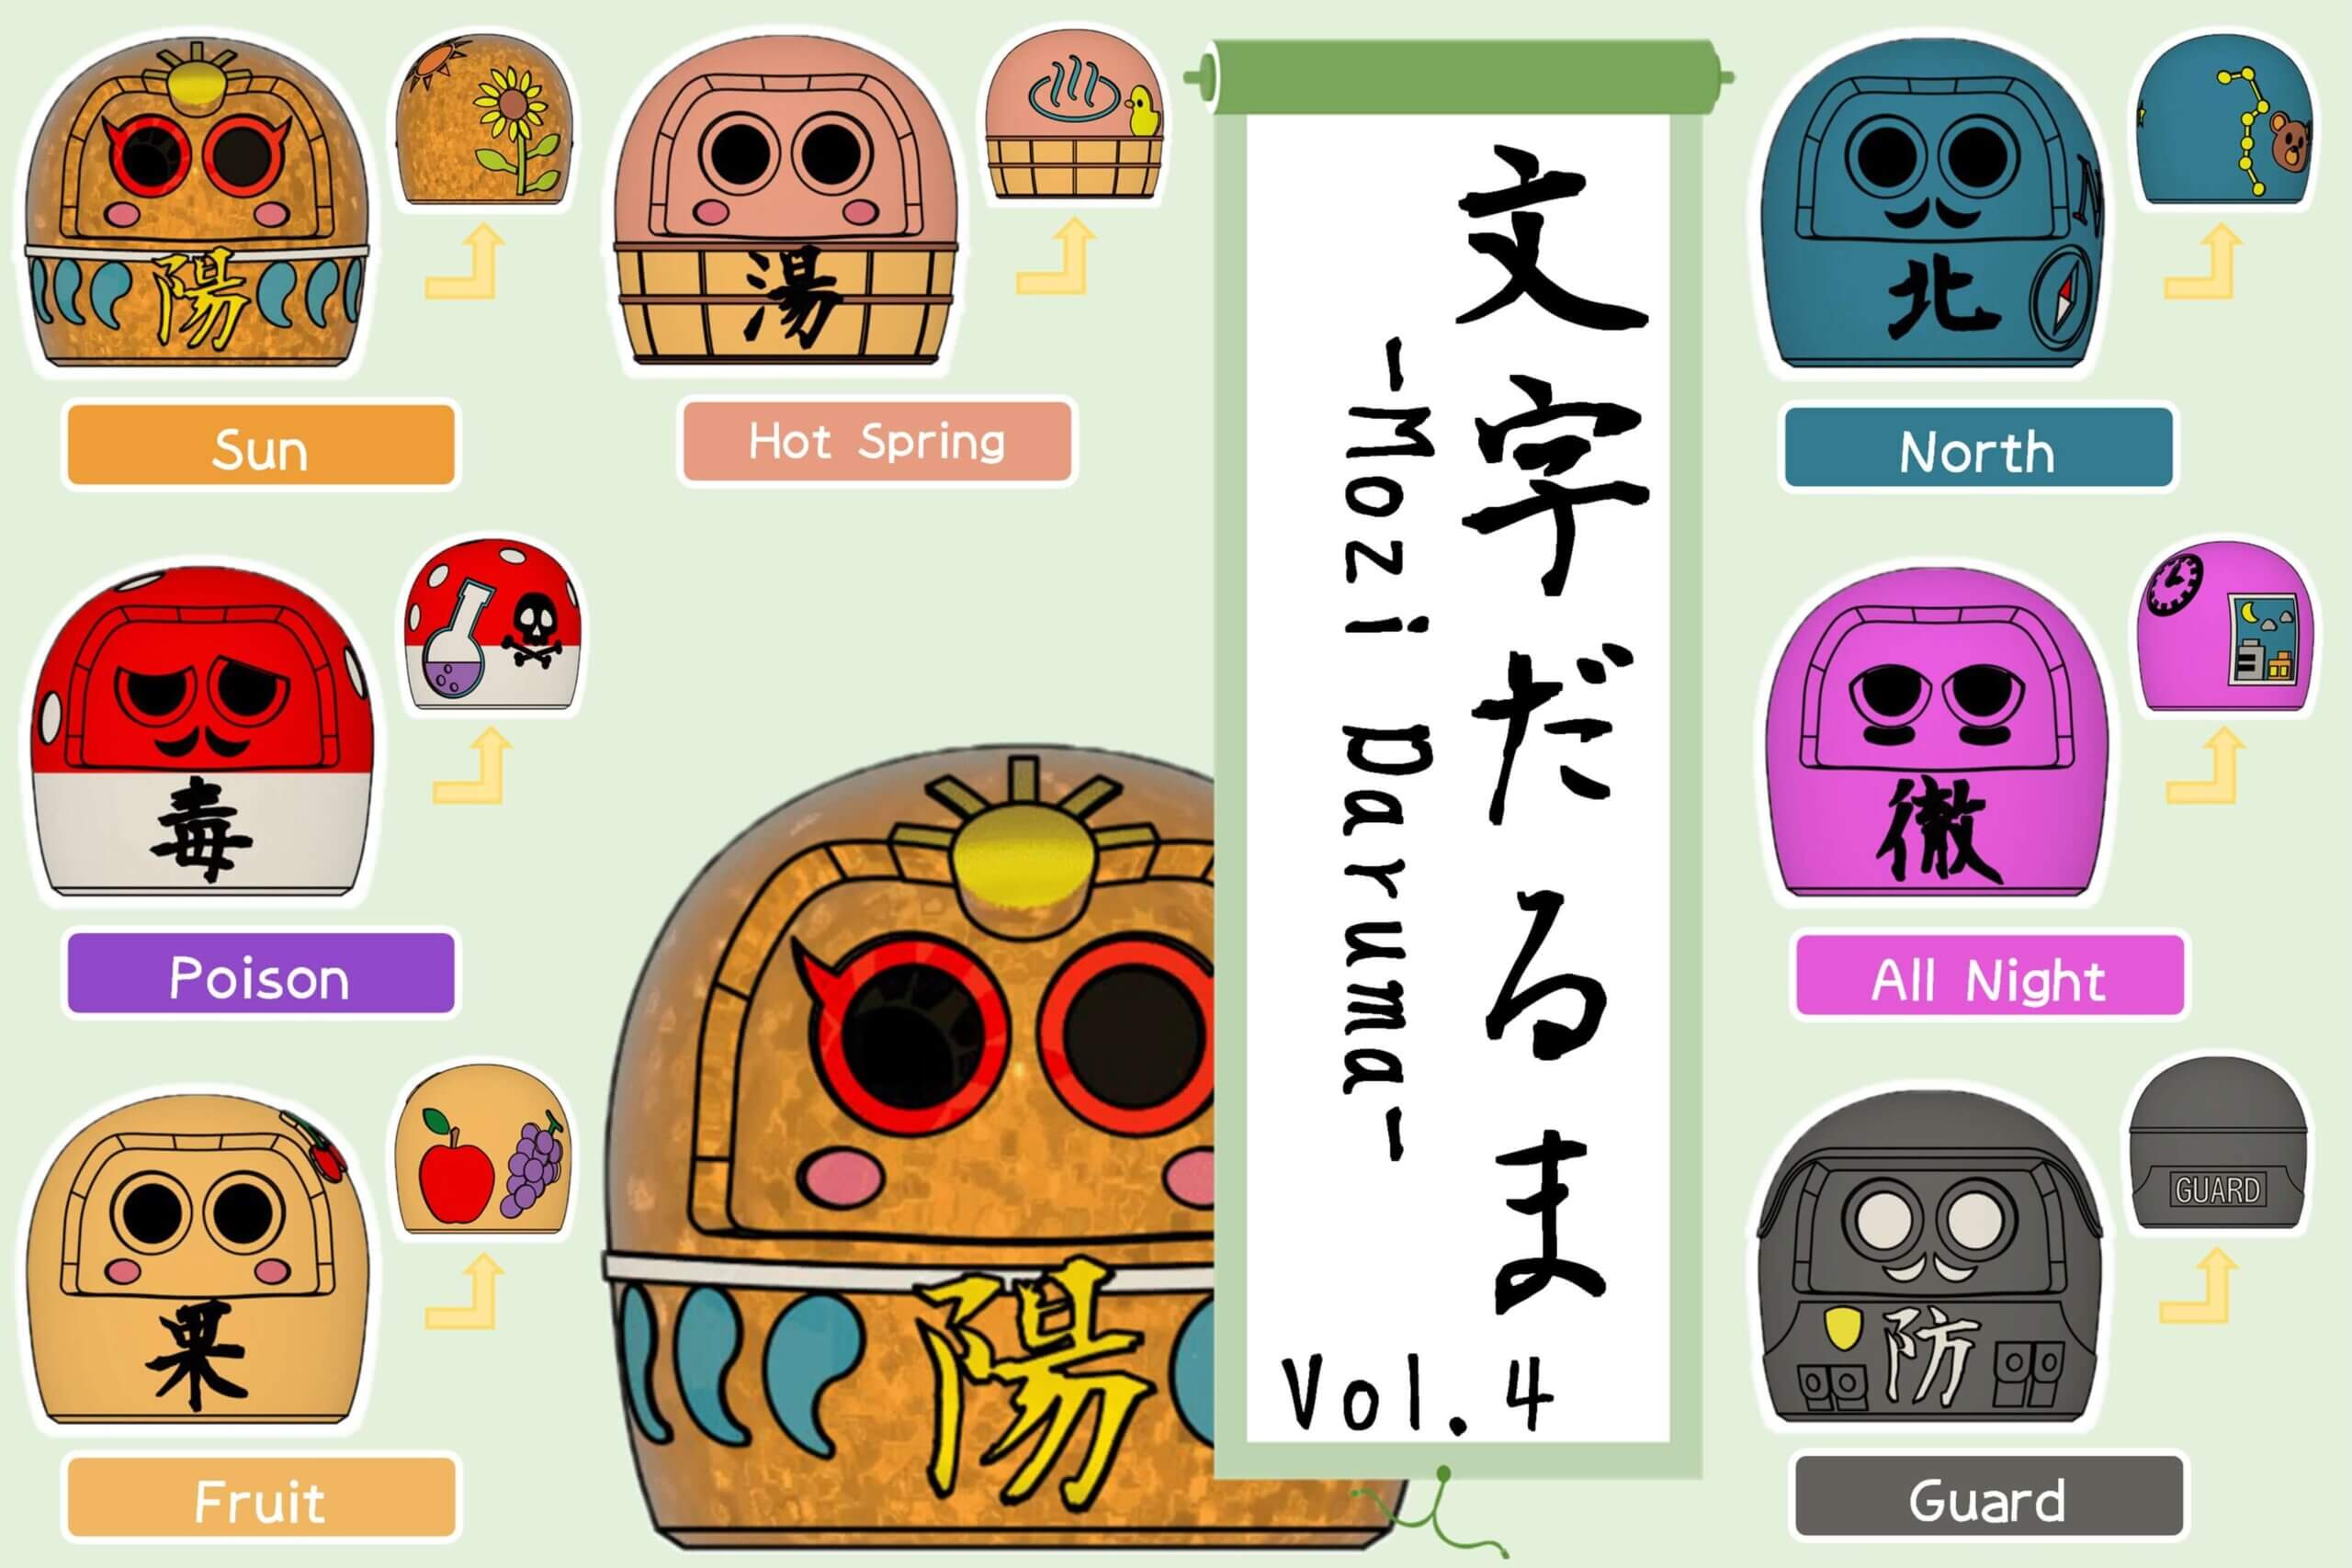
In addition to the capsule machine itself, capsule toy models are also distributed: “Job Egg” and “Cutea Cup,” which can fit into 27mm capsules, and “Mozi Daruma,” which can be used without a capsule and inserted directly into the machine.
Choose what you like and put it in your EduColon!