This page describes how to use “TinkerCad” to easily create 3D models.
Below you will find URLs to tutorials and kits created by STAG.B itself, which you can download and use.
Table
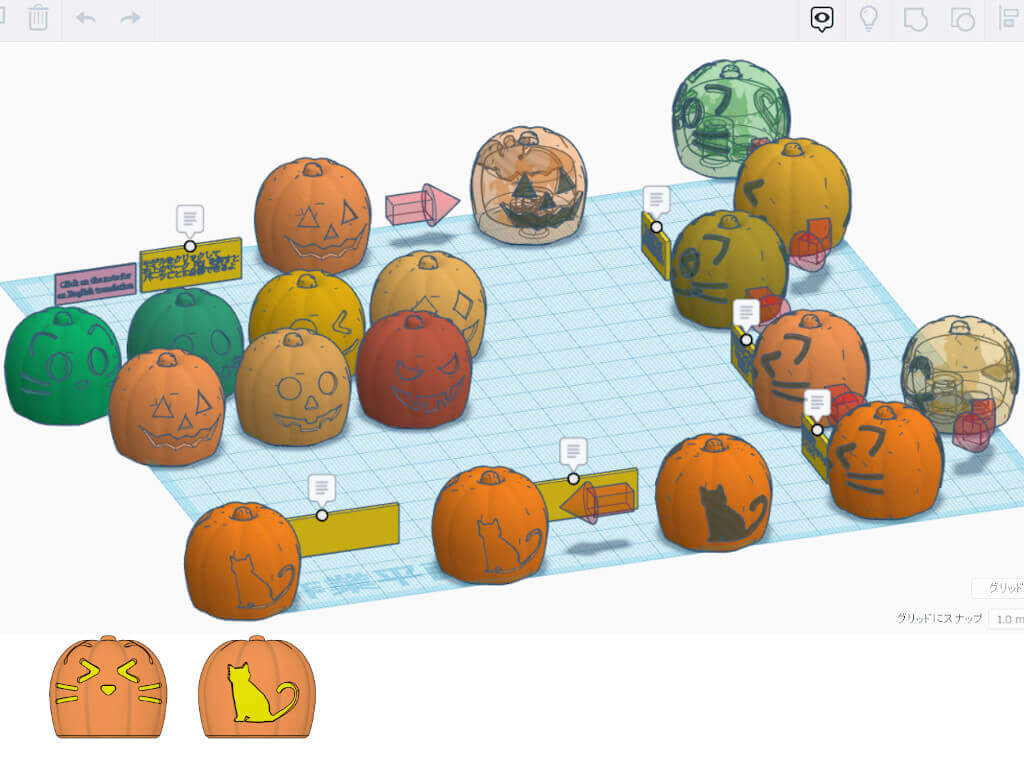
1.Learn how to operate!
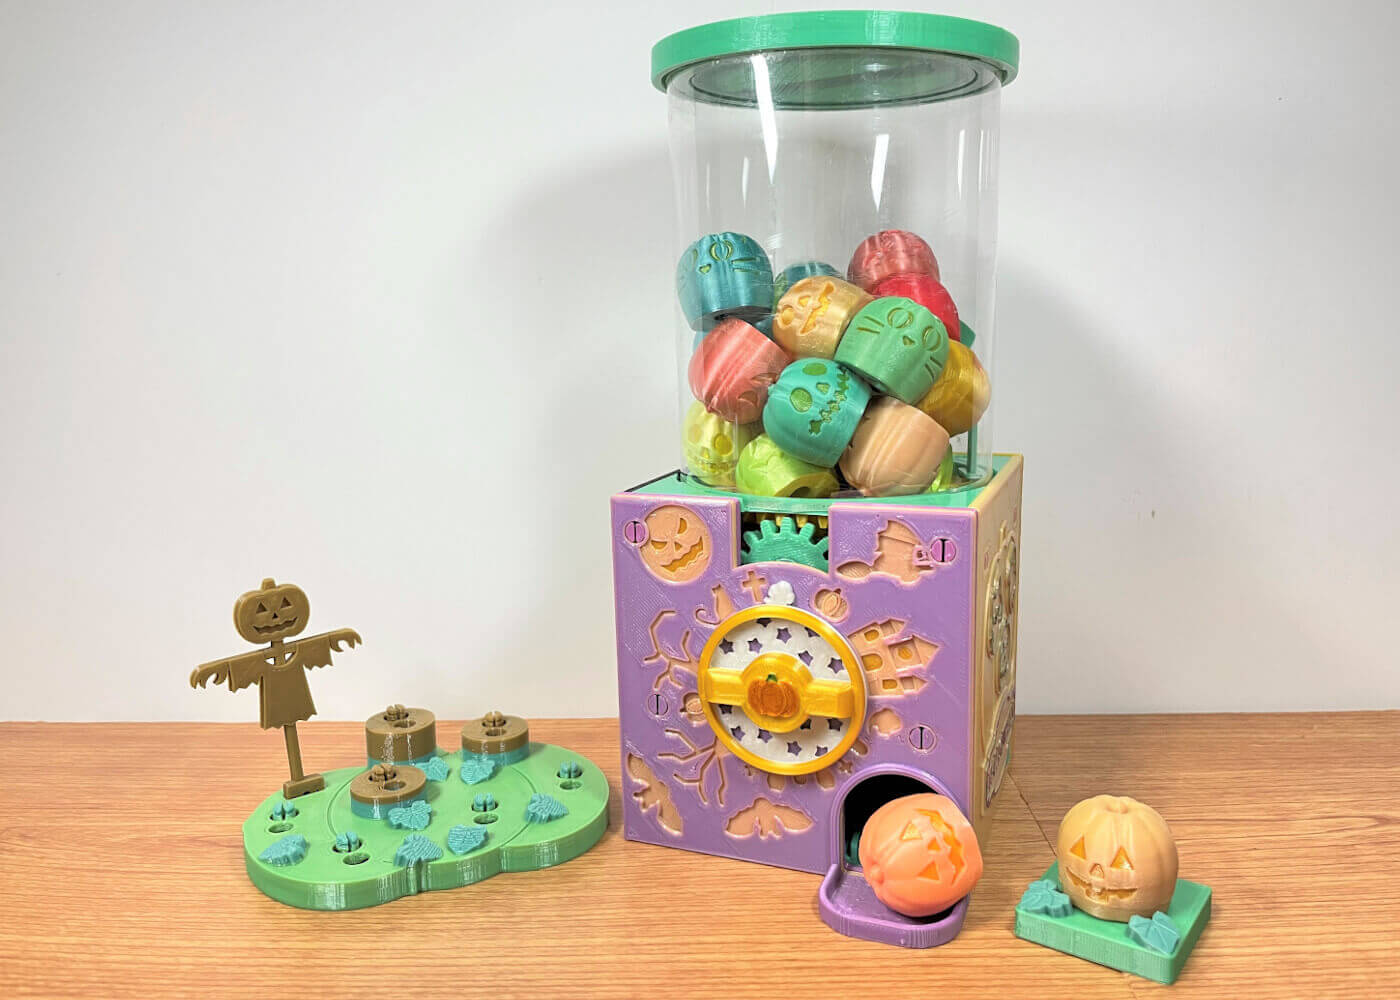
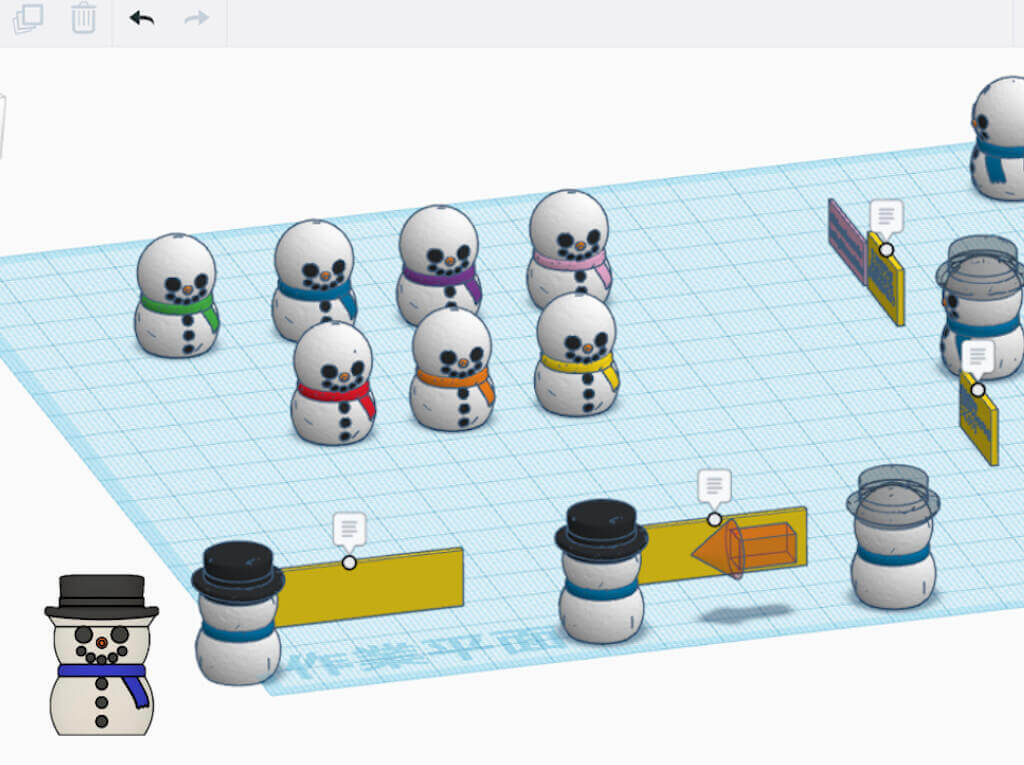
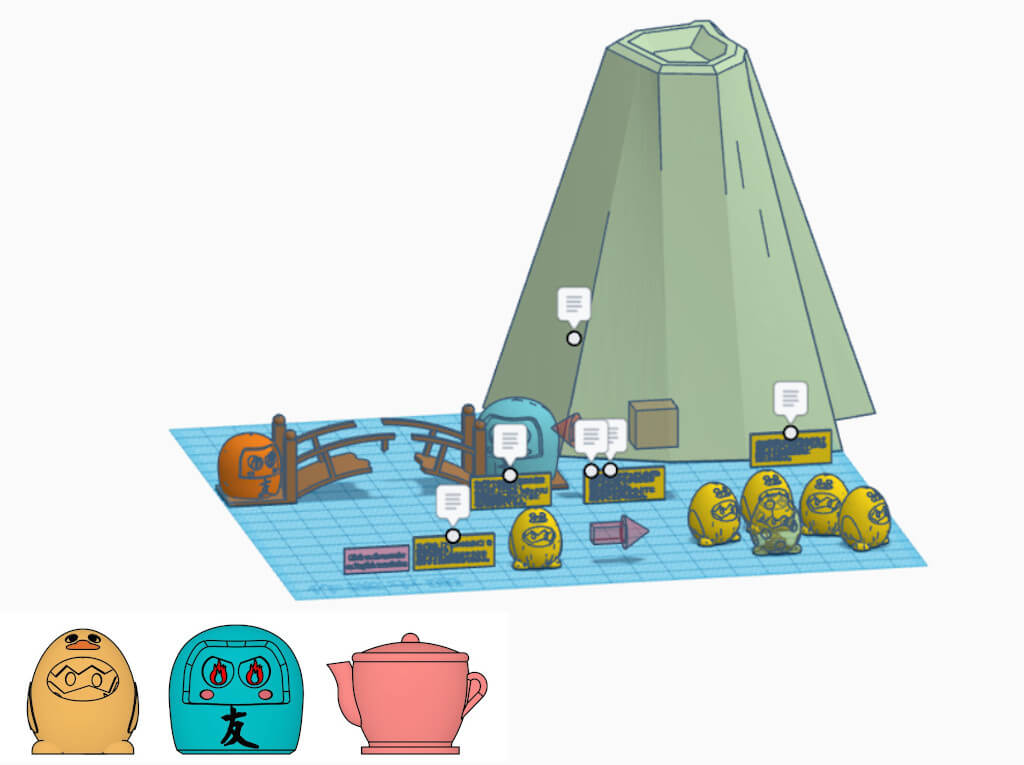
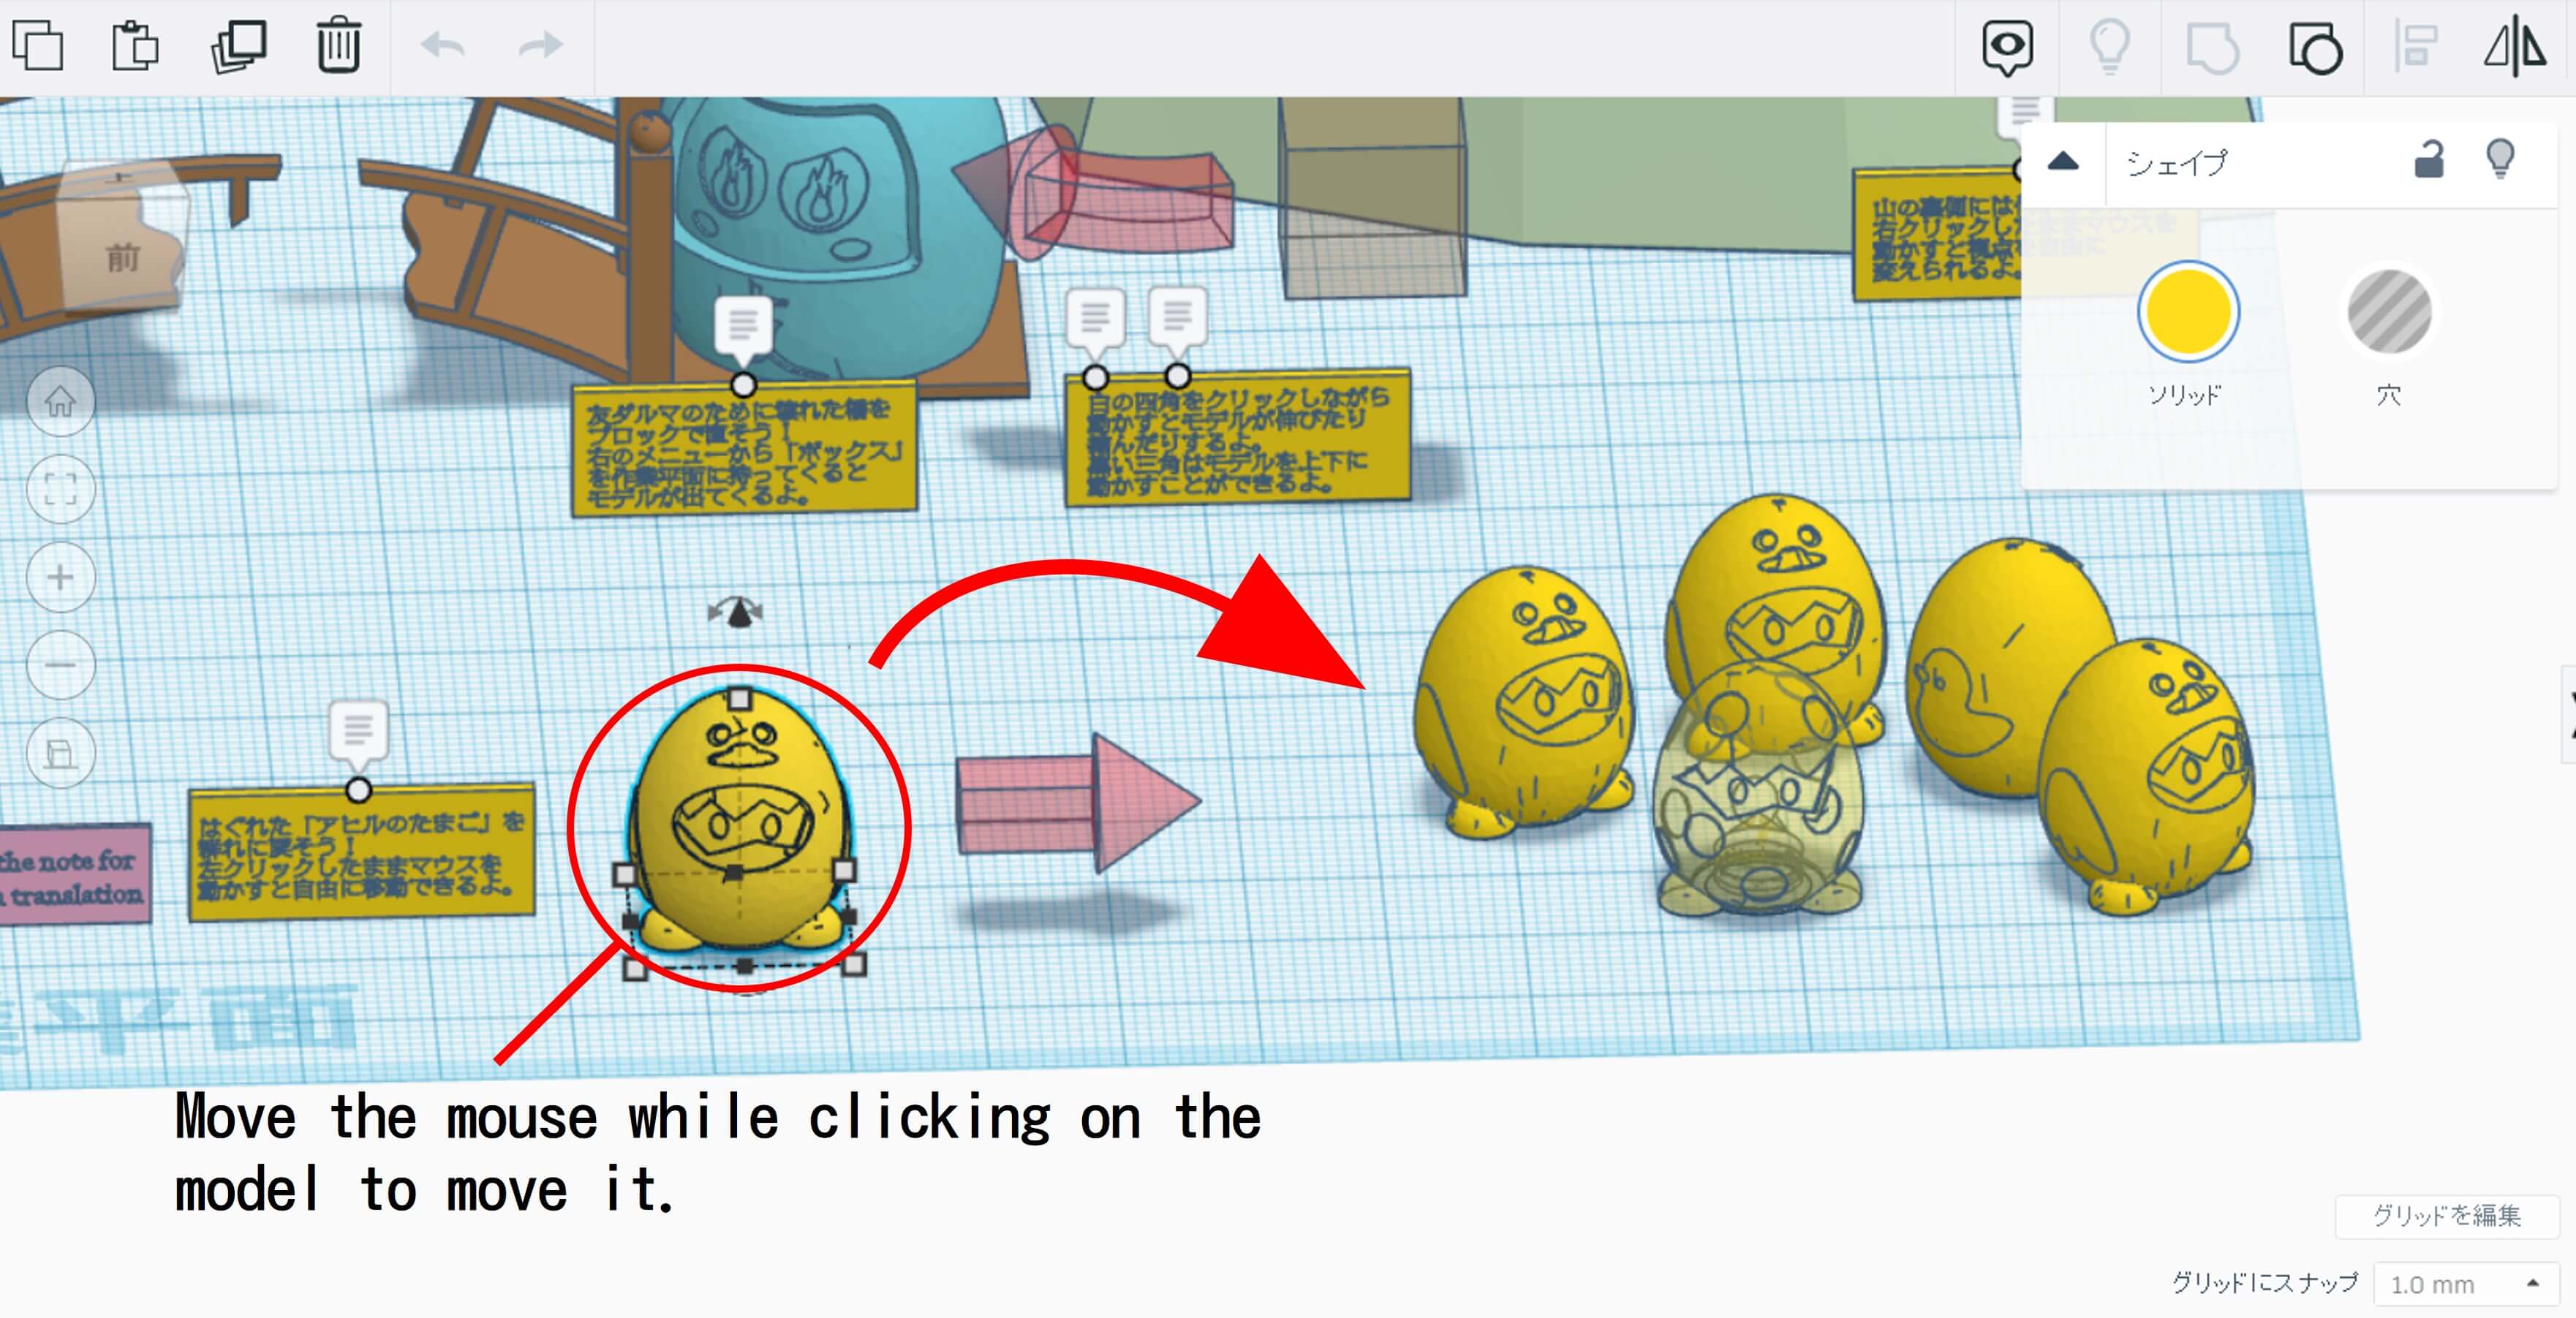
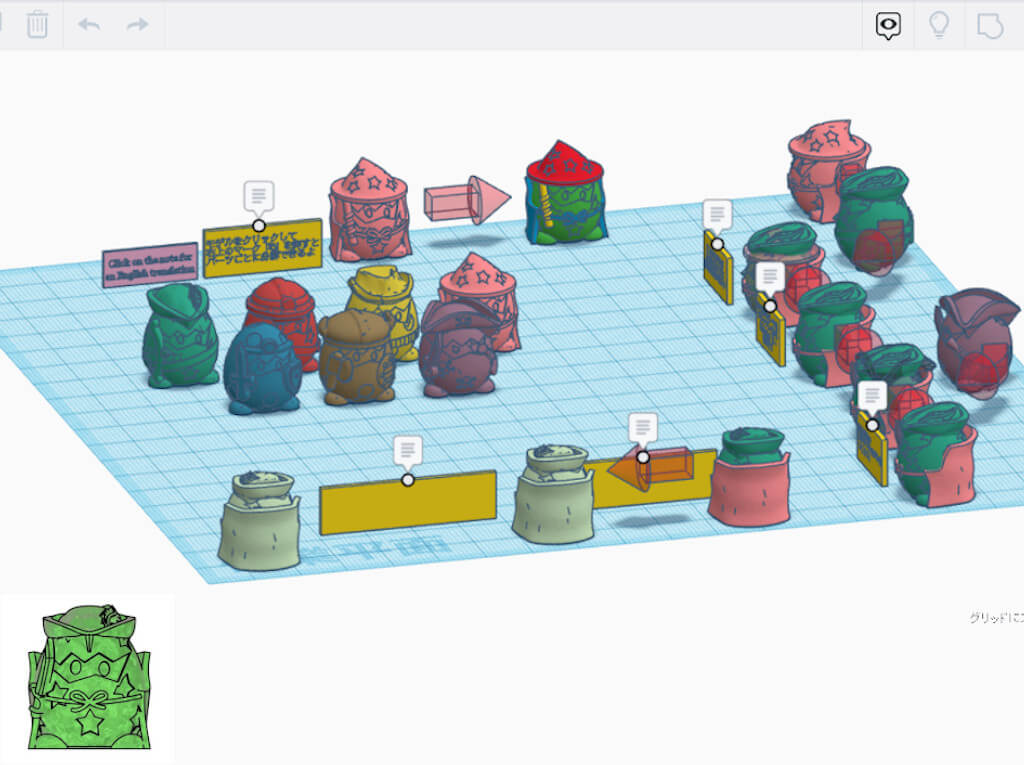
In this tutorial, you will learn how to operate TinkerCad by completing the tasks on the yellow sign. Also included in this tutorial are limited edition capsule toys (one for each of Job Egg, Cutea Cup, and Mozi Daruma). Take the challenge and get all three!
For a tutorial, click on the “Challenge!” link below. below to go to the download page for the kit.
When the page opens, select “Copy and Tinker”.
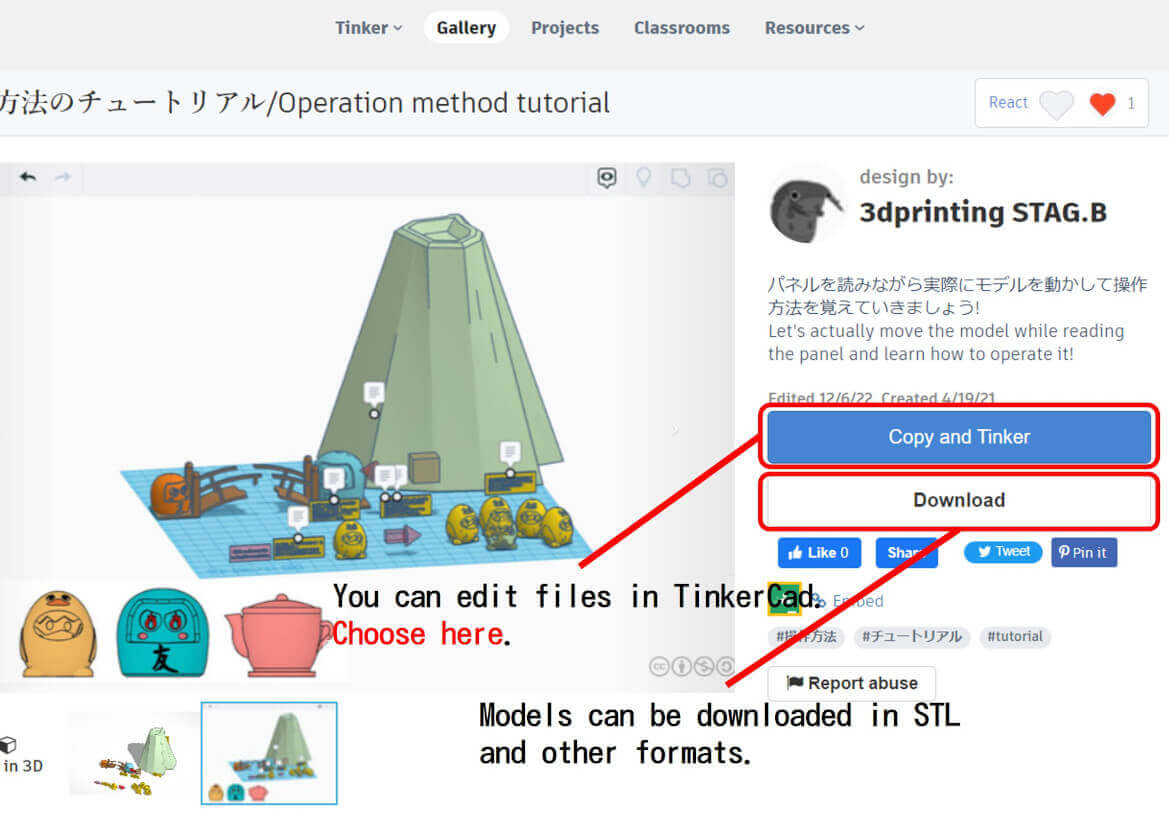
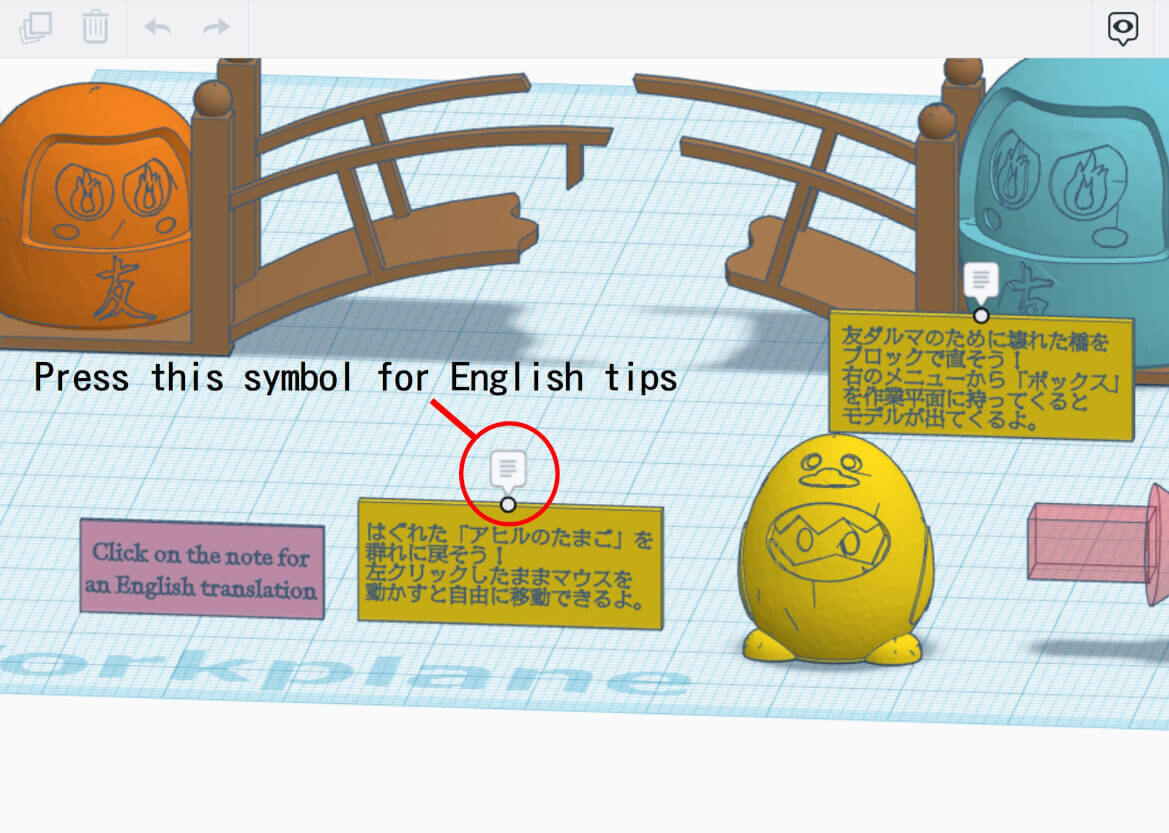
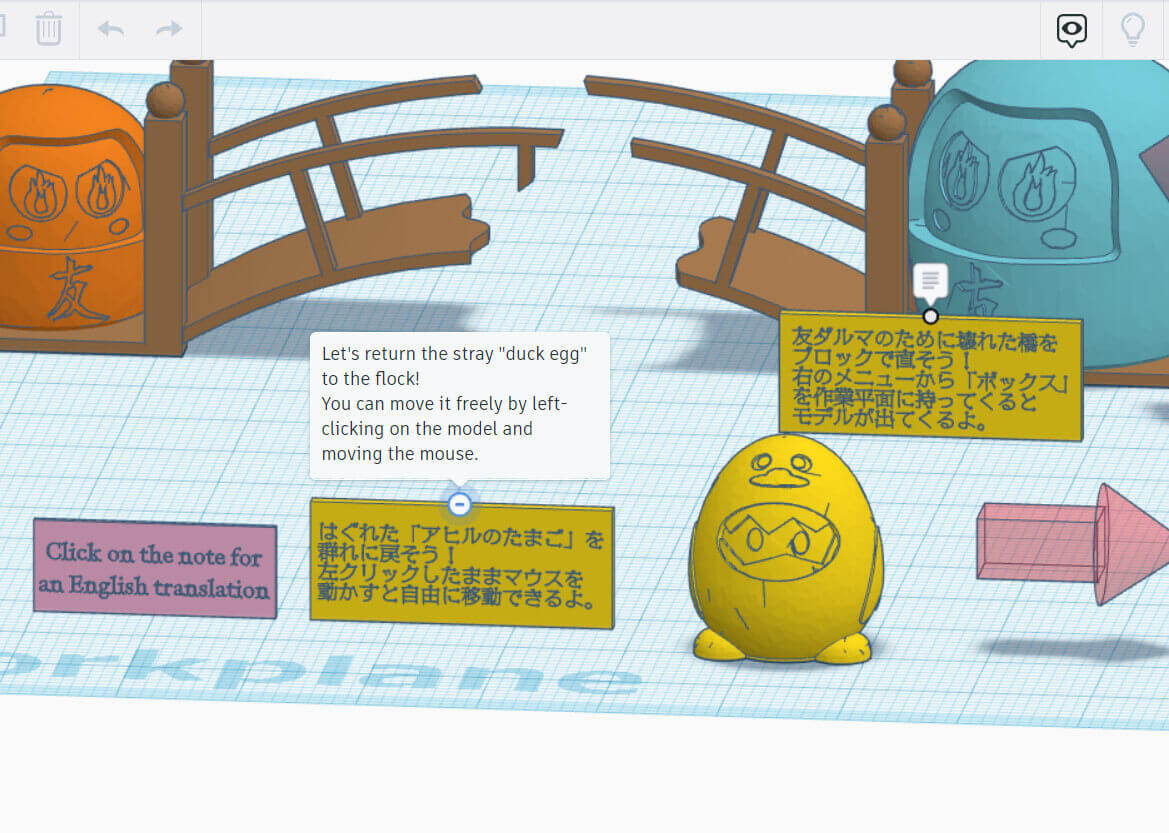
These tutorials were created for the Japanese market, so if you want to see the English tips, click on the balloon symbol above the sign.
Tip: Tutorial Tips
2.Let’s make things!
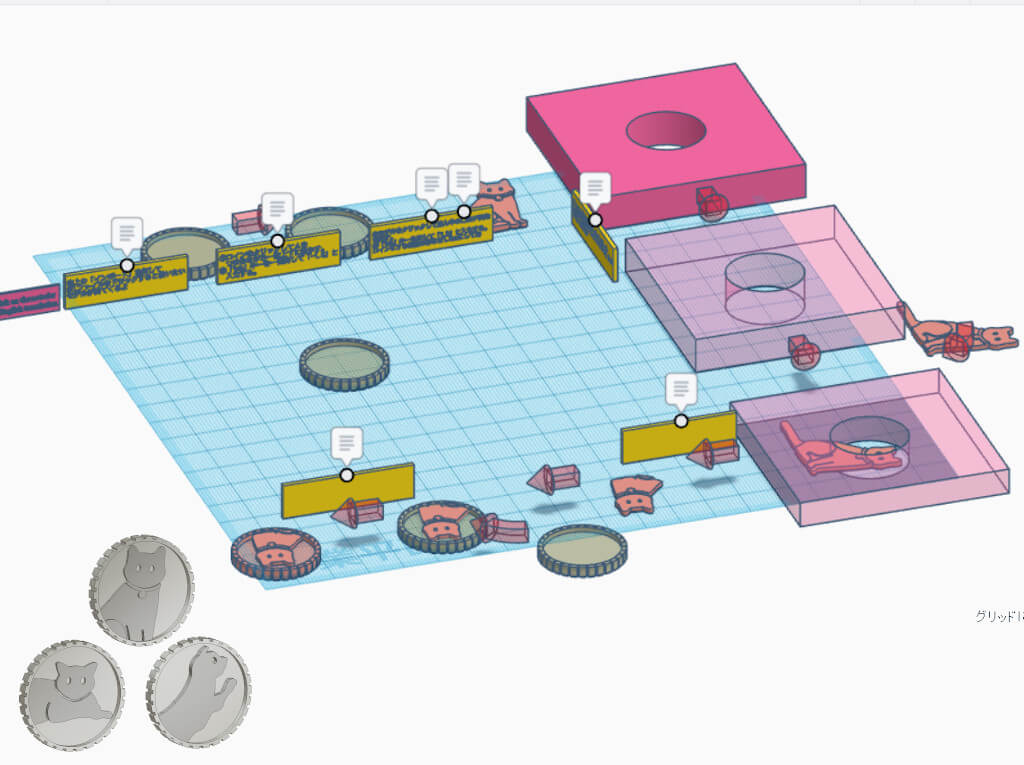
Now it’s time to try your hand at creating a model in TinkerCad!
B, we have prepared a tutorial on how to operate STAG.B and a kit in TinkerCad that allows you to create your own model right away. Read the yellow signs in the tutorial to get started.
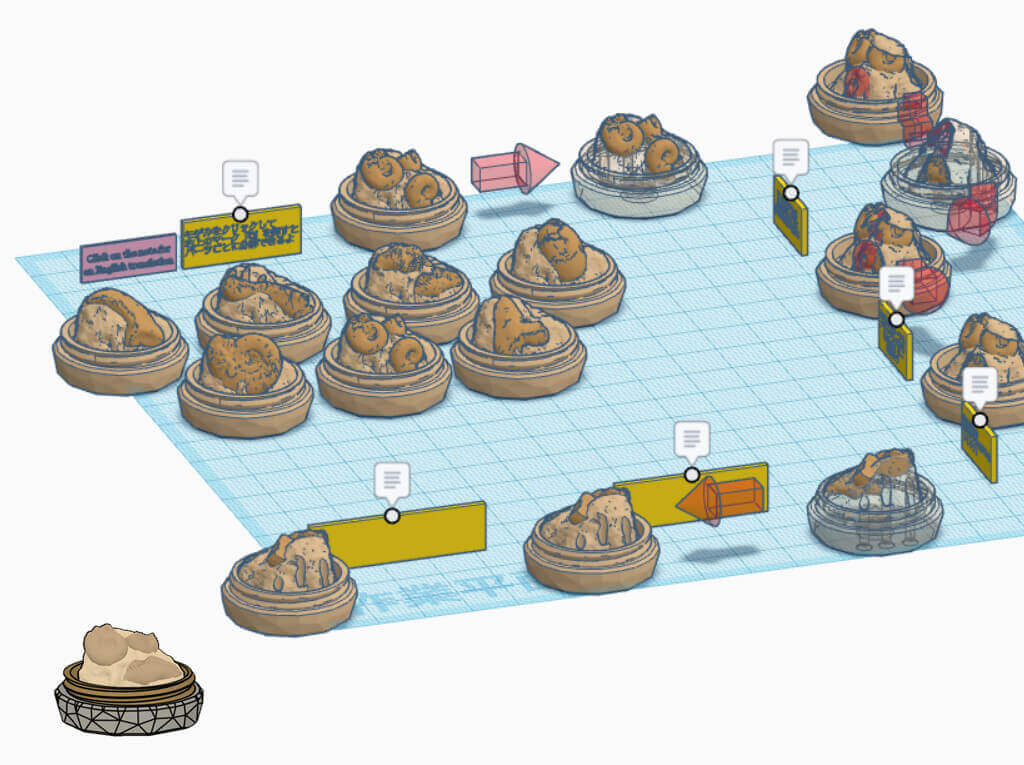
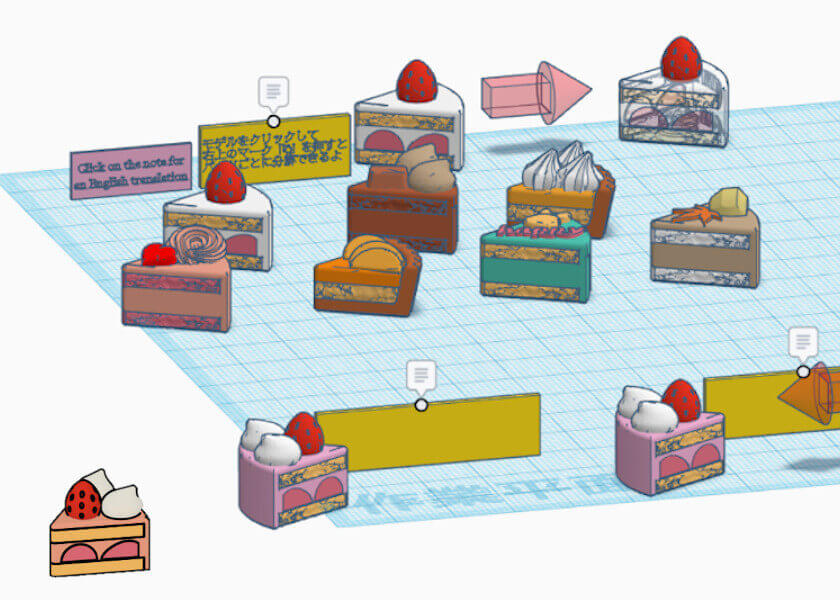
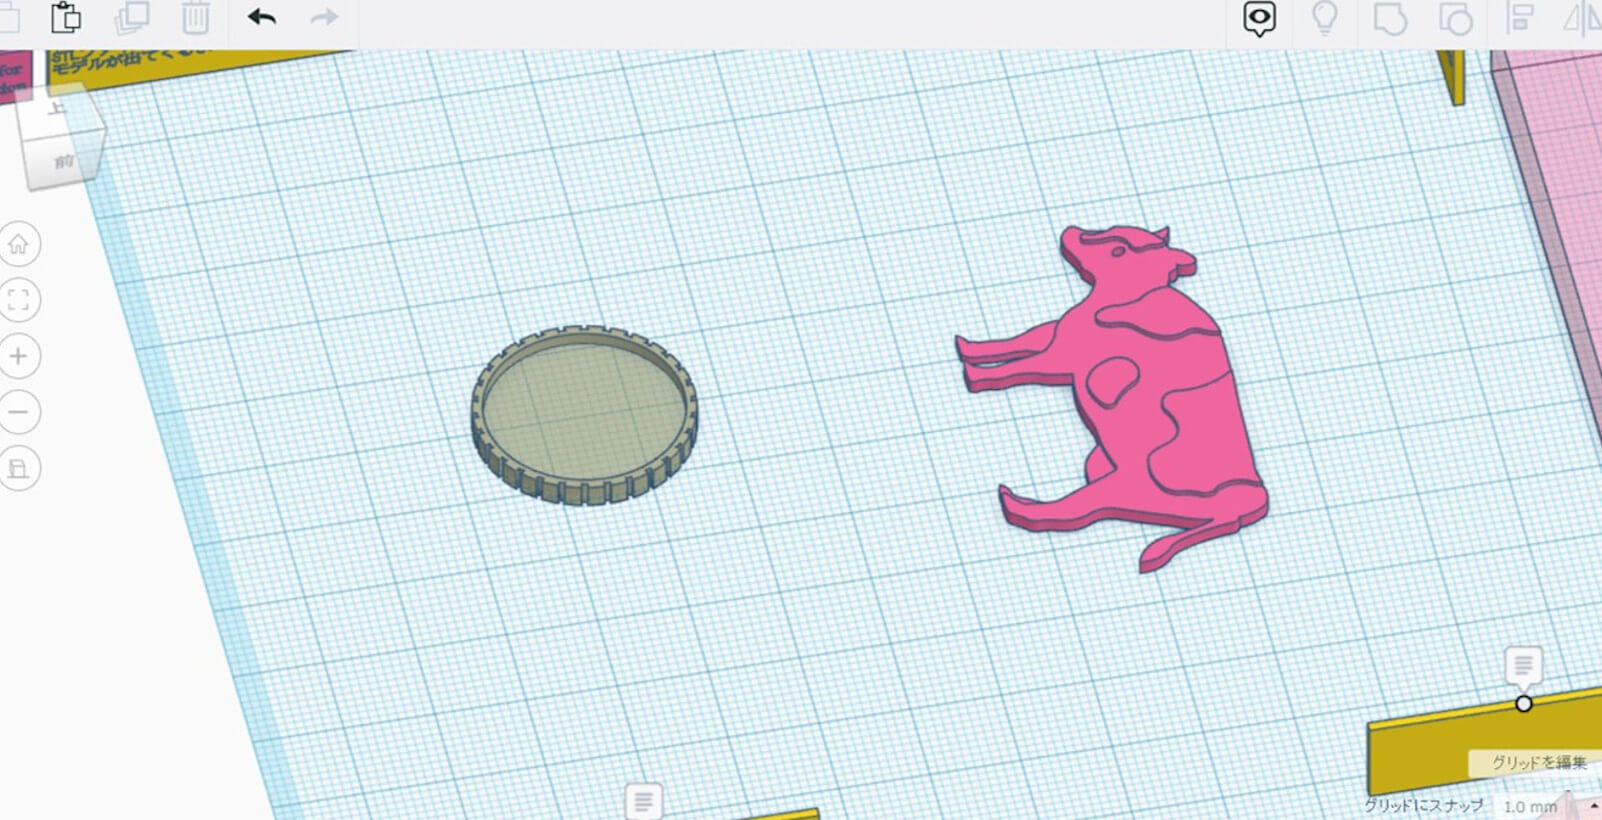
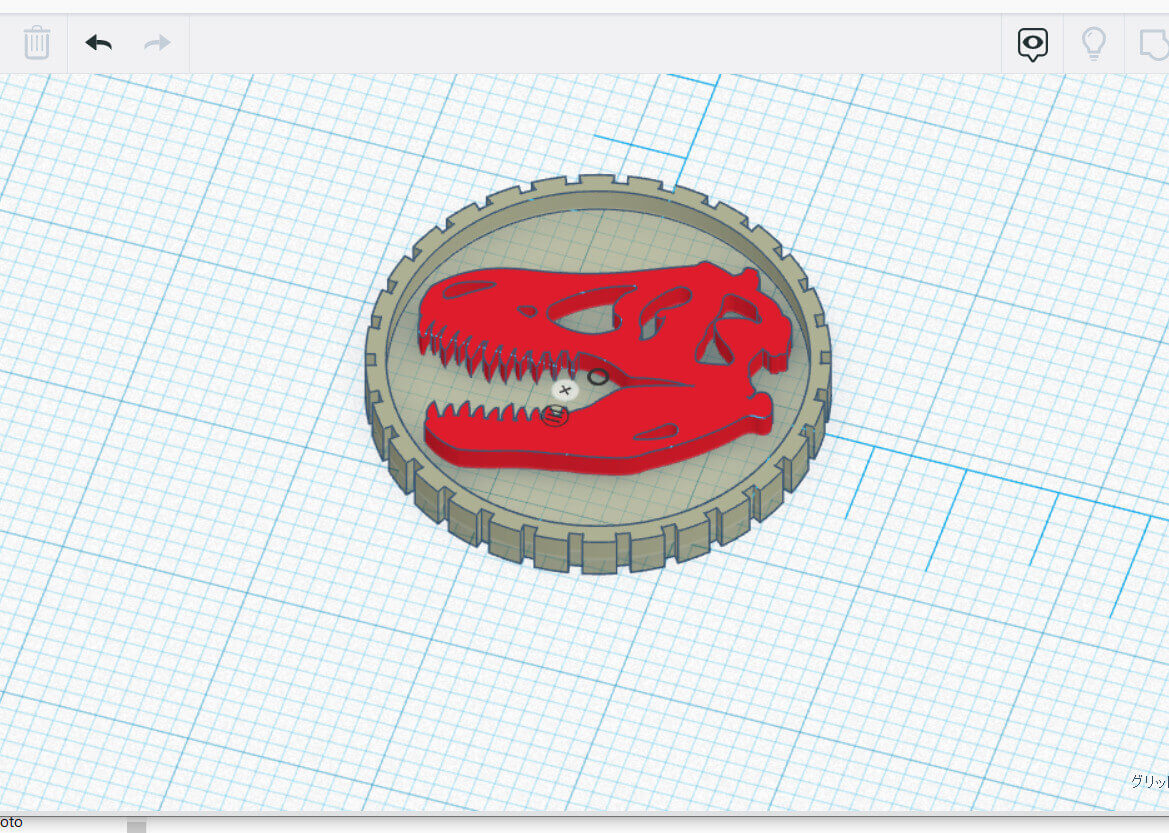
2-1.Let’s make coins!
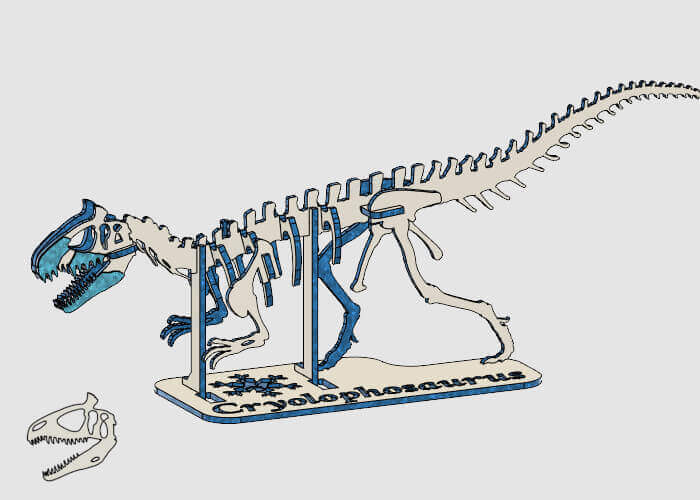
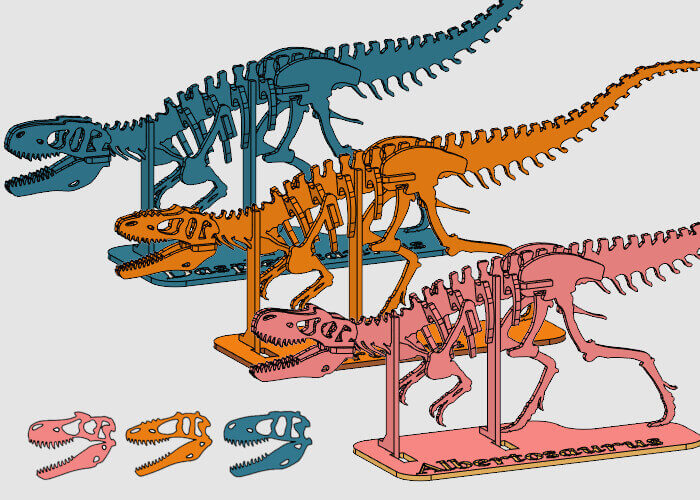
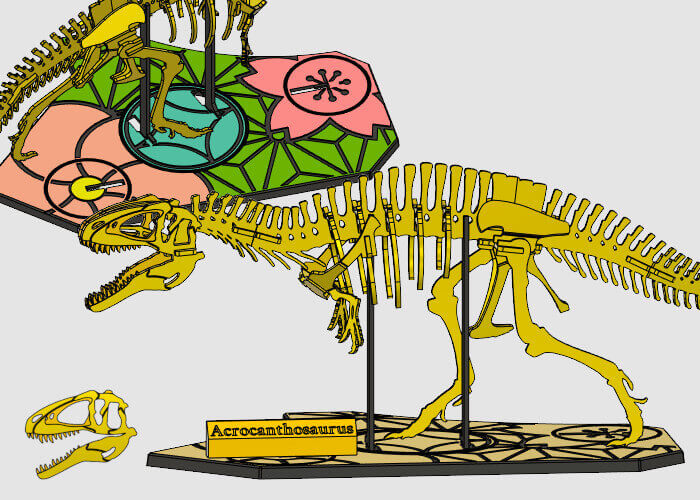
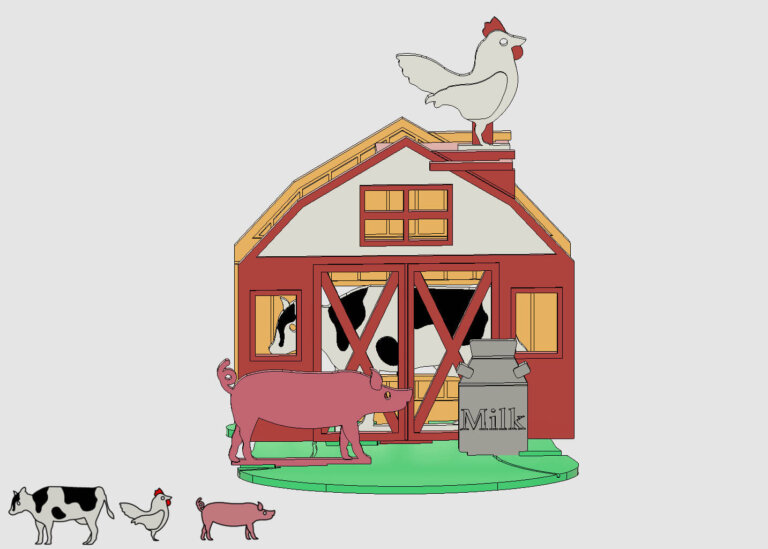
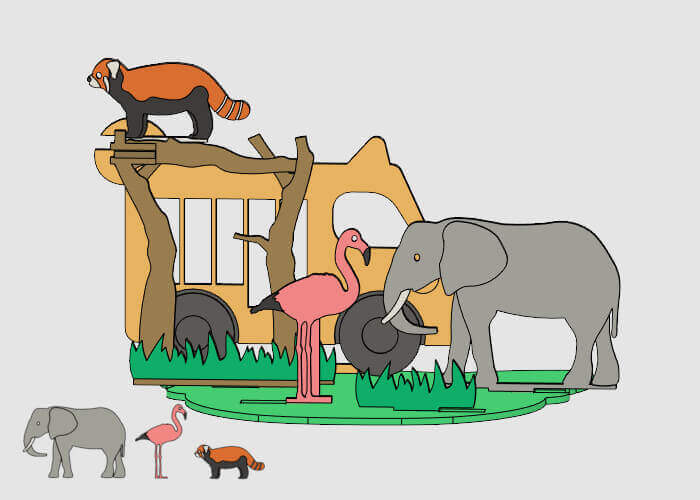
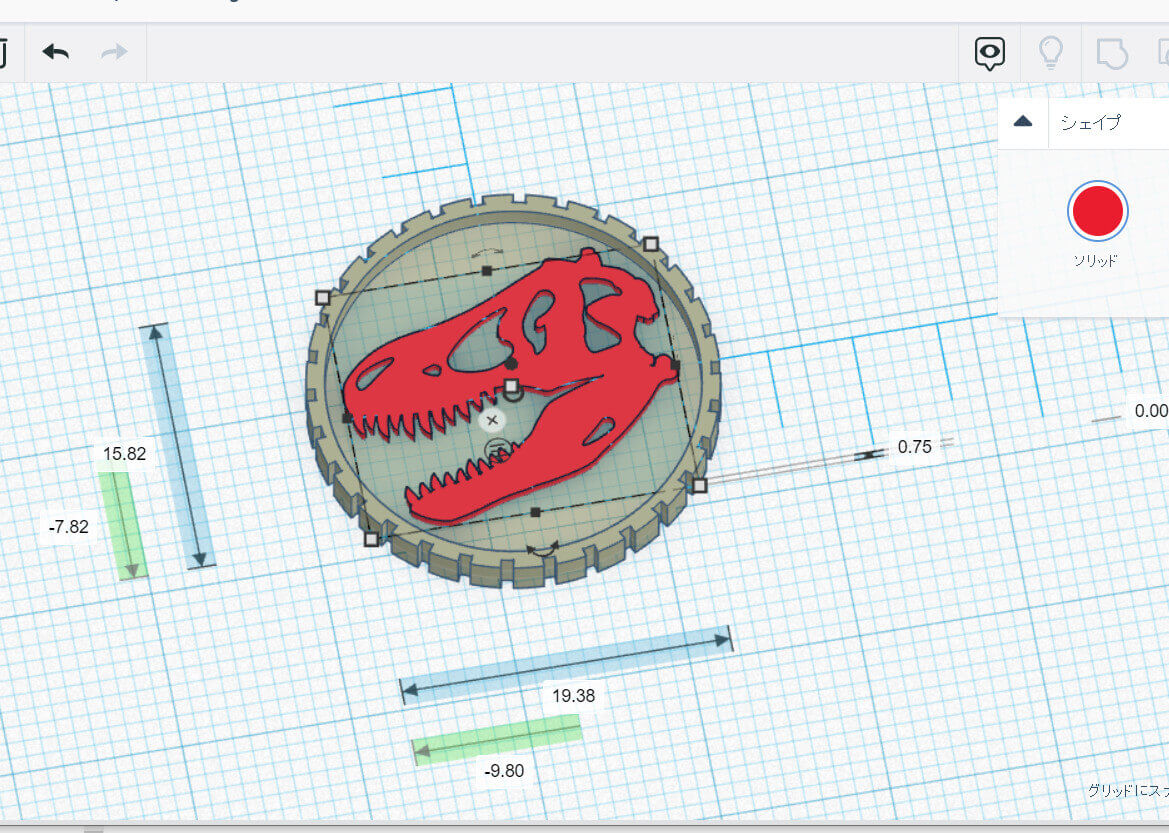
Once you know how to operate the machine, try making coins, which are easy to do. You can use the decoration parts included in “3Dino Puzzle” and “Animal Ensemble” for the coin patterns. Choose your favorite 3D puzzle pieces and turn them into coins!

PREMIUM

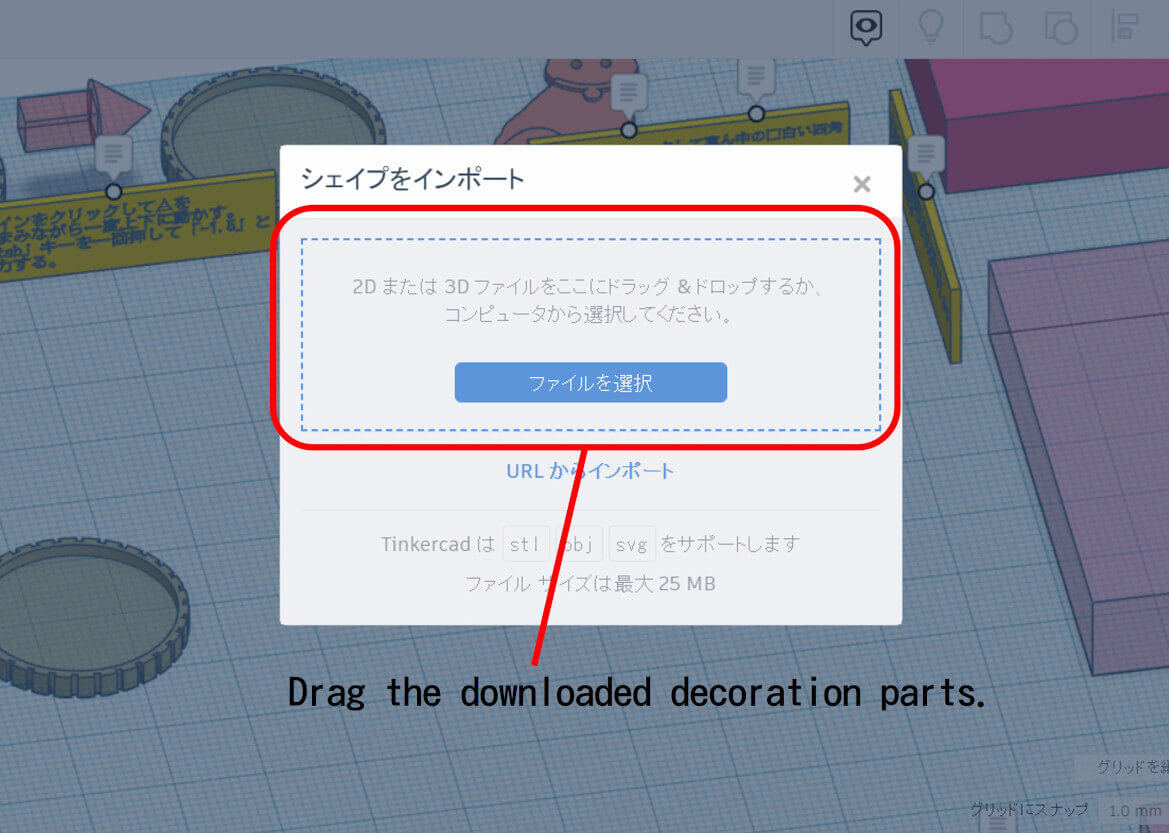
Tip: Importing Decoration Parts
To use downloaded 3D puzzle decoration parts within TinkerCad, STL models in the “decoration part” folders can be called up by dragging them to the “Import” area.
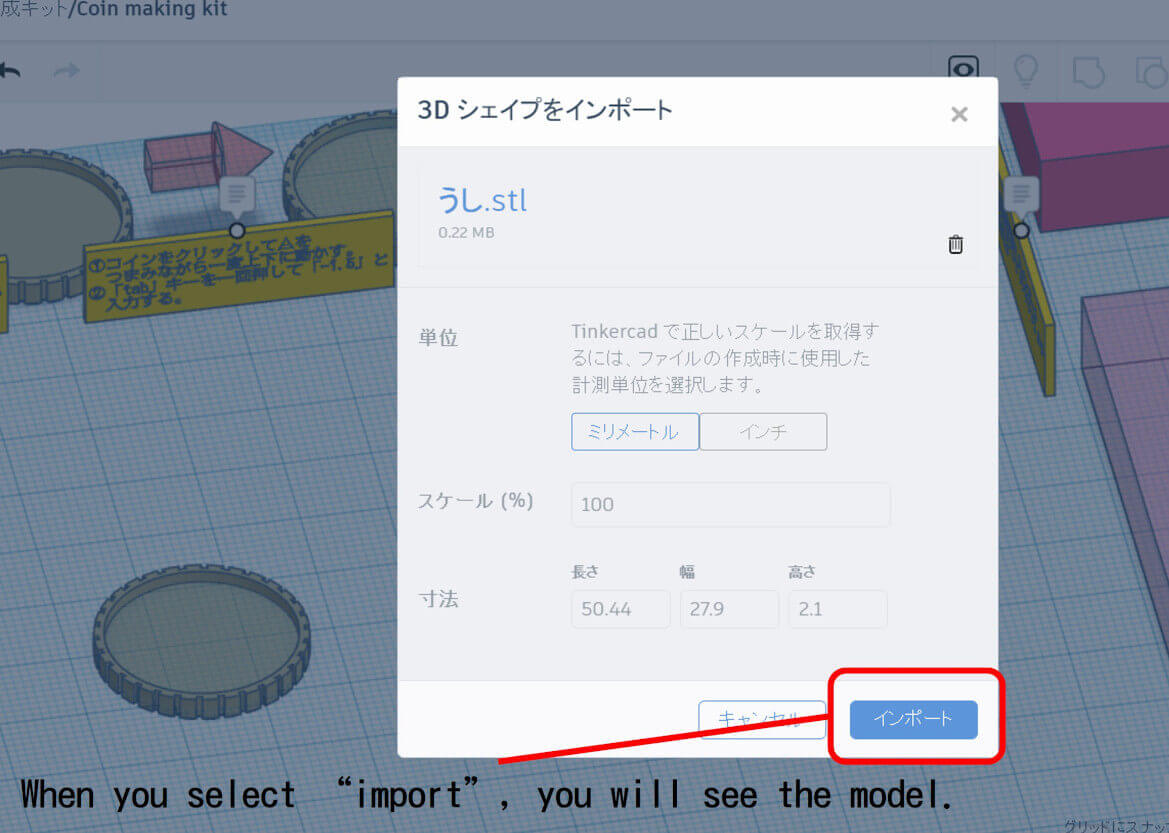
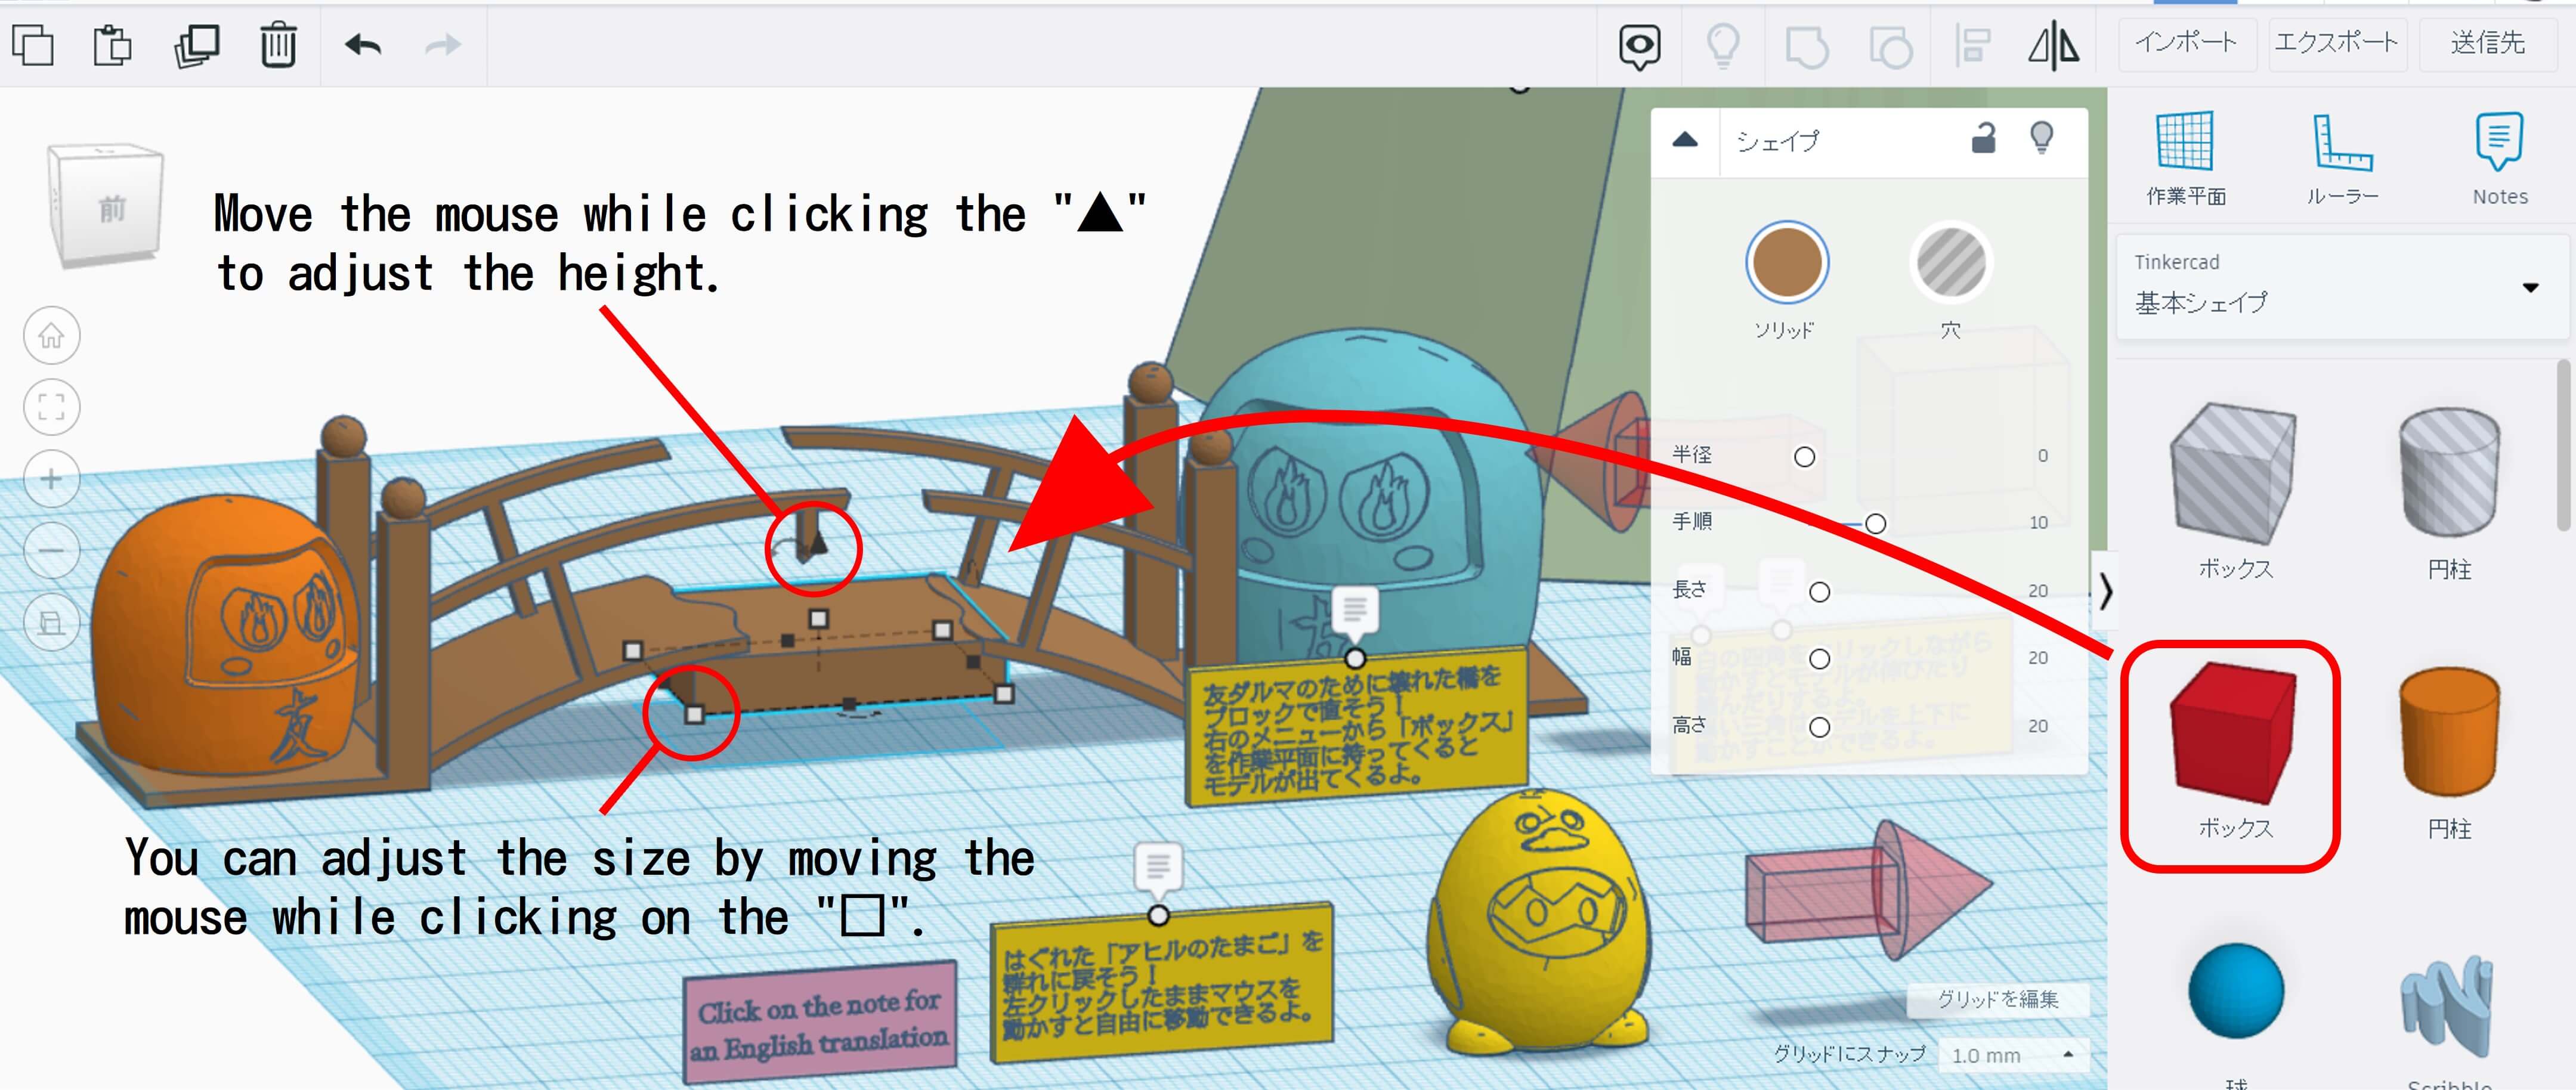
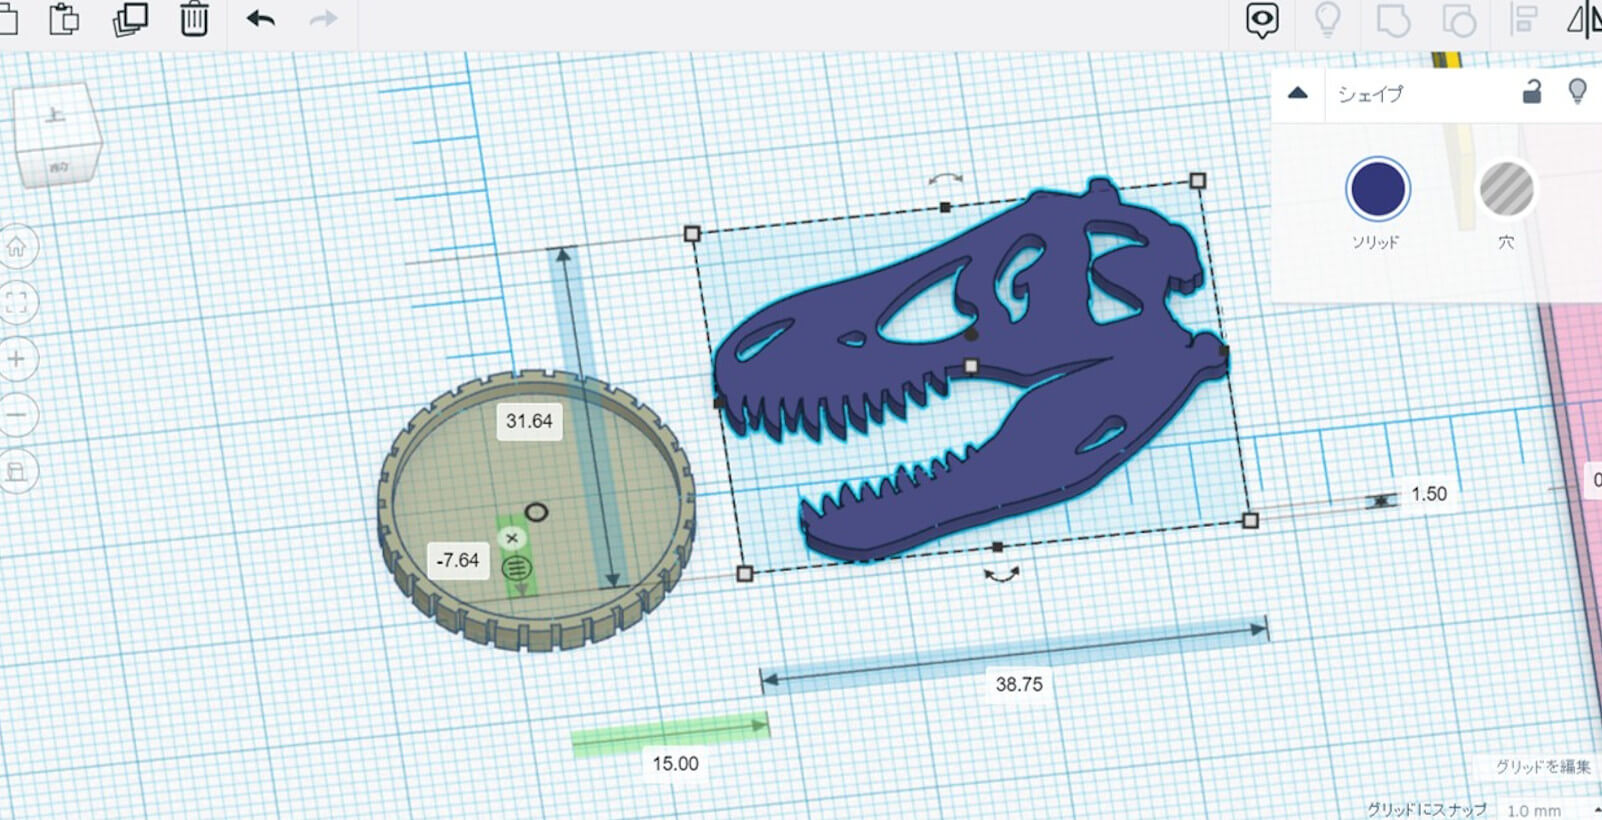
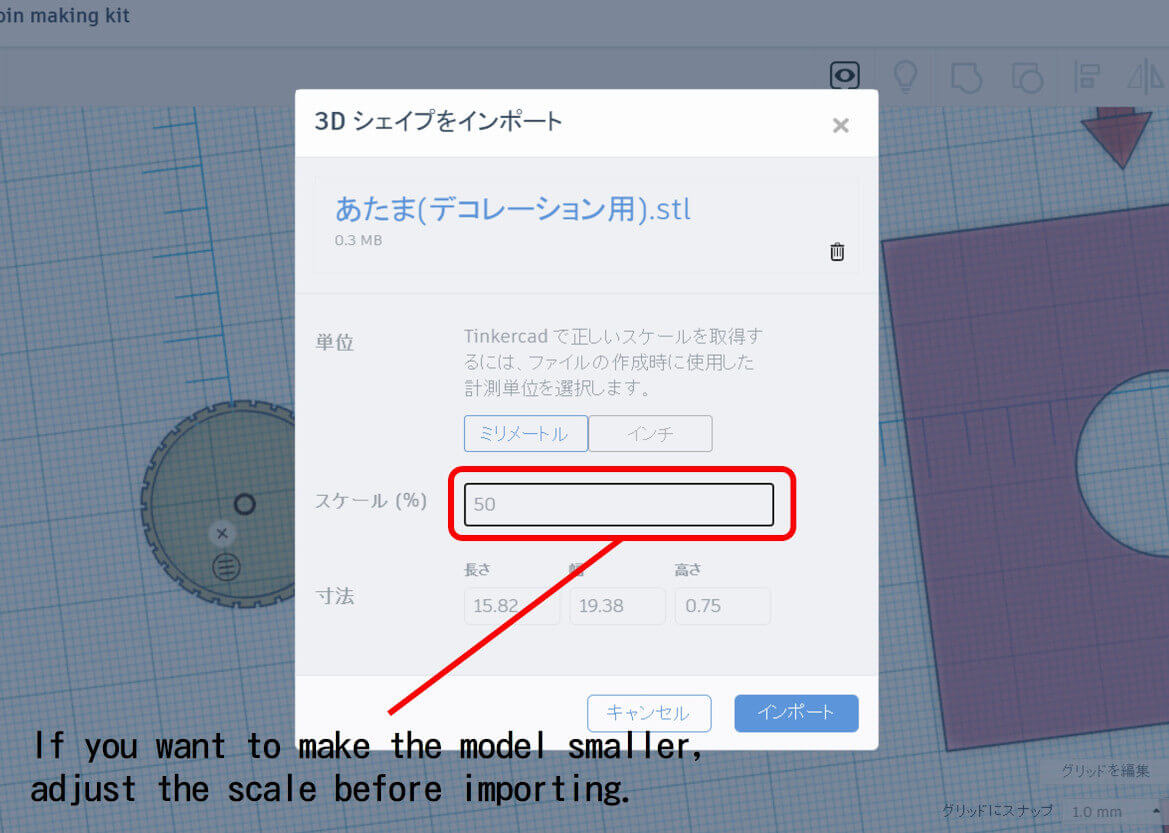
Tip: Adjust the size of decoration parts
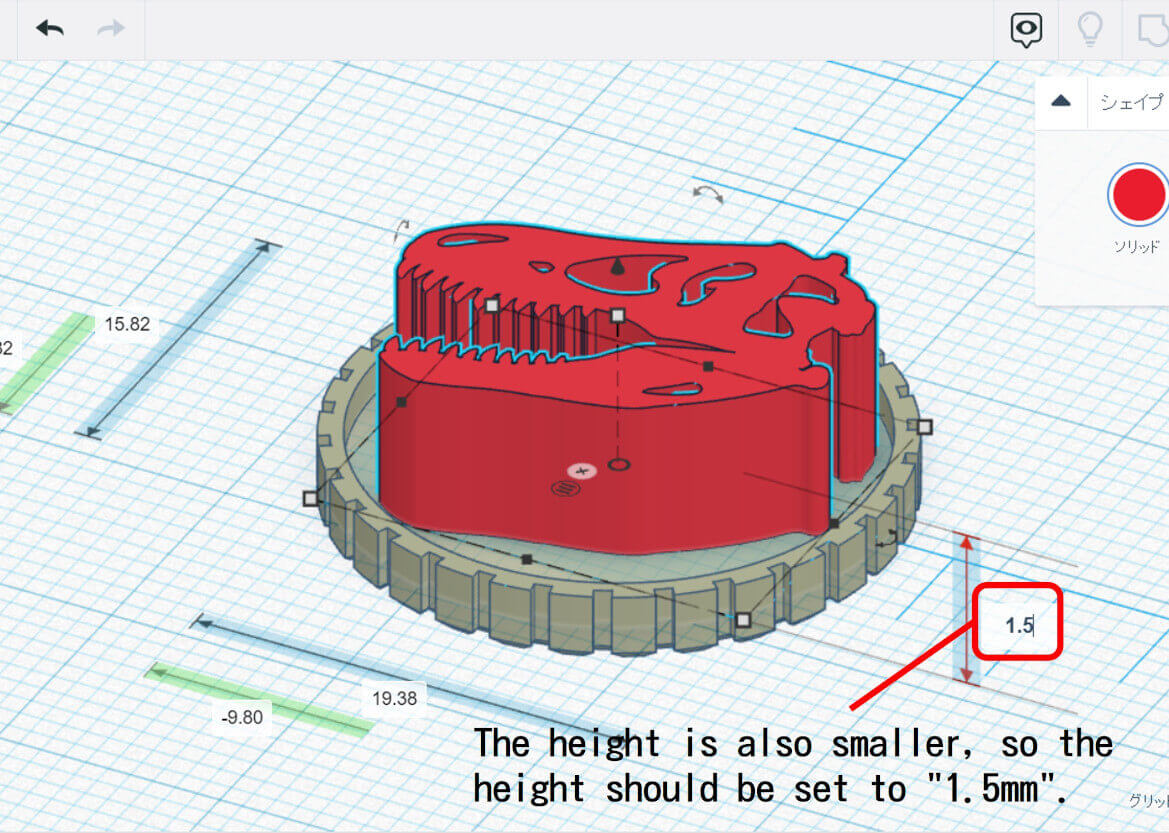
You can change the size of the imported model by moving it while clicking on the “□”, but the aspect ratio will be out of proportion. If you want to reduce the overall size, adjust the “Scale” to smaller than 100% to fit the coin before importing.
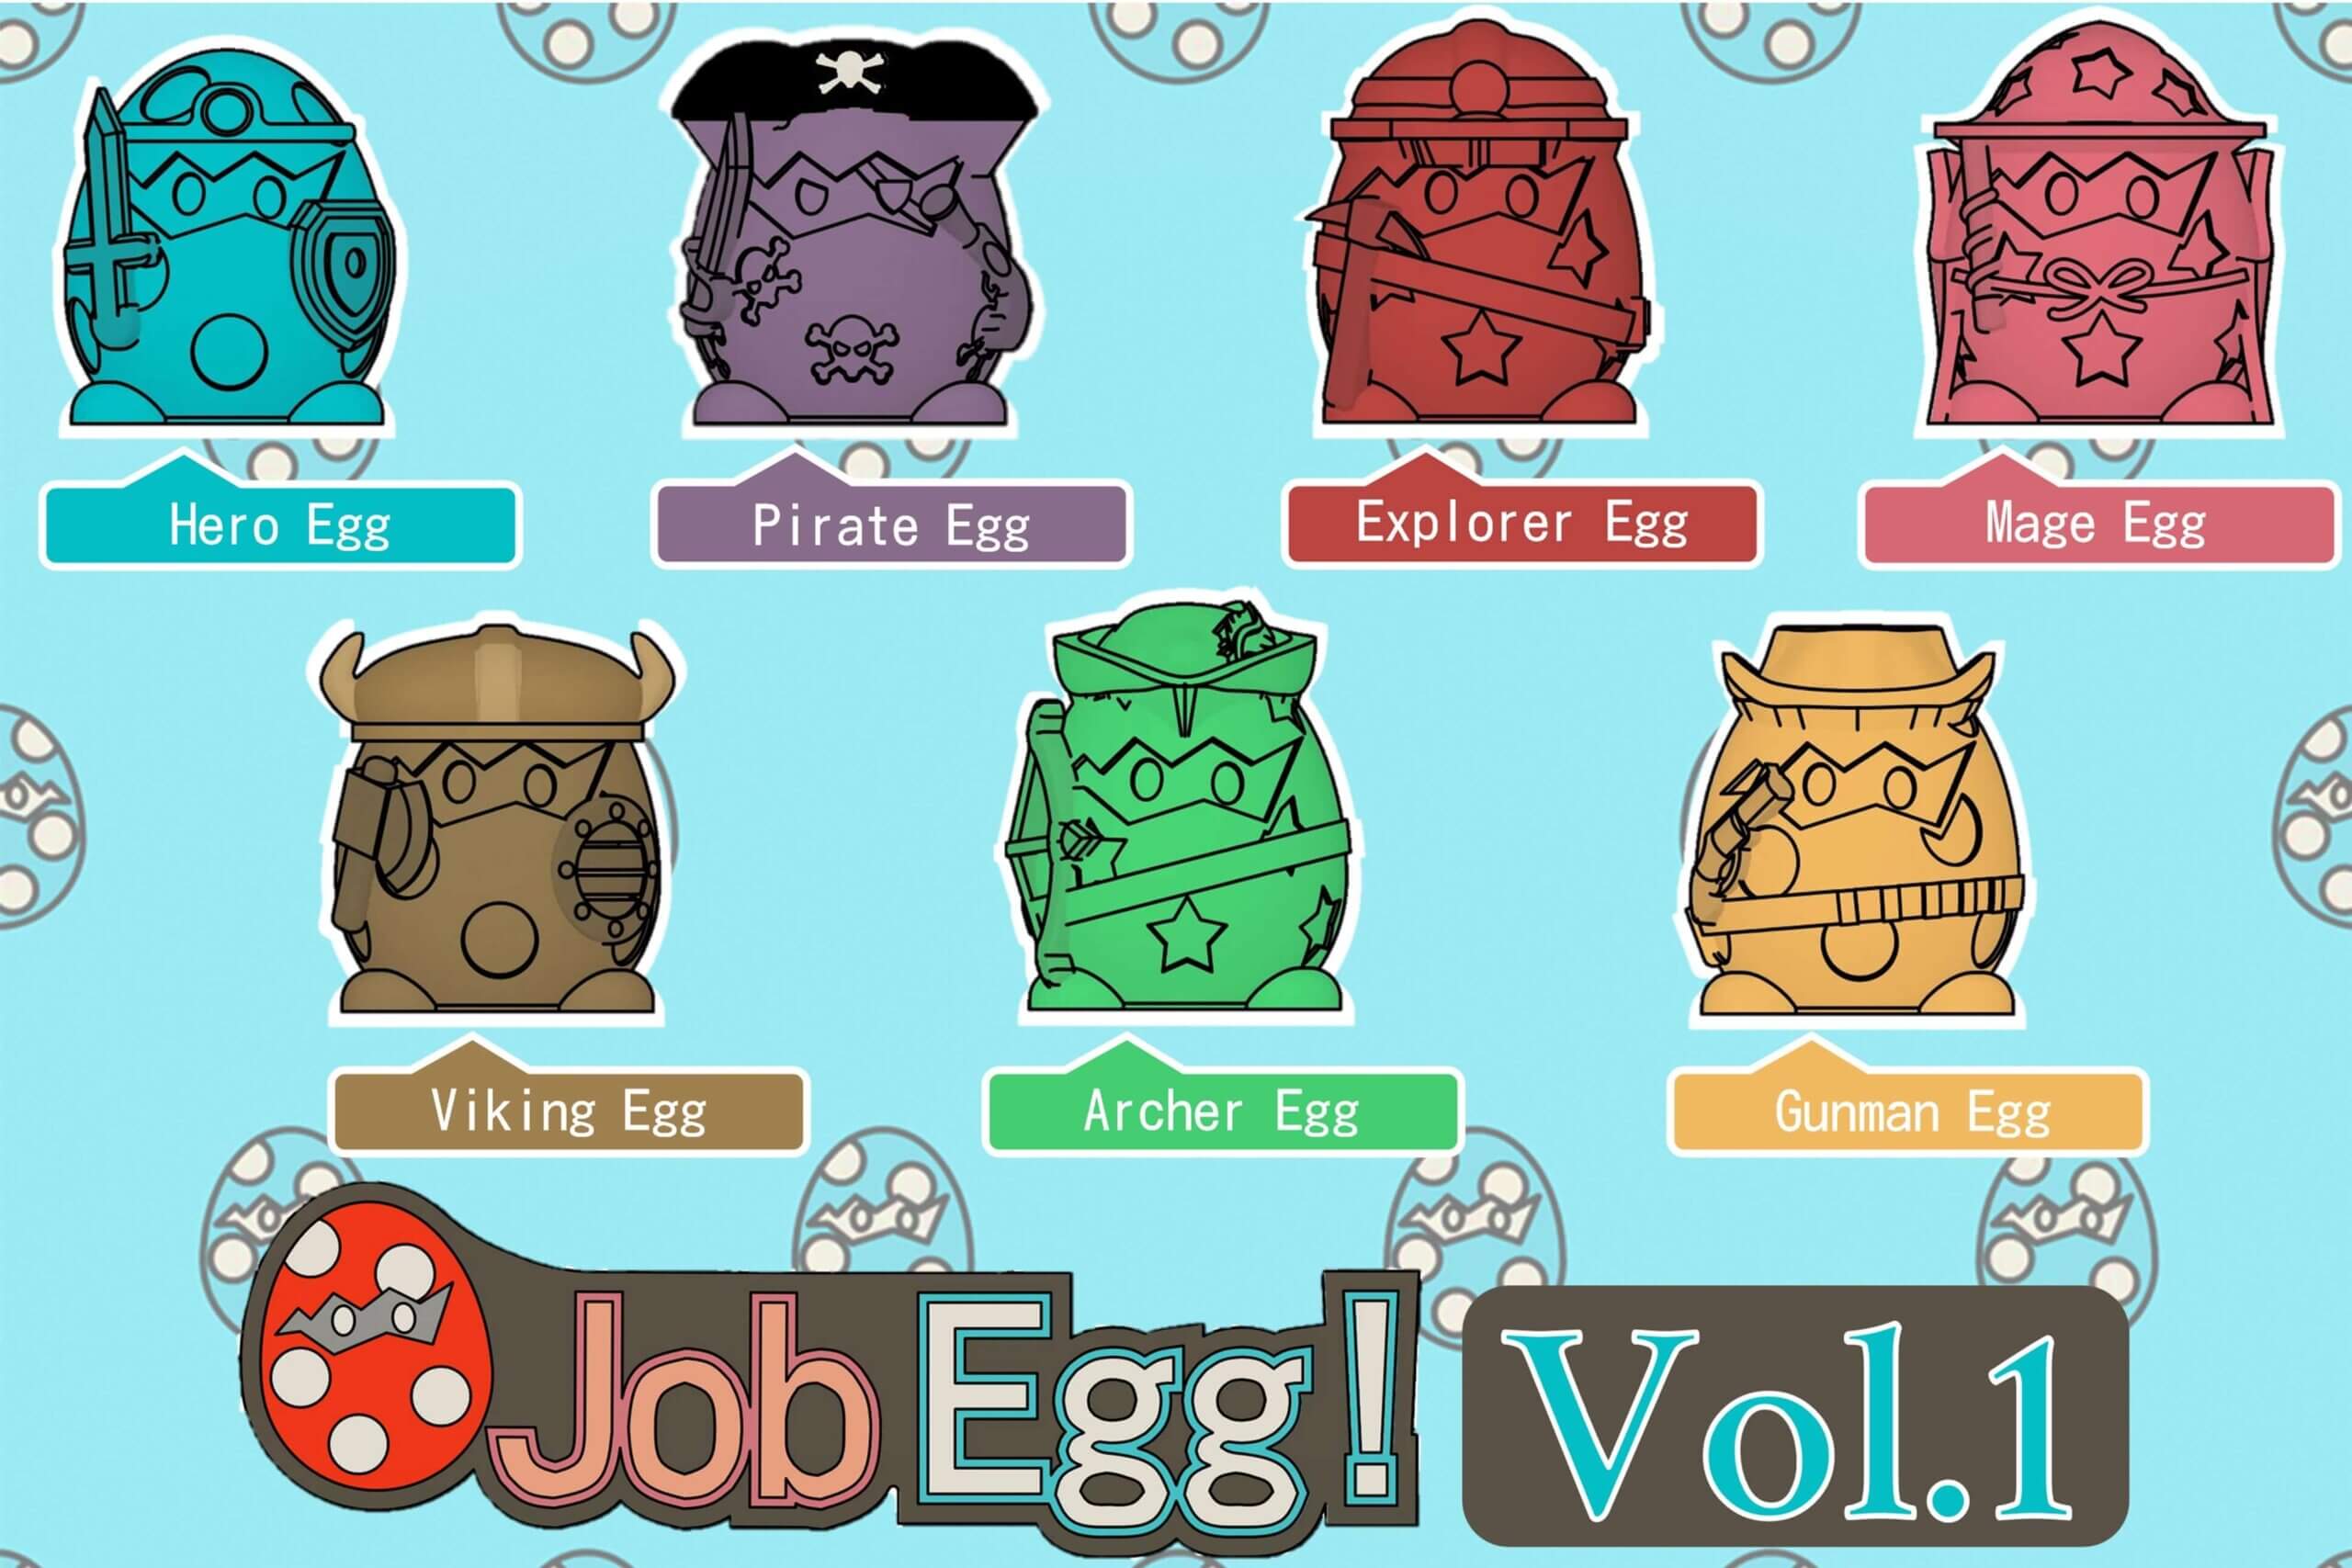
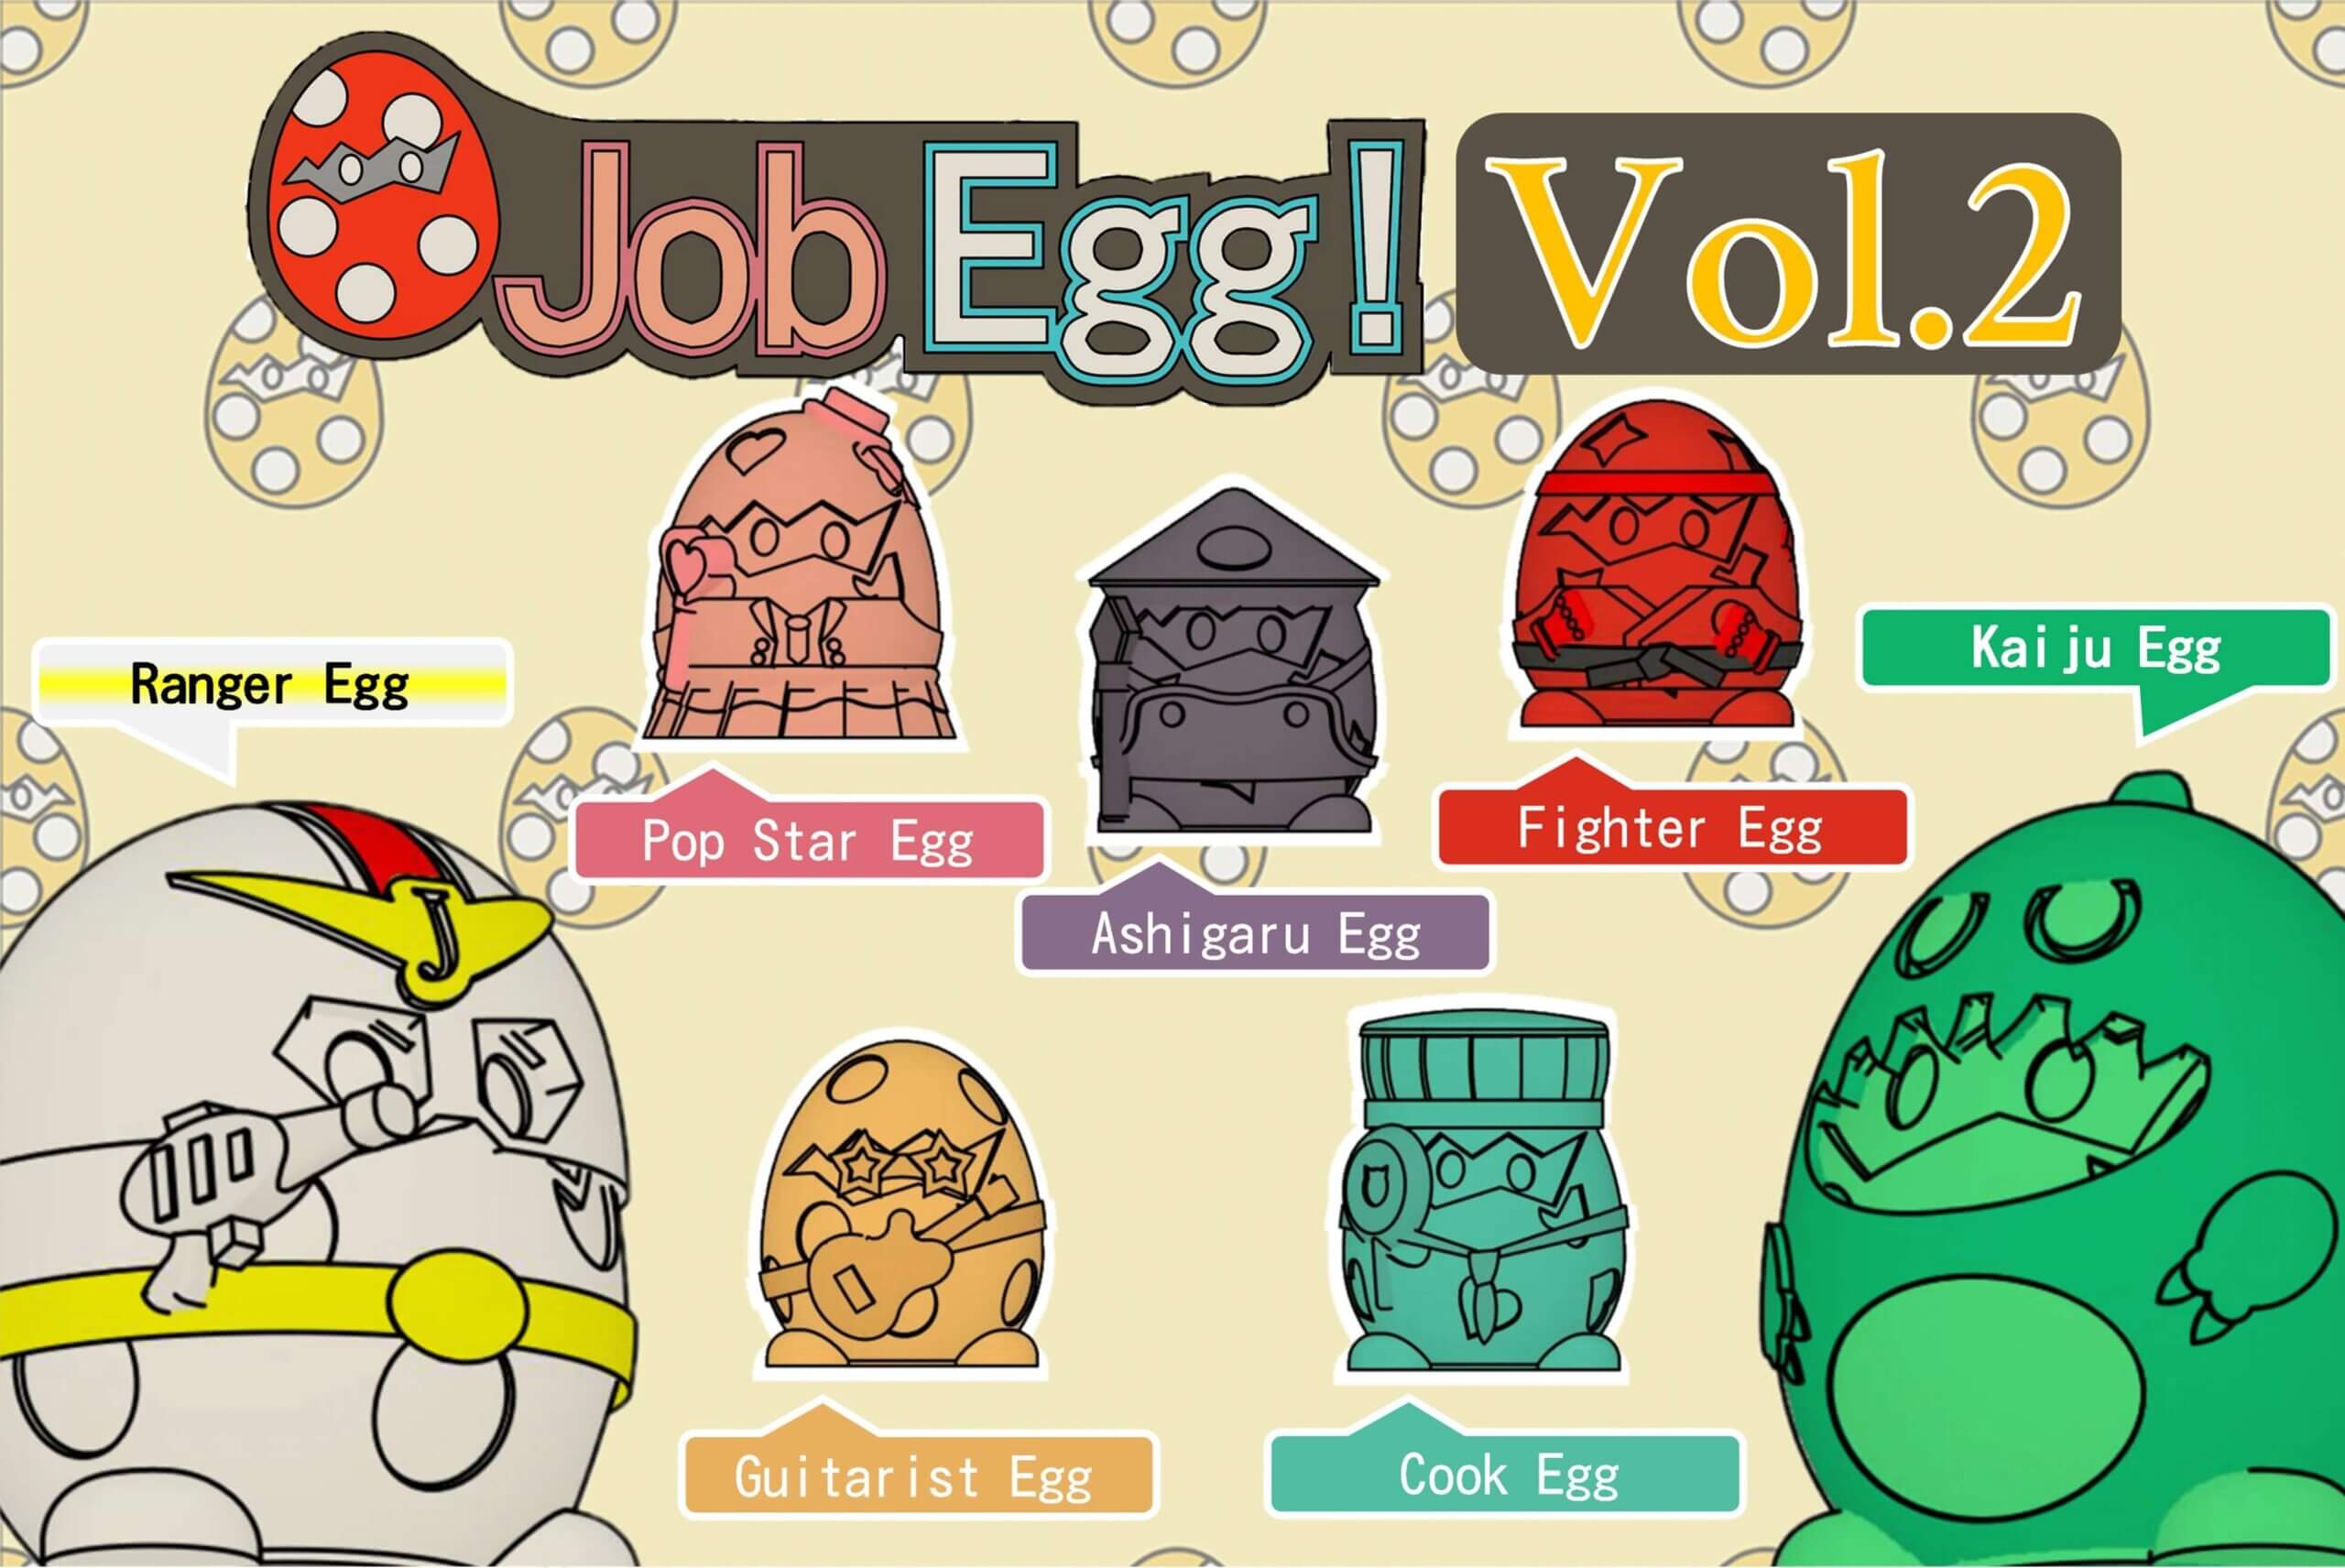
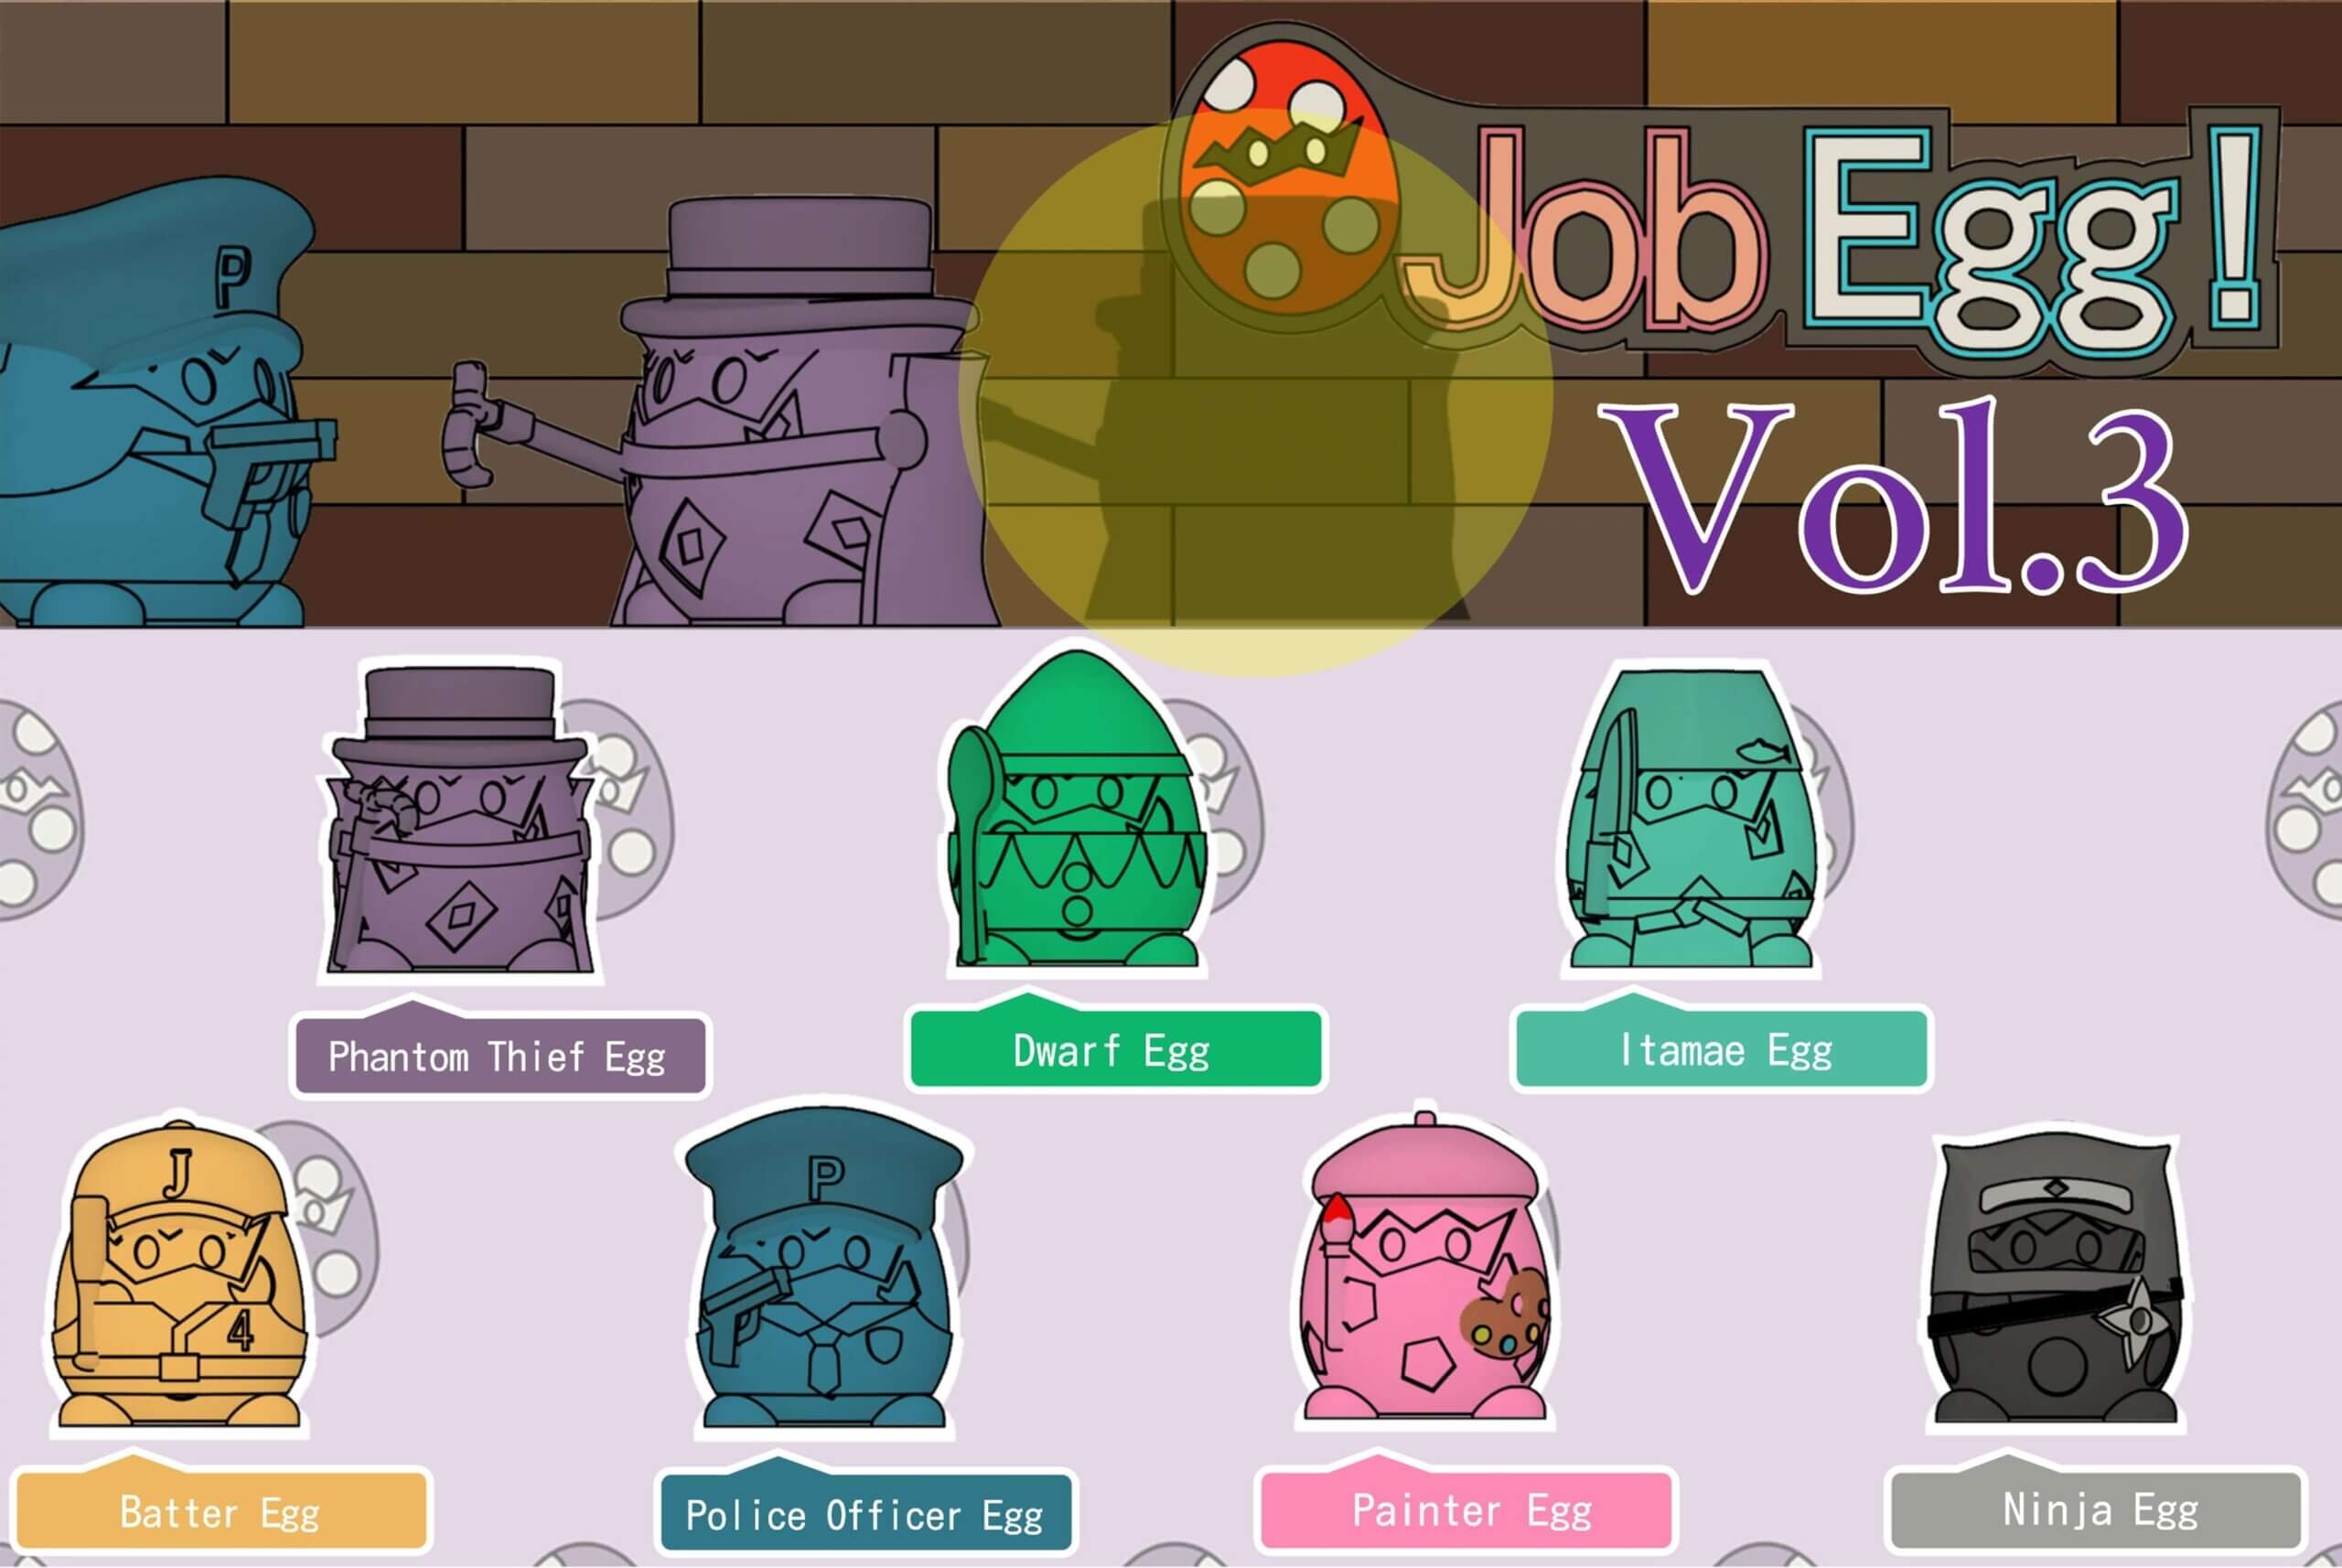
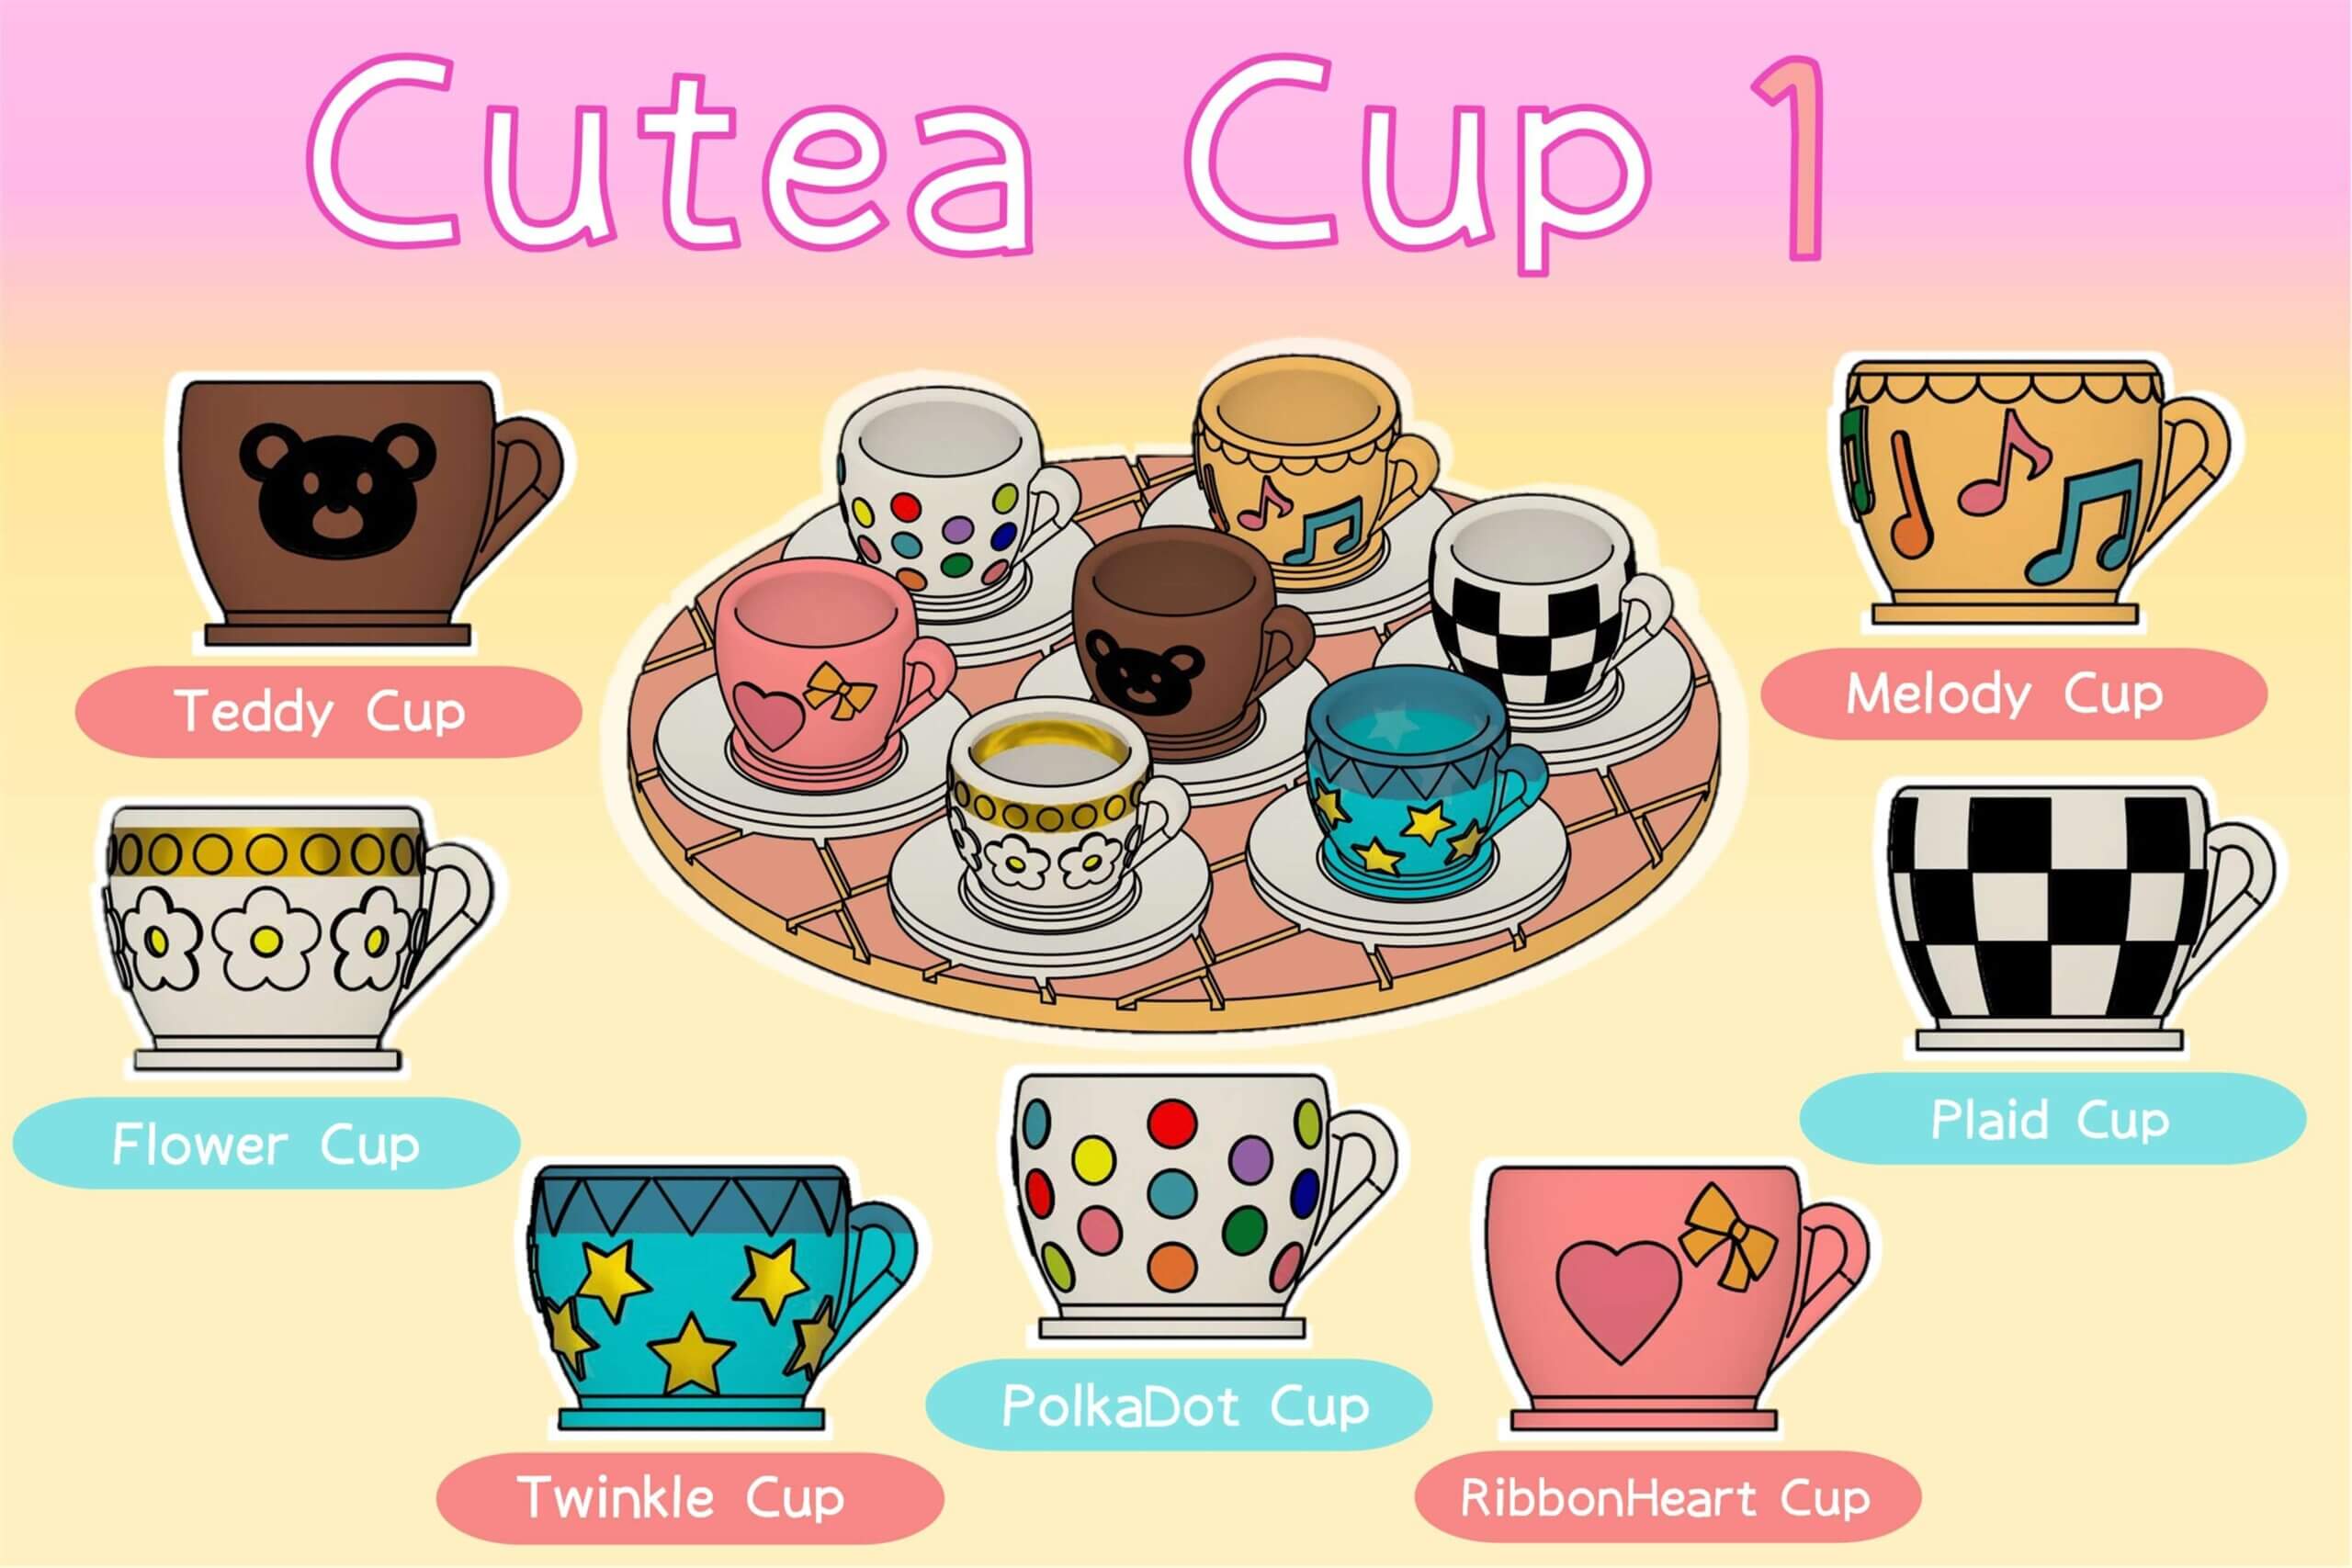
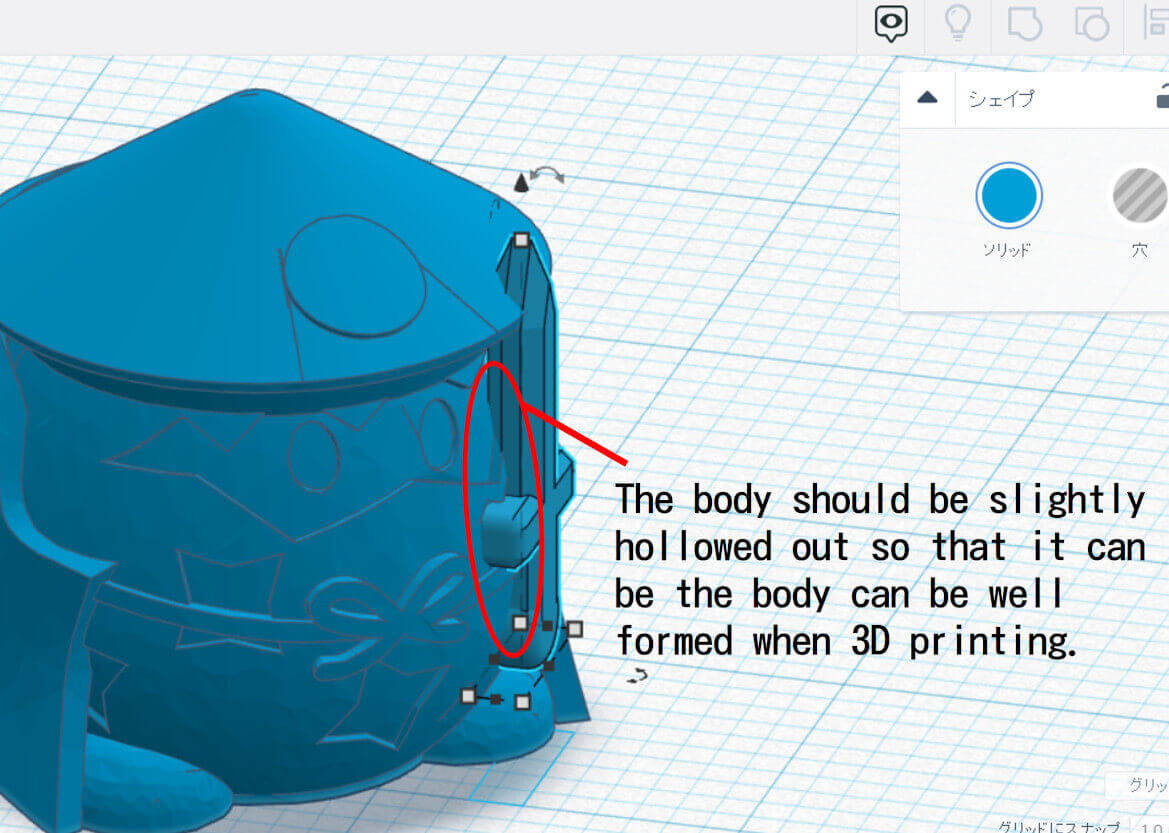
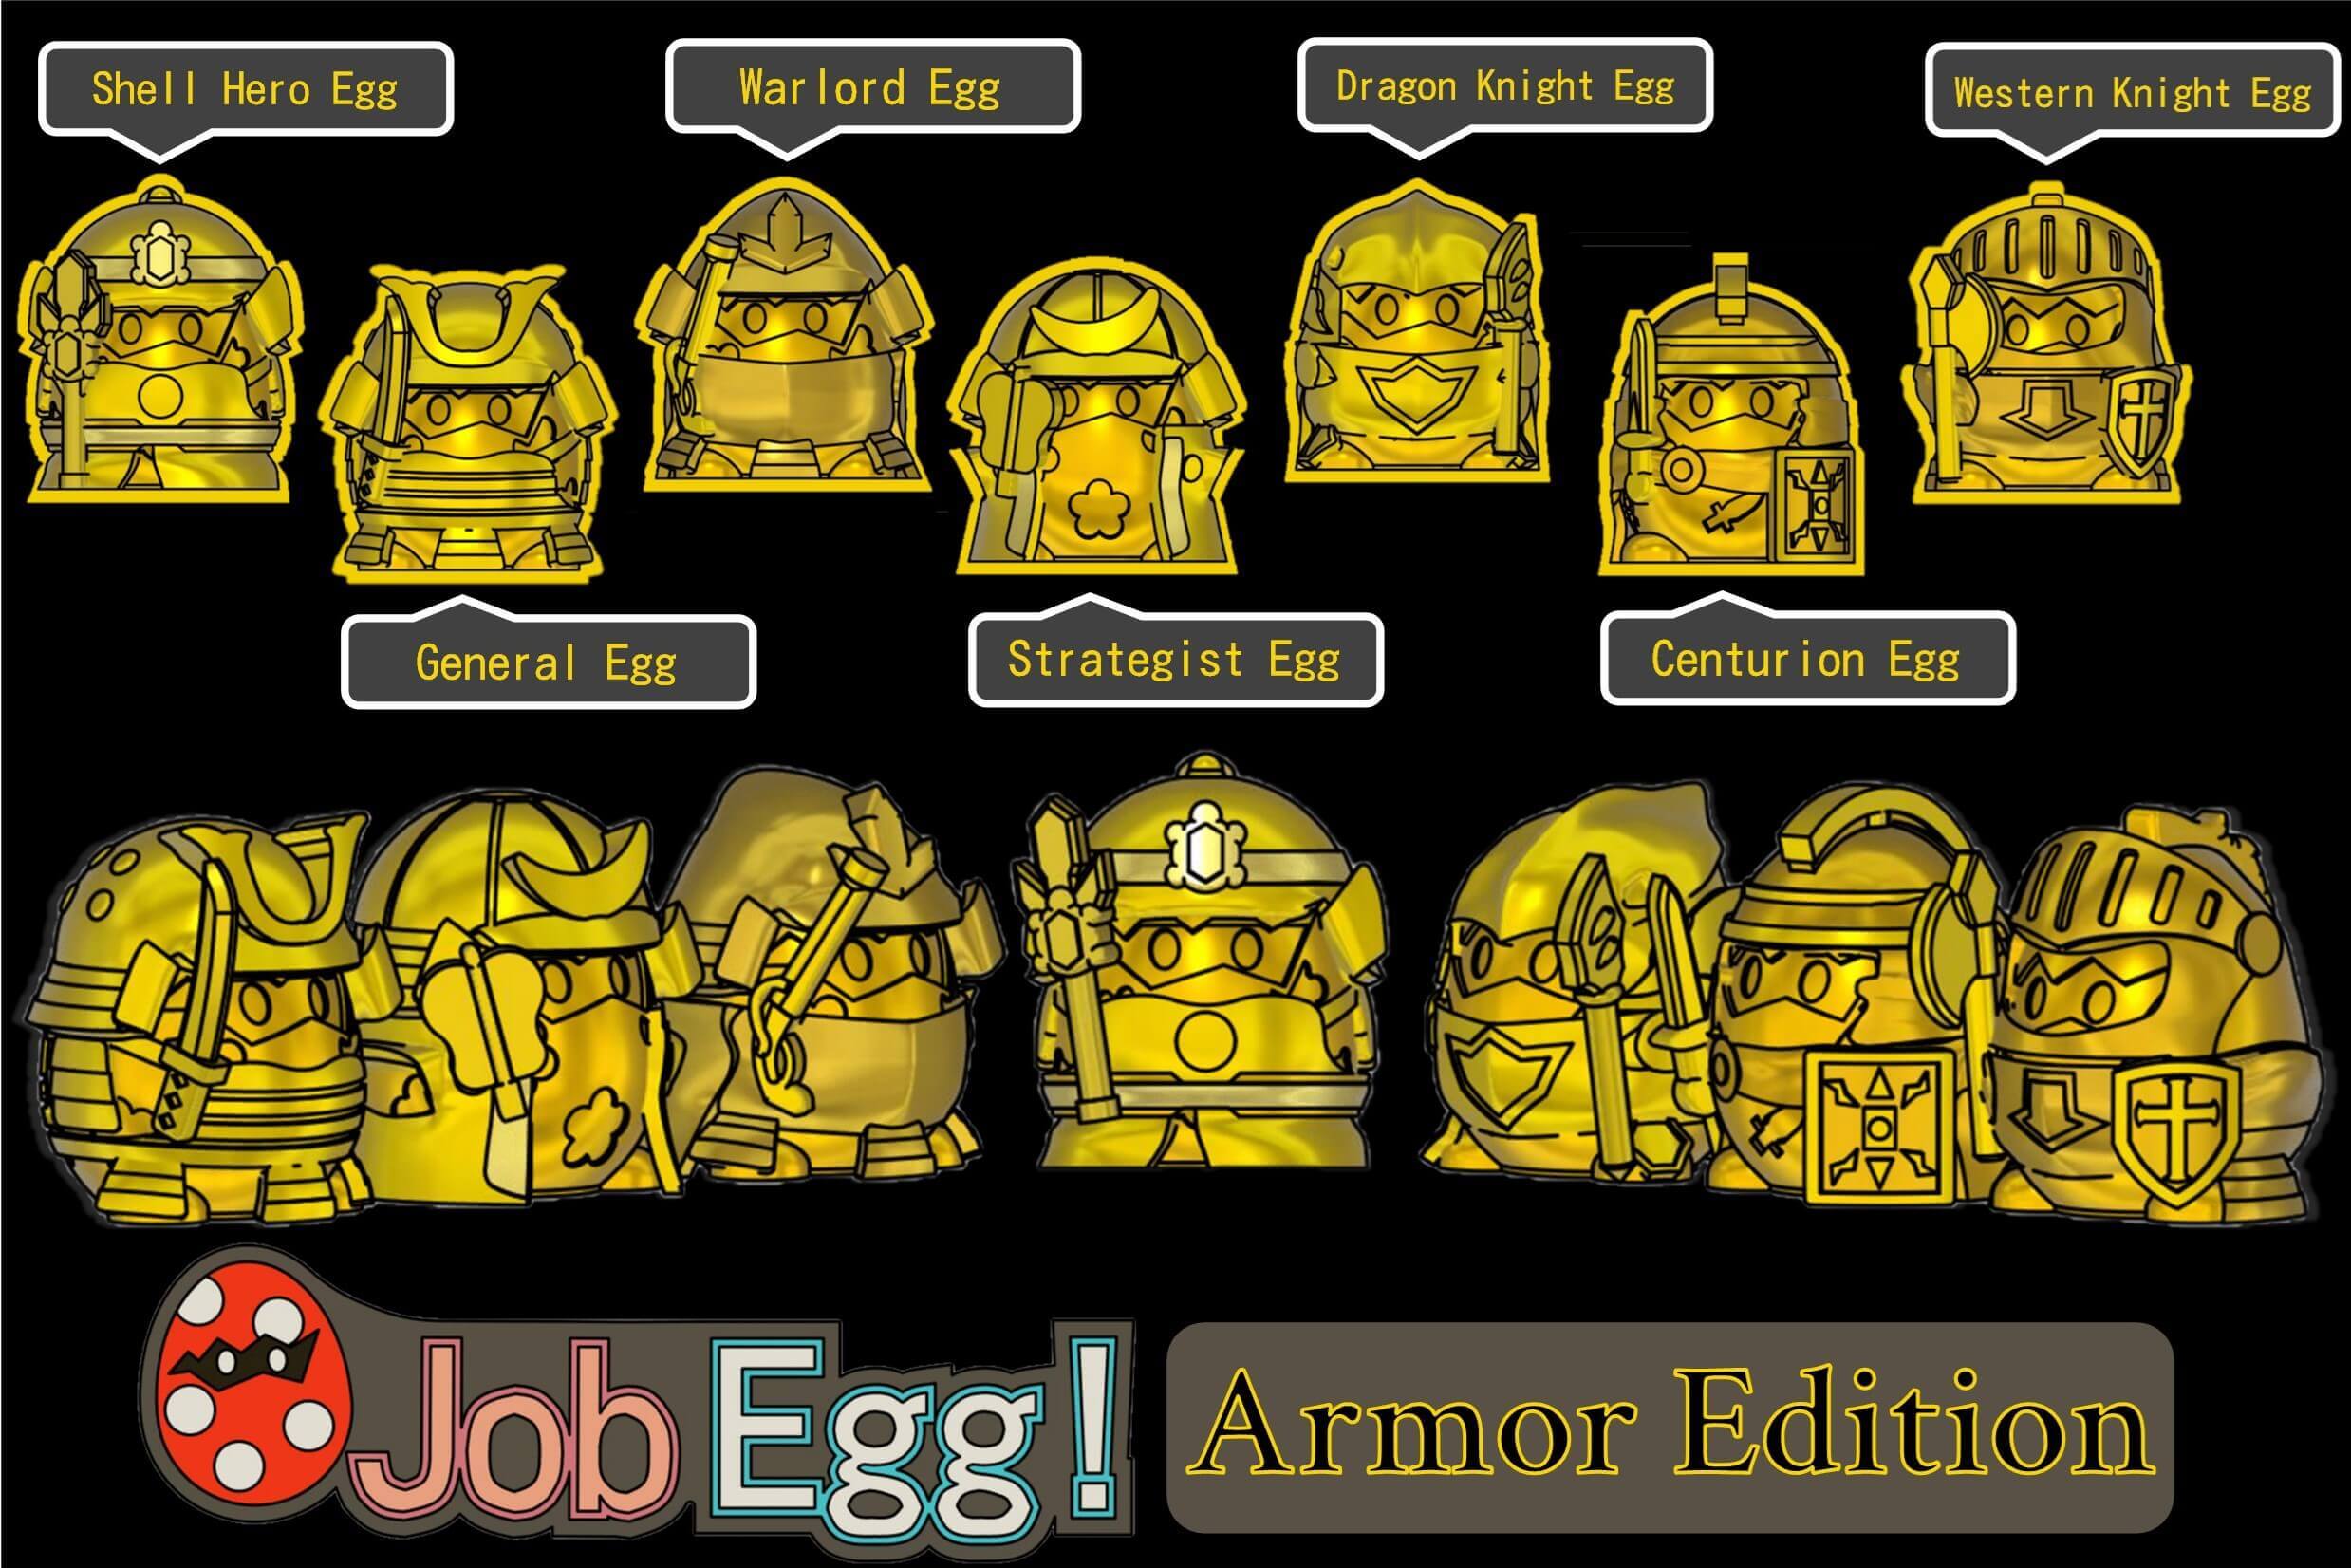
2-2. Let’s make Job Egg and Cutea Cup!
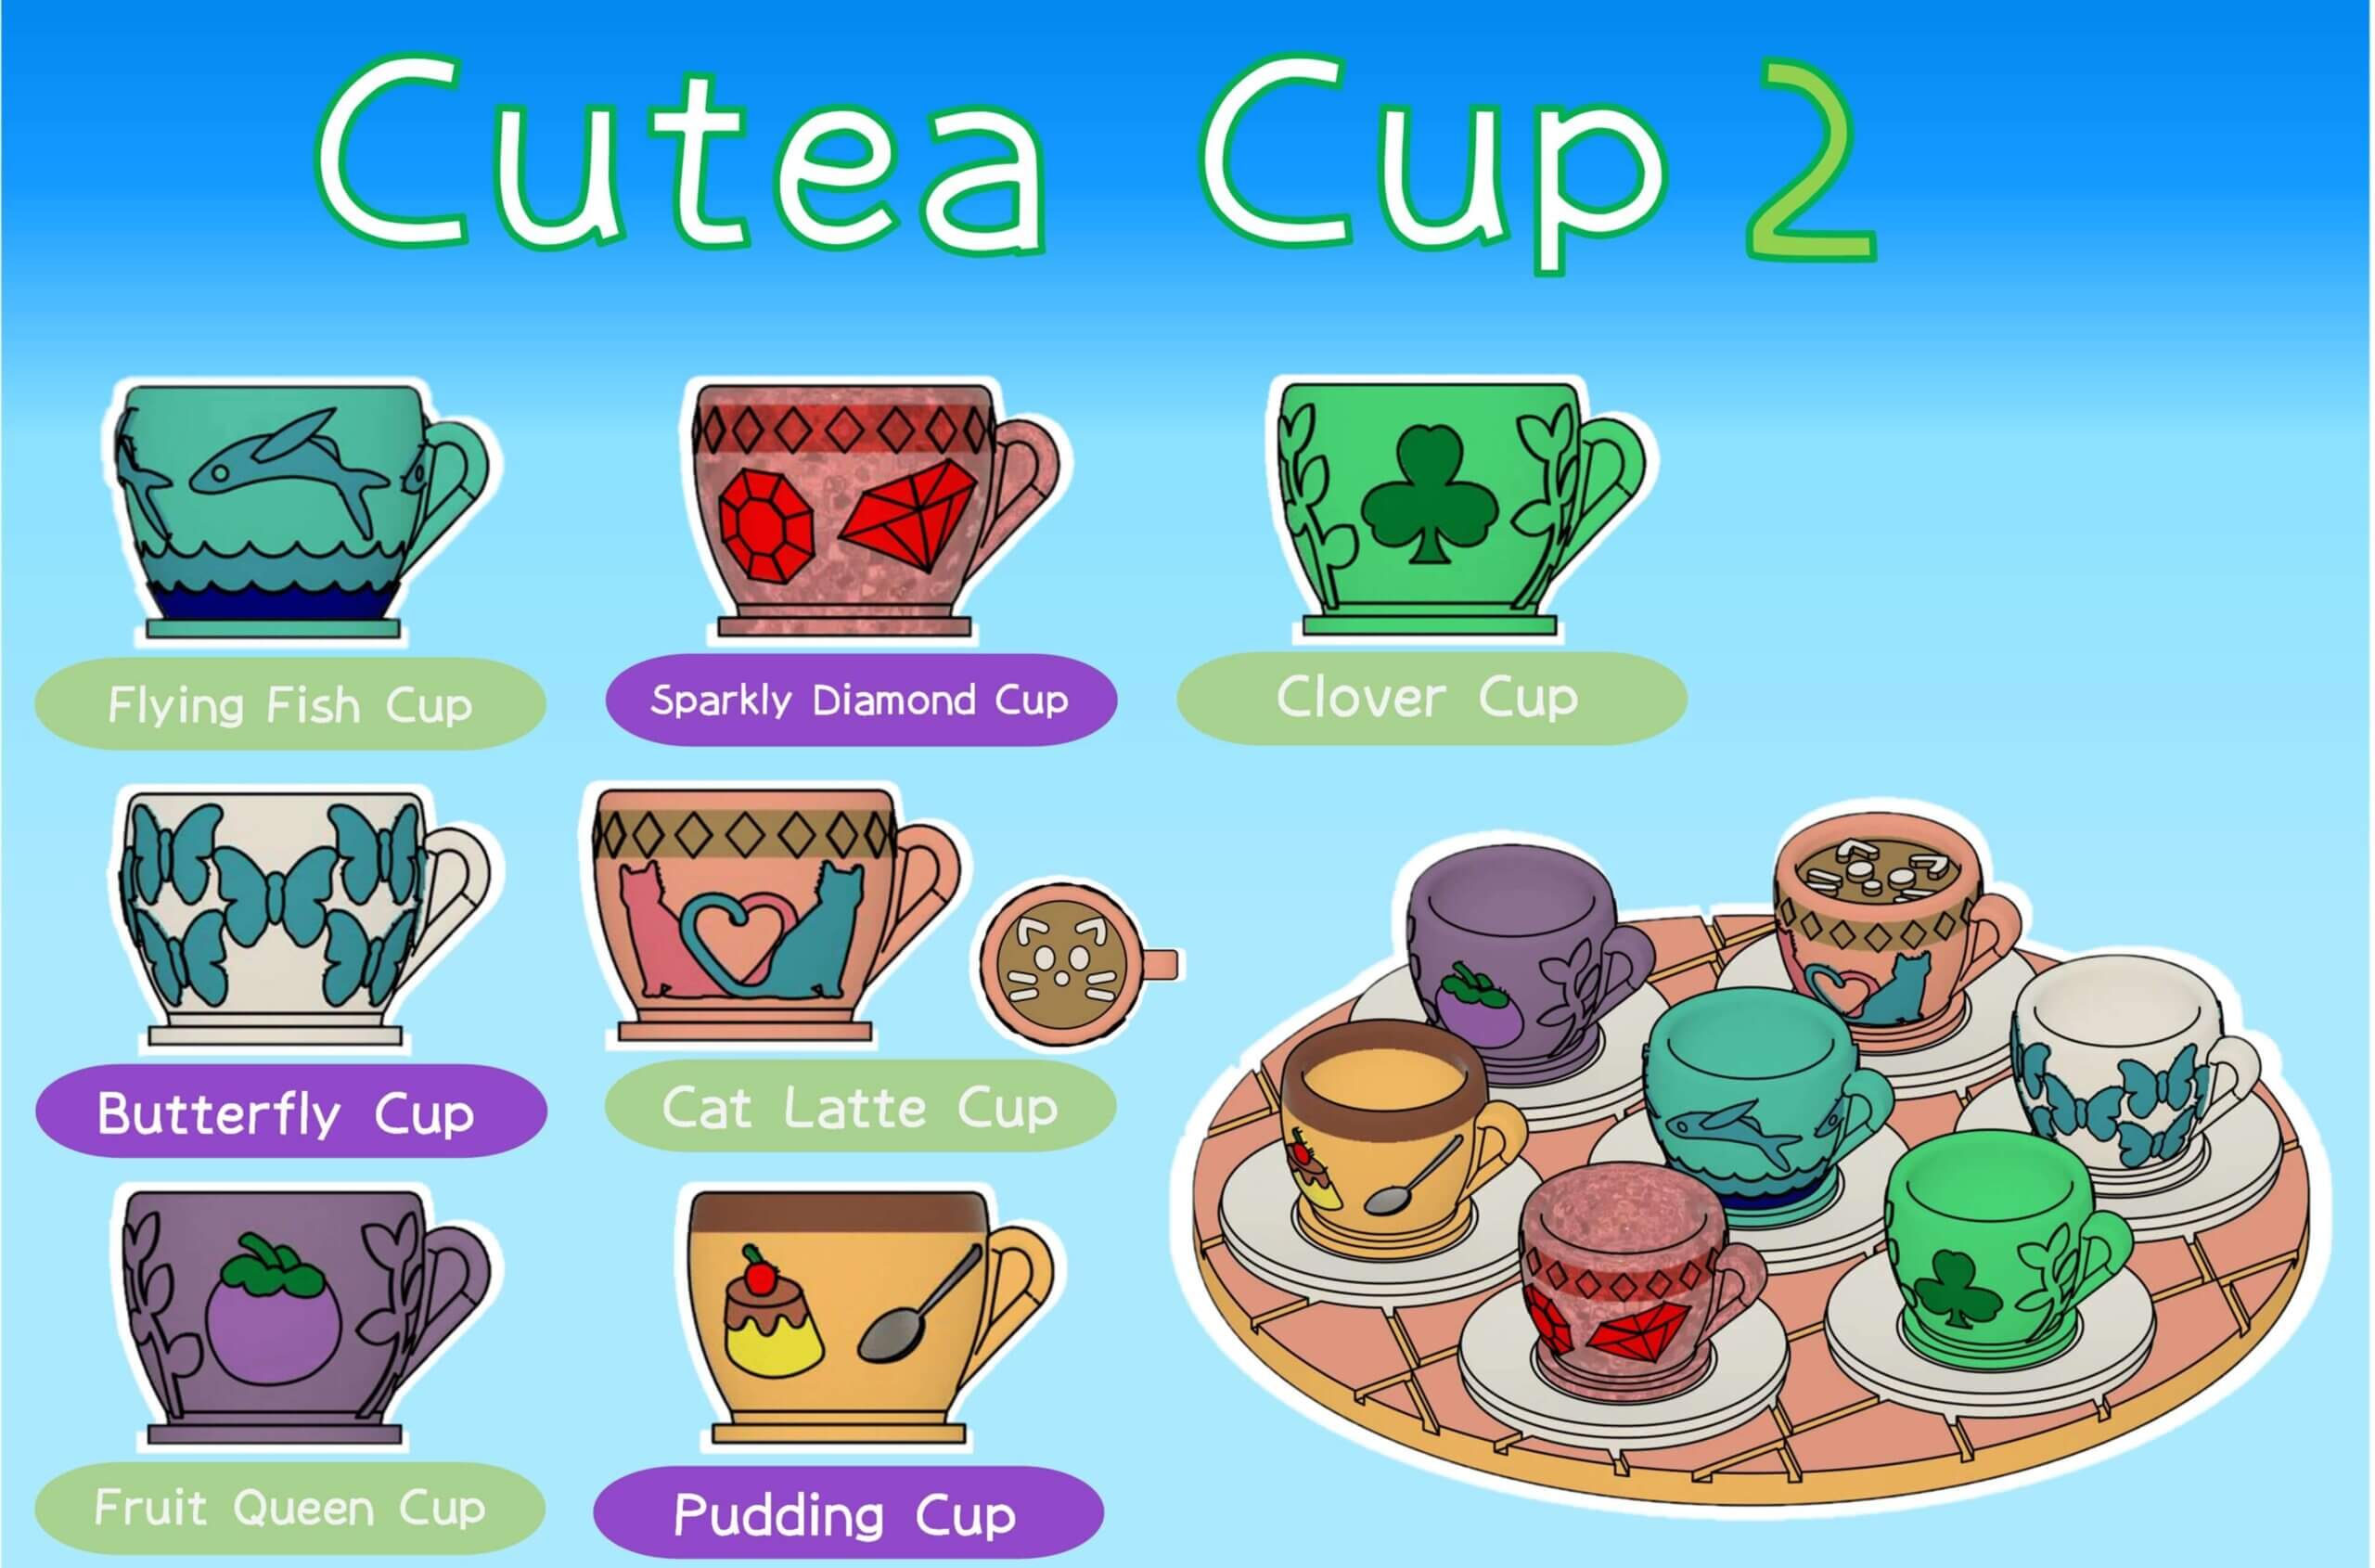
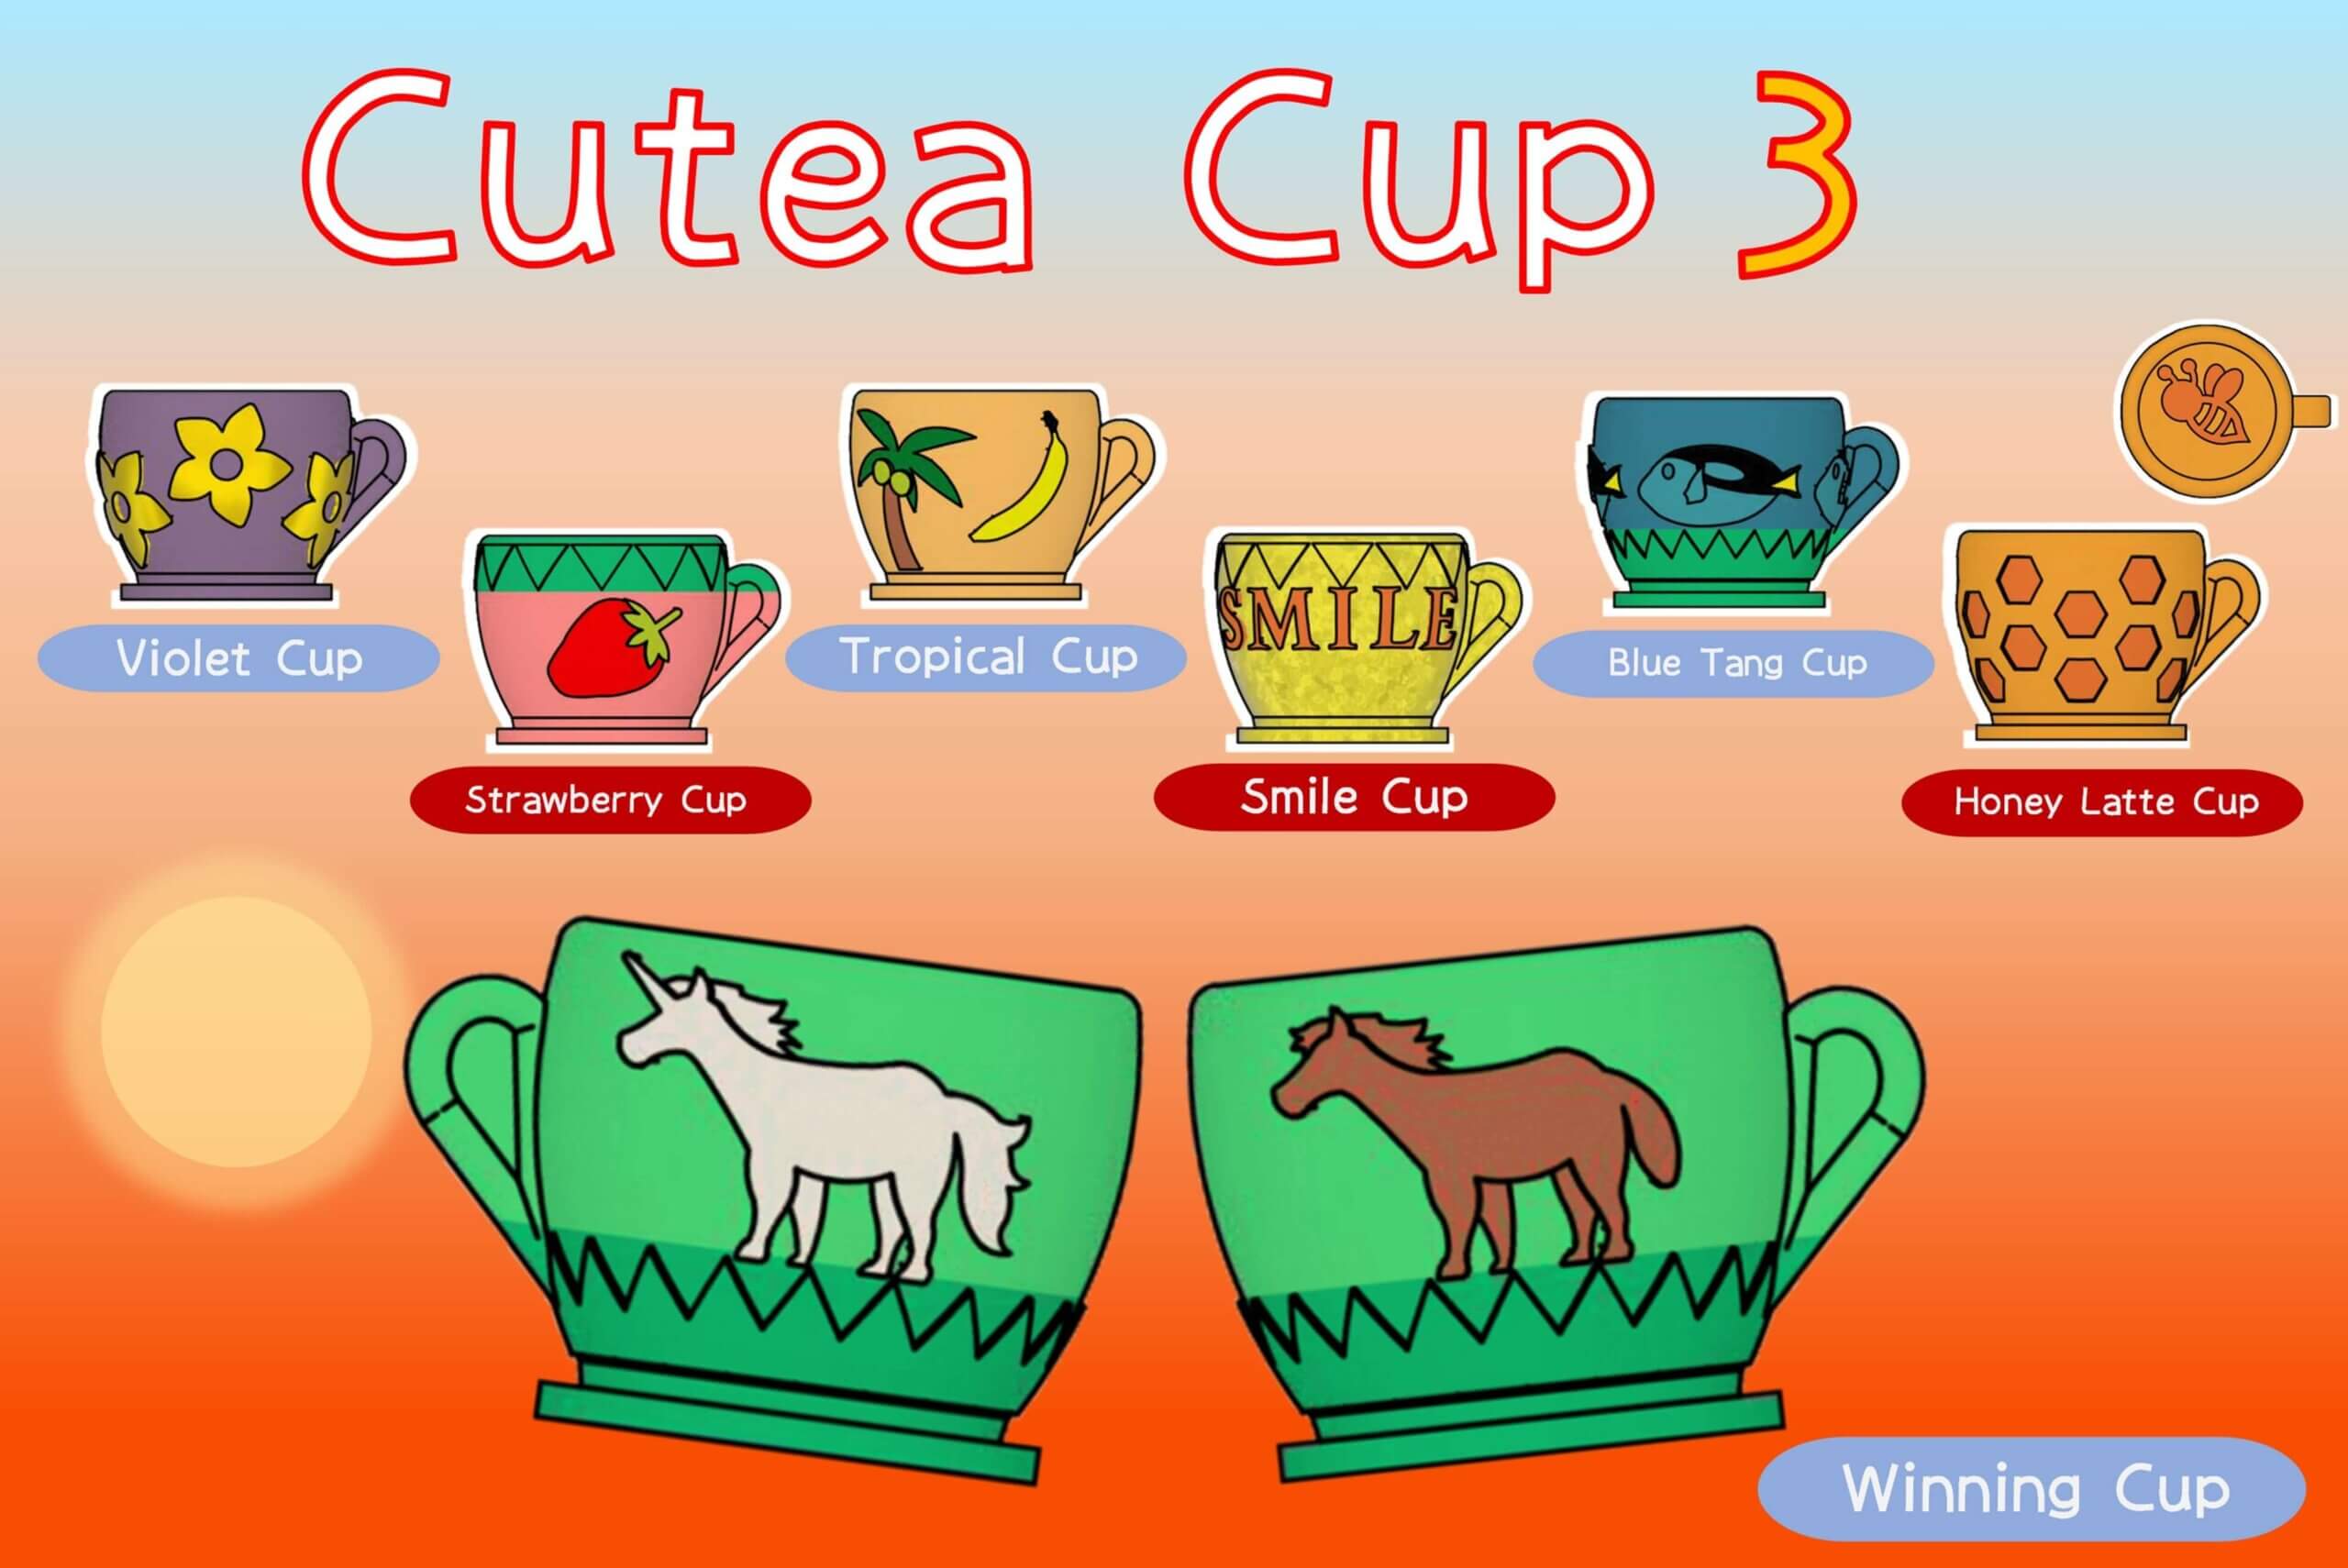
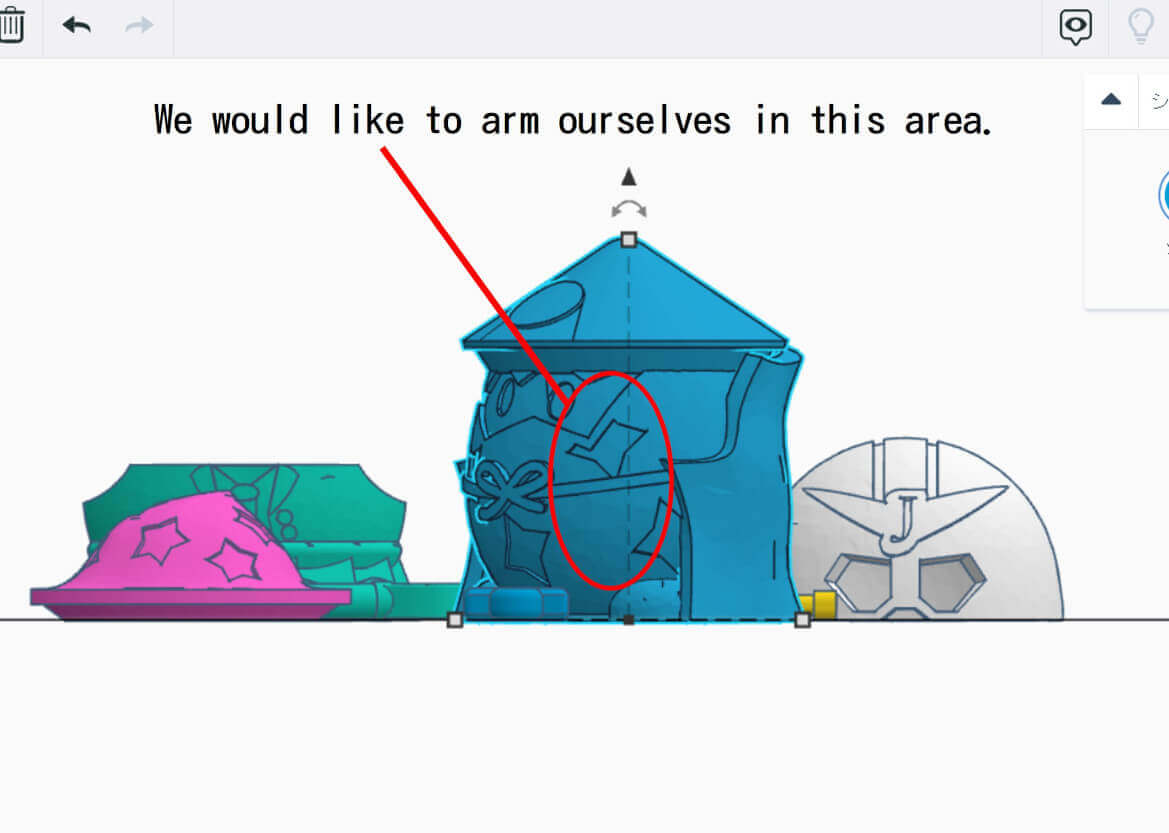
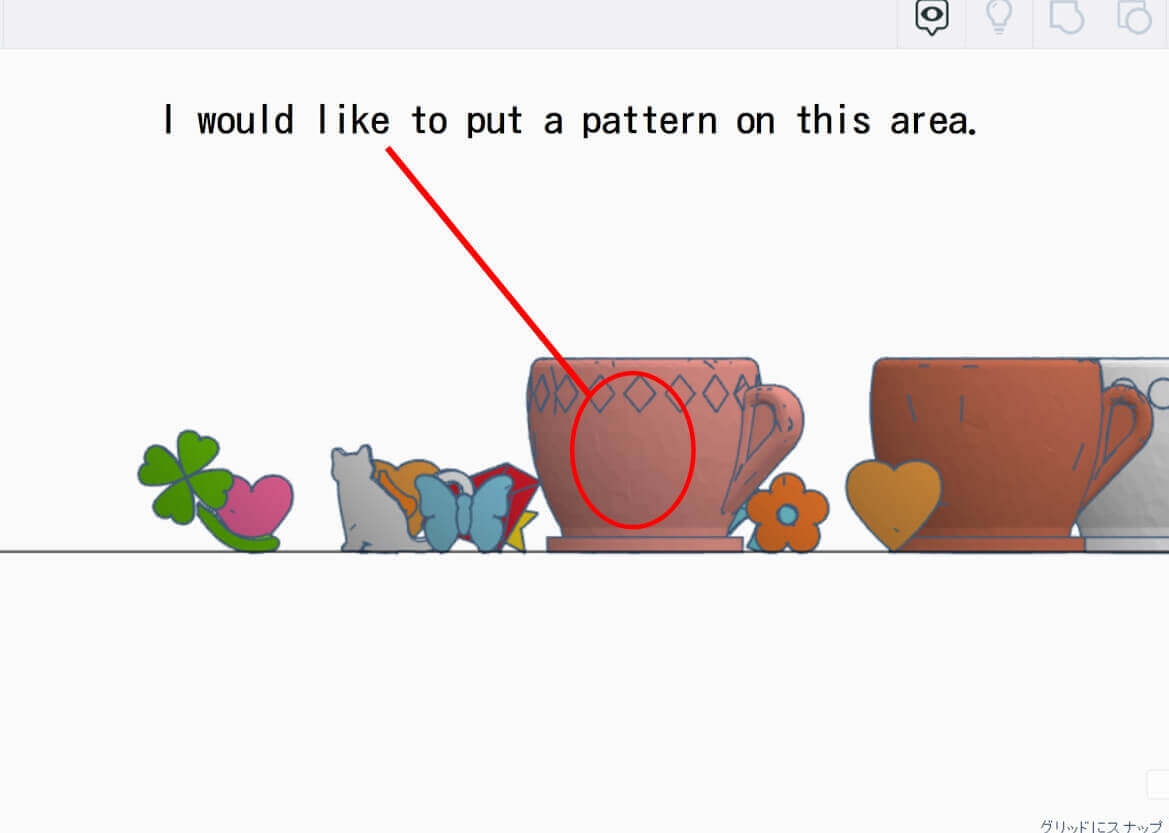
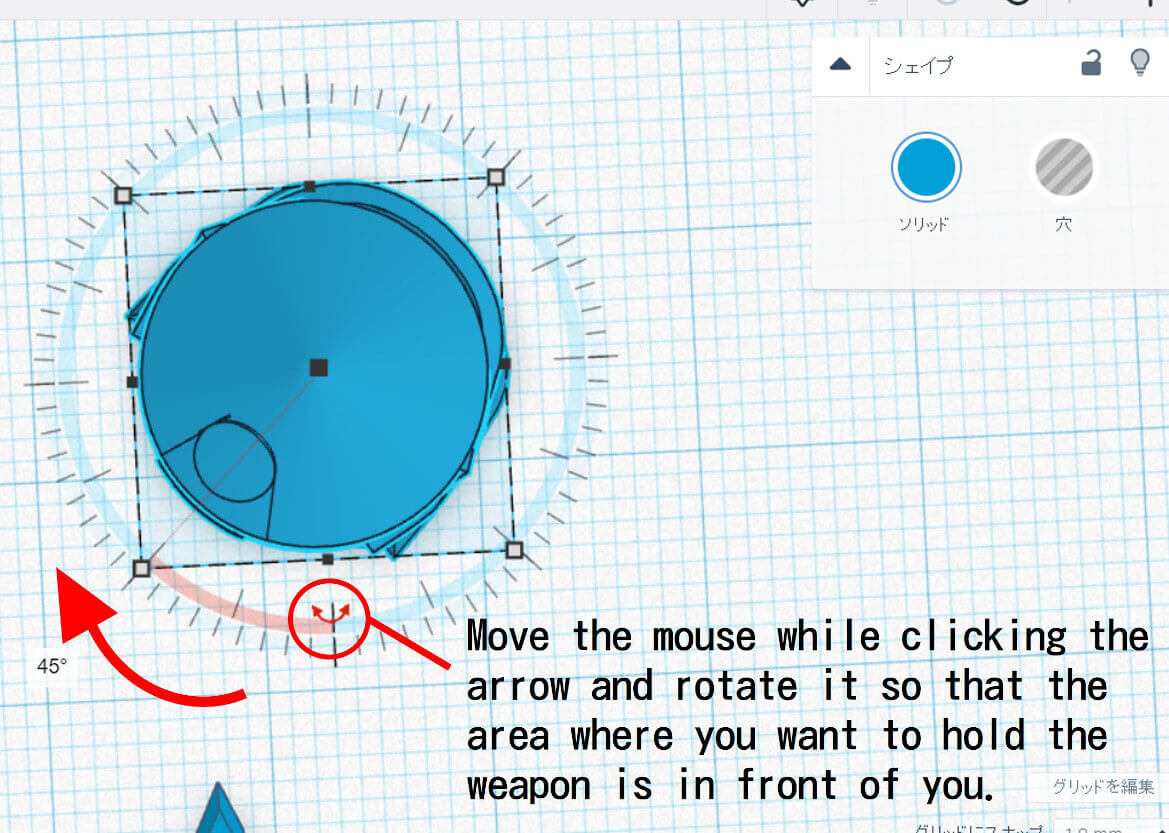
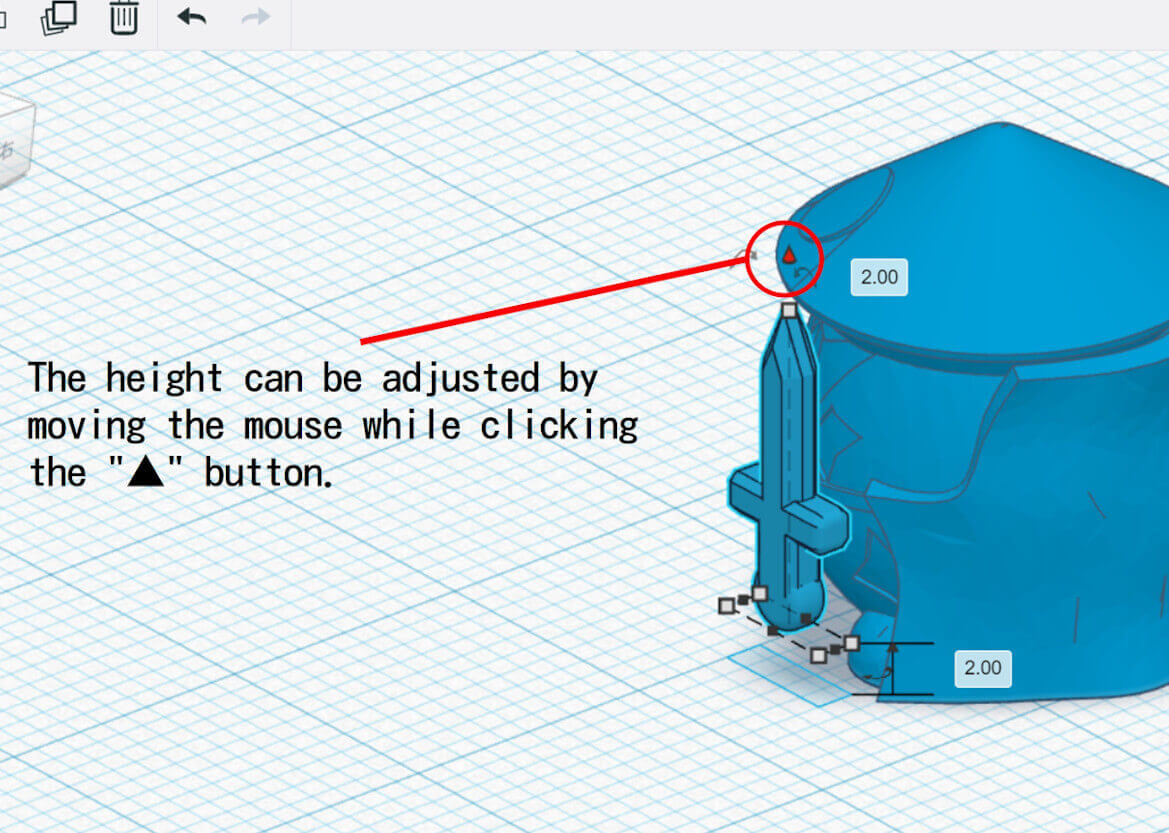
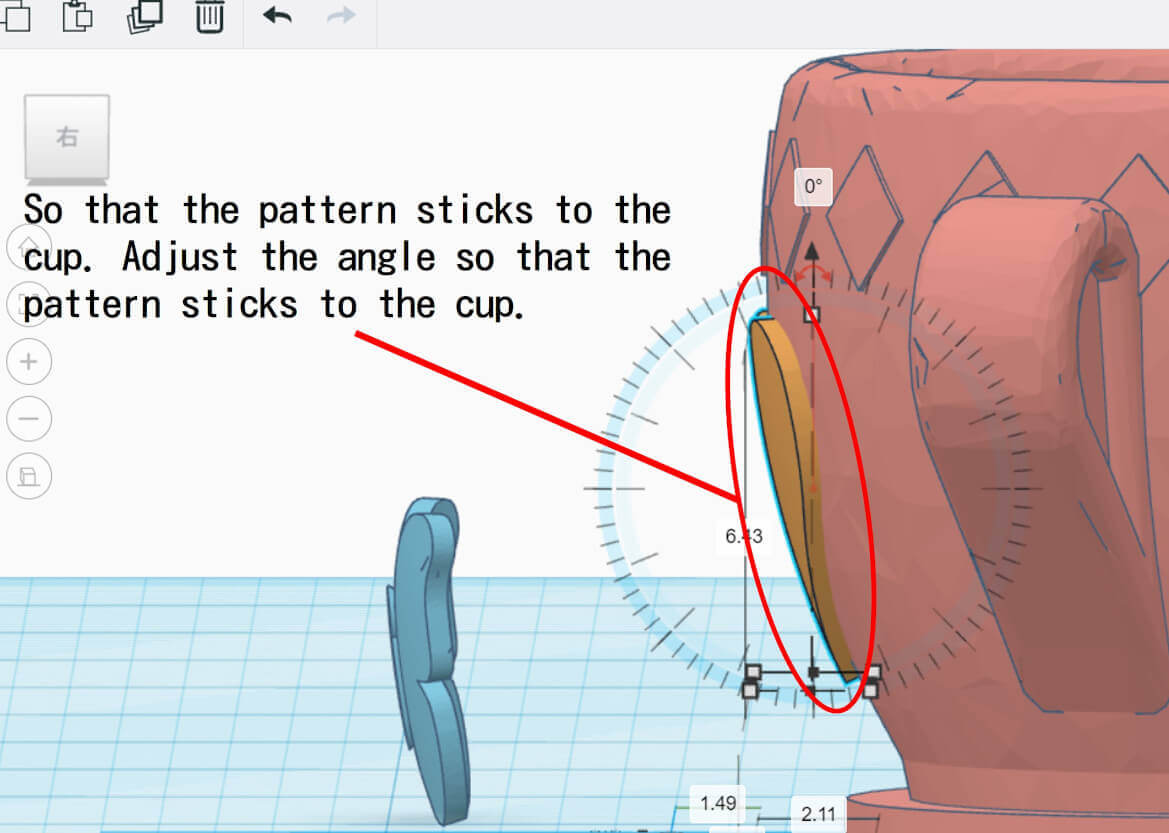
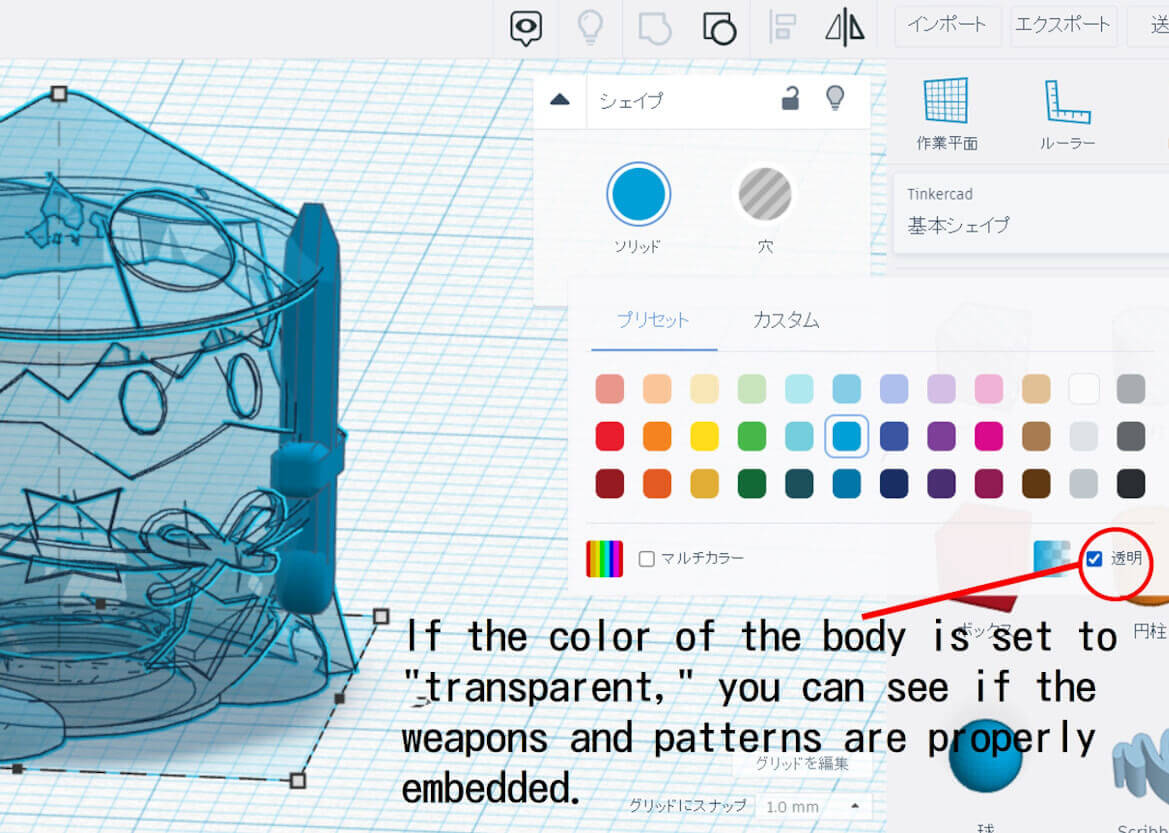
Next, let’s try our hand at creating something three-dimensional. The “Job Egg” allows you to freely change the equipment, and the “Cutea Cup” can be changed to a pattern of your choice.

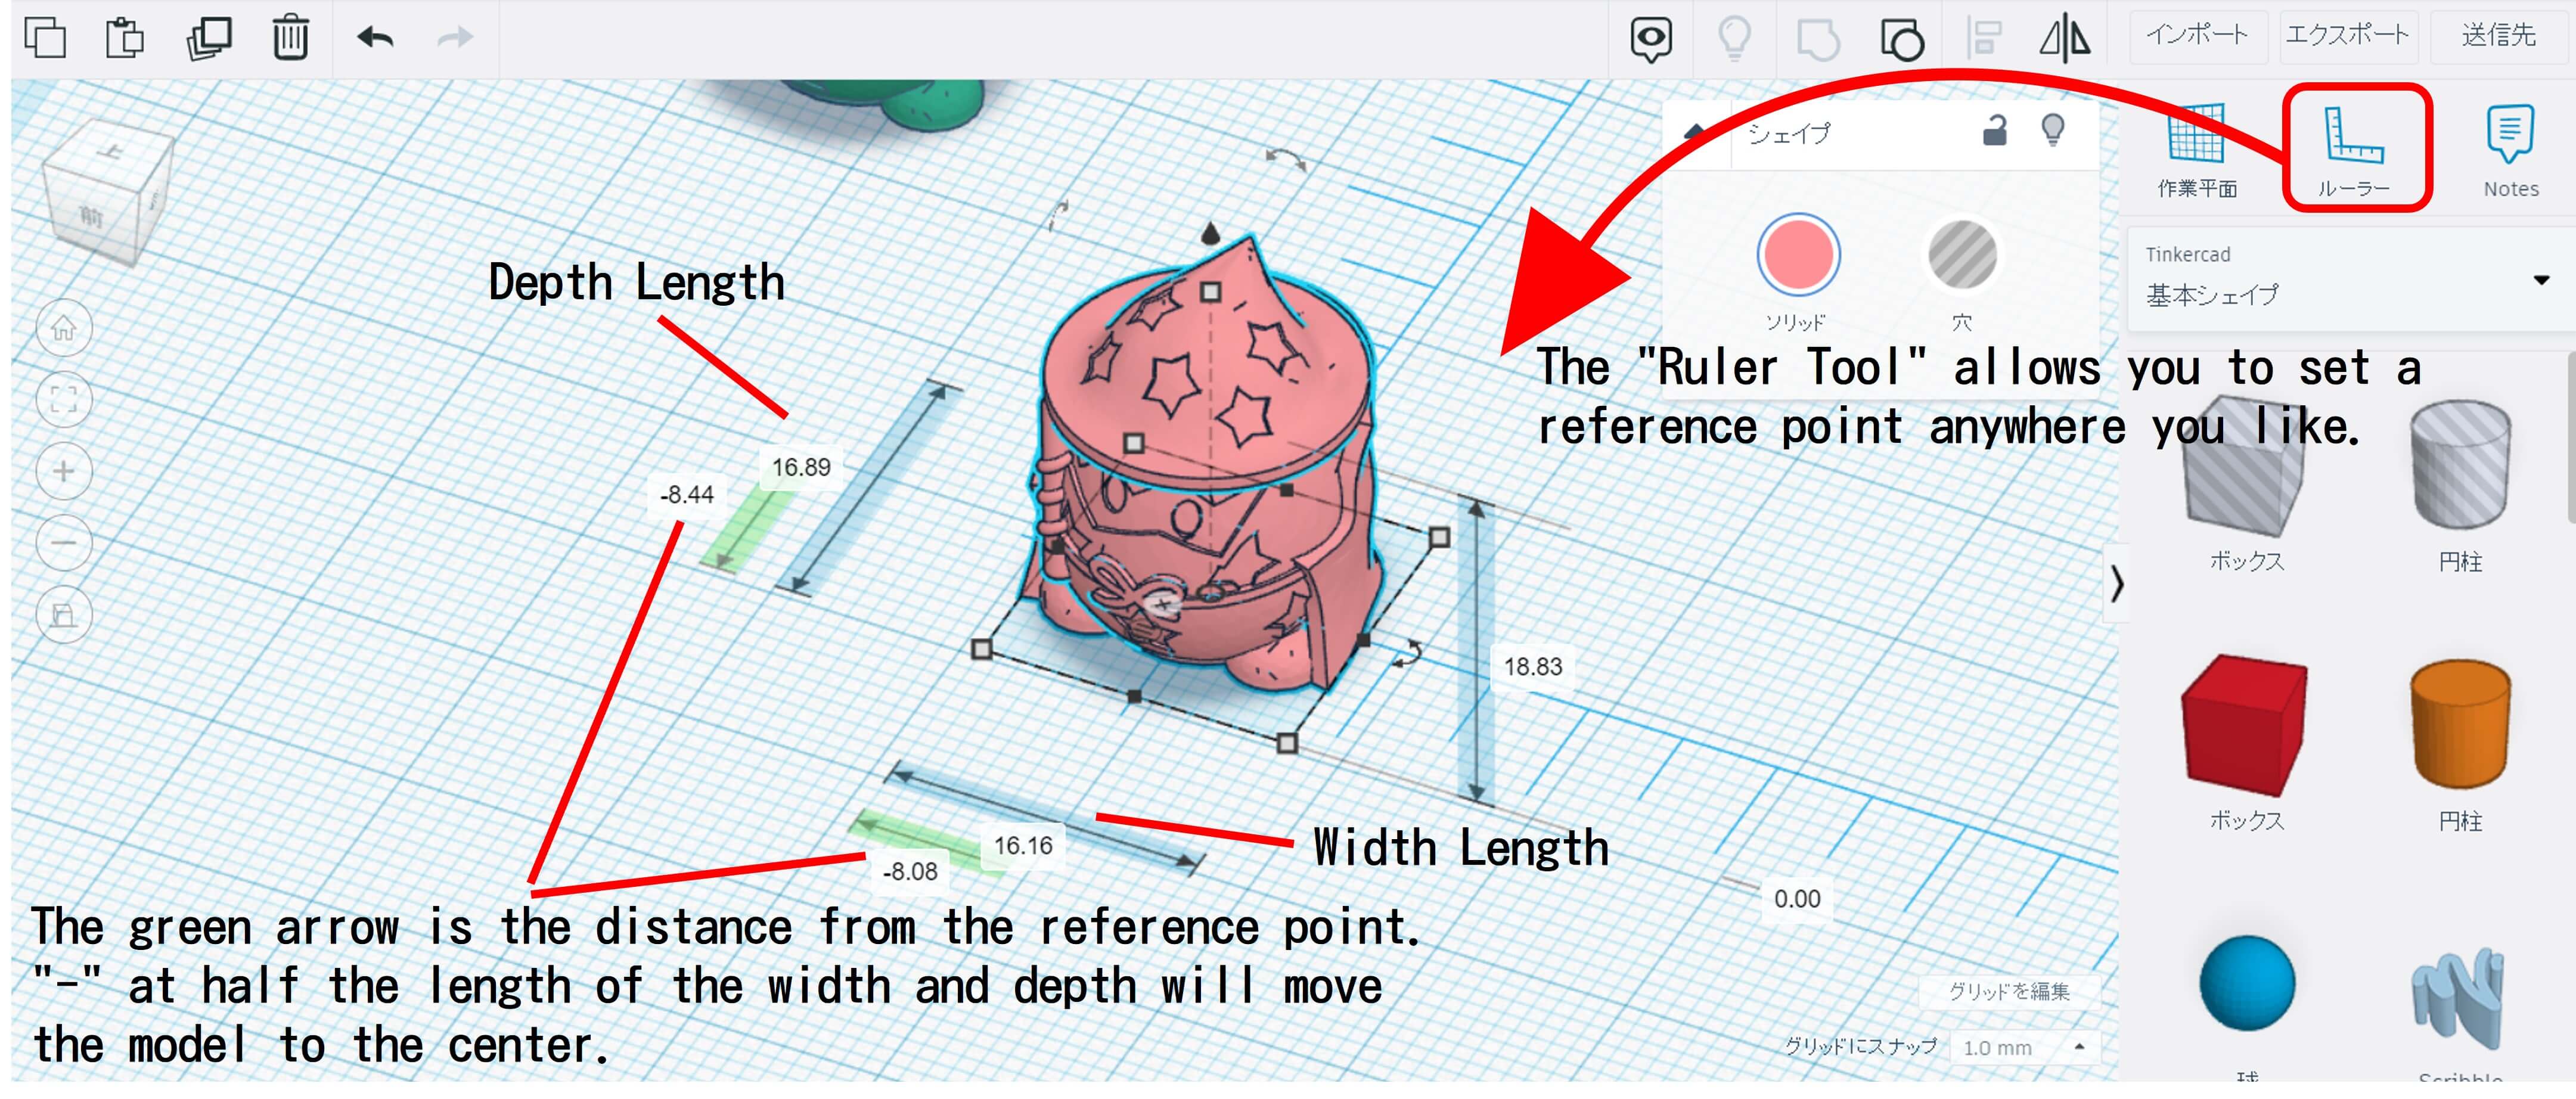
Tip: Use the Ruler Tool
If you want to place two models so that they overlap, it is convenient to use the ruler tool so that the reference point is in the middle.
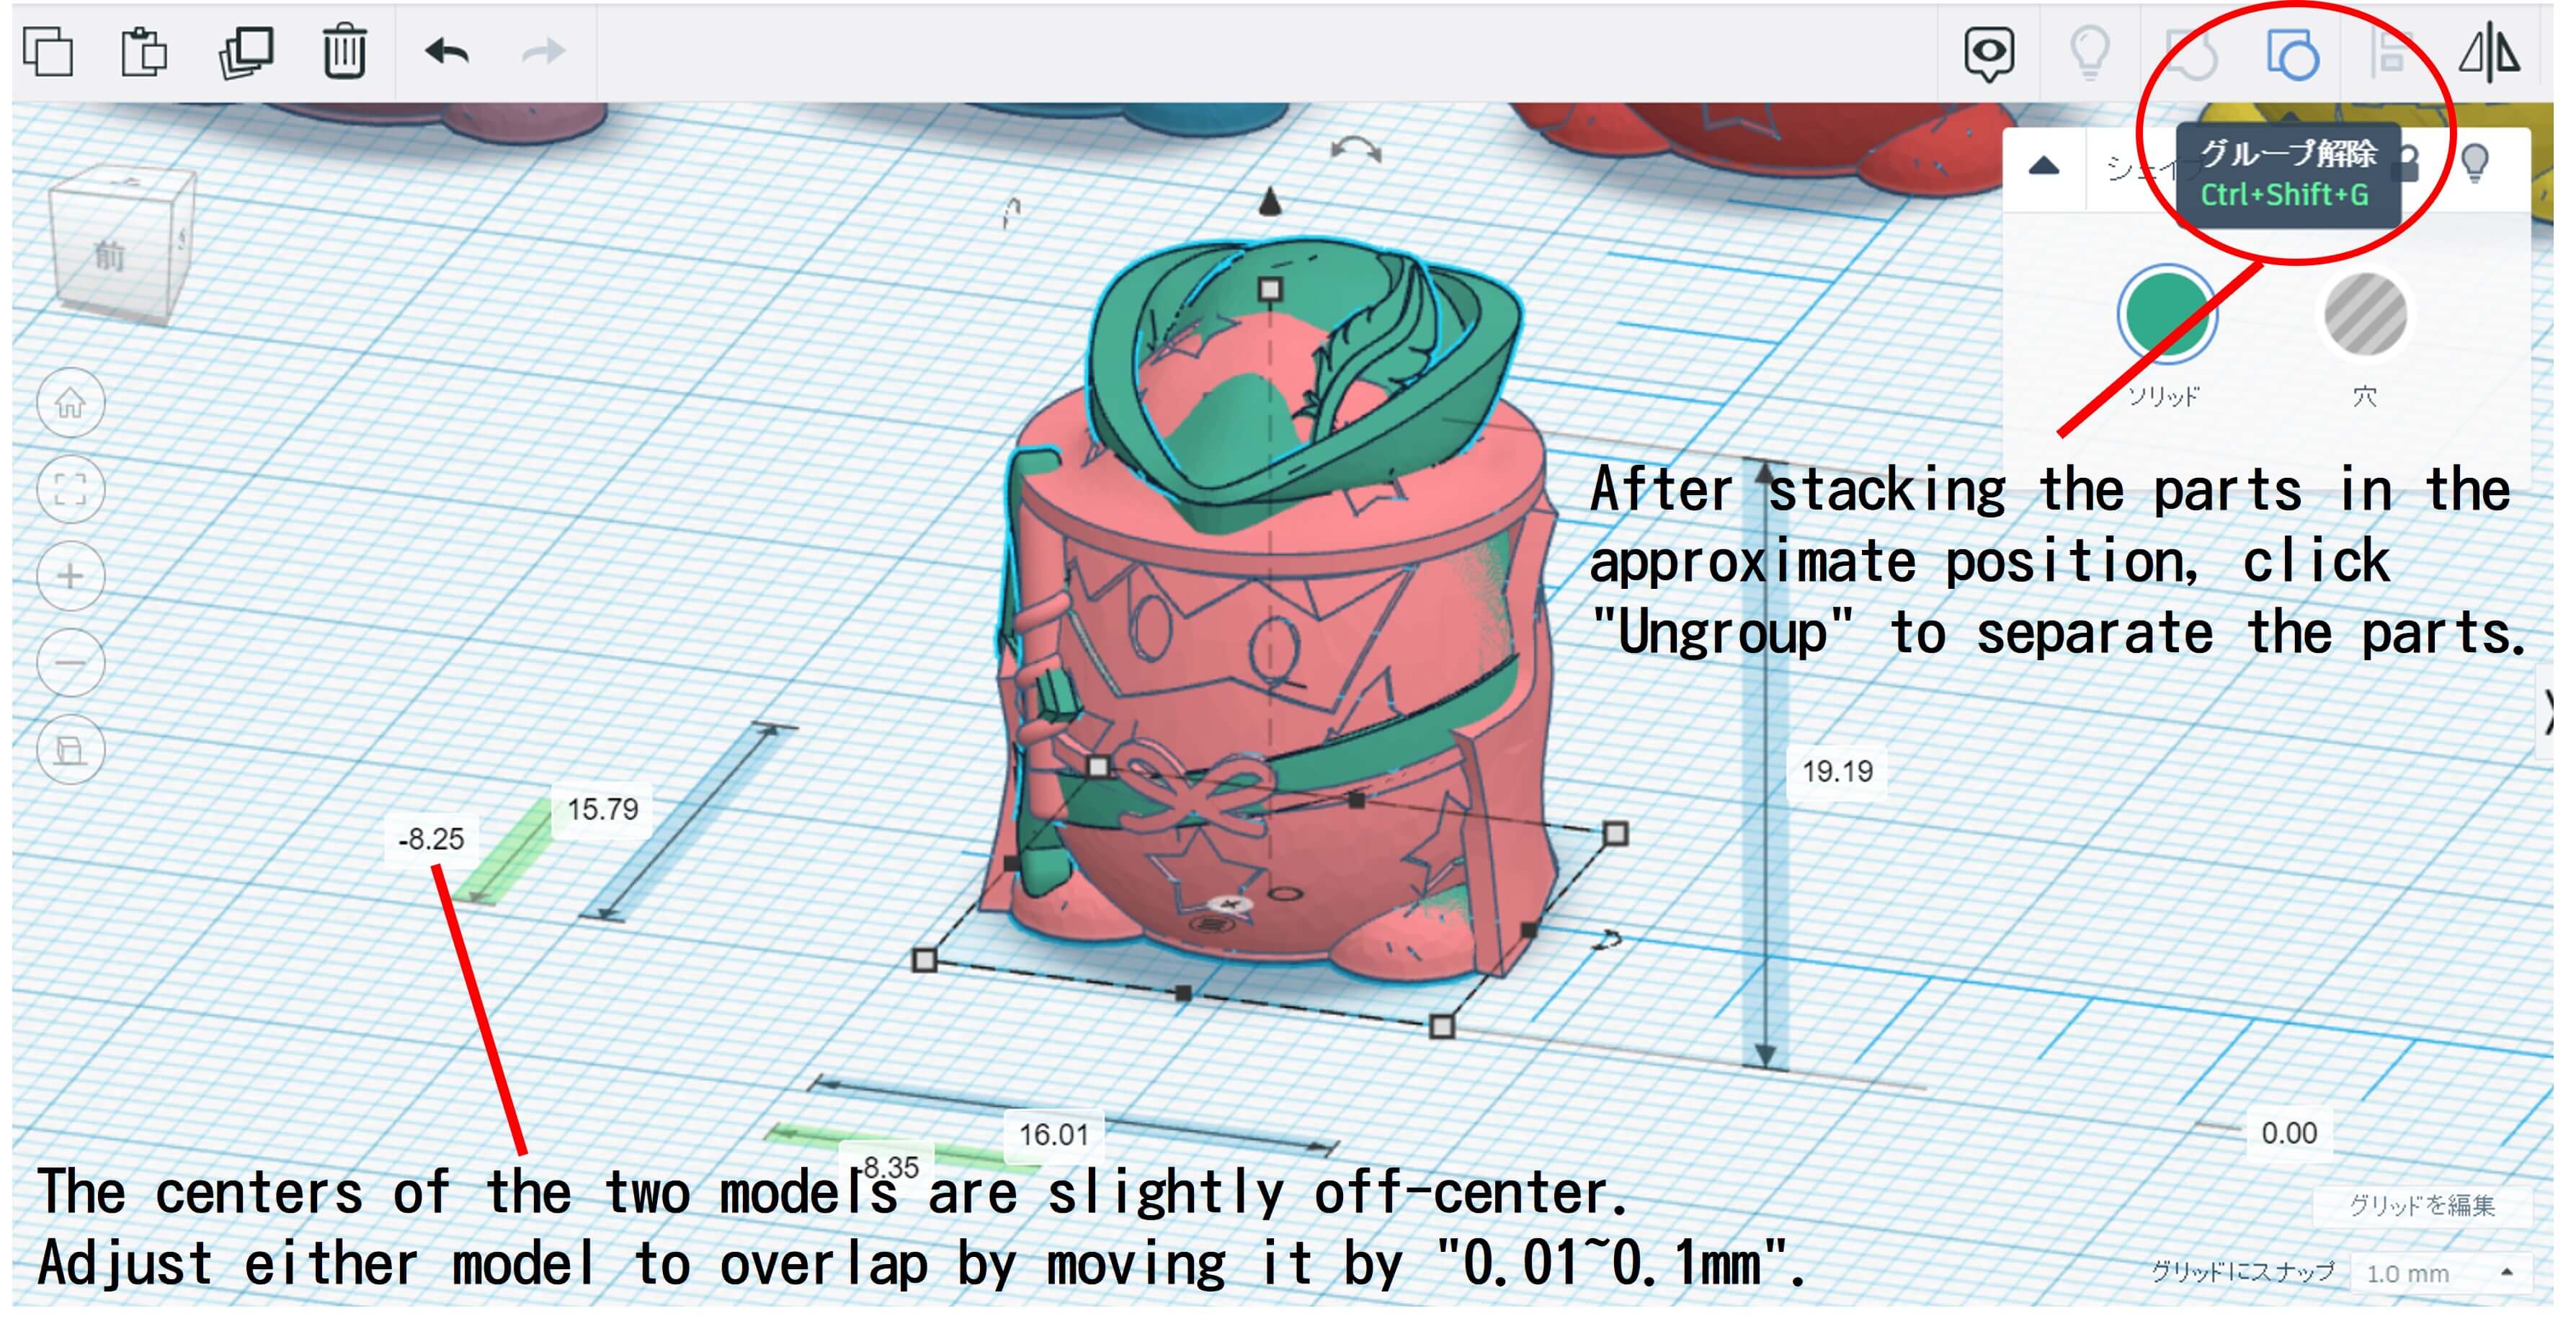

3-4.2-3.Let’s make it by combining parts!
Finally, you can combine the parts to make “Job Egg” and “Cutea Cup” as you like. Job Egg” and “Cutea Cup” come with an assortment set and the parts used are included separately. If you find parts you want to use, download the models!
PREMIUM